
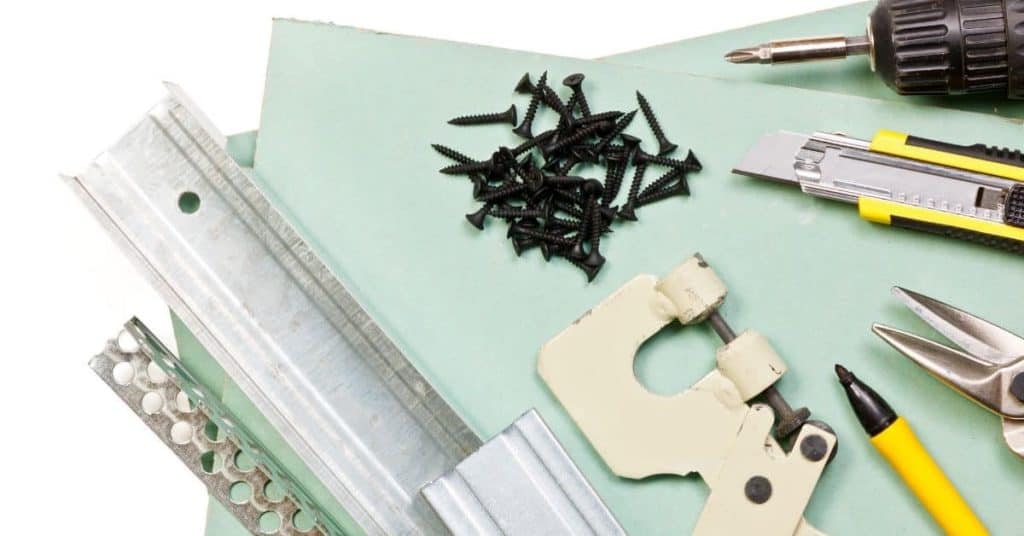
Introduction
This guide is a practical checklist for diagnosing why drywall screws fail and how to fix them.
You’ll learn how to identify causes, run simple tests, and apply fixes in a real job site setting.
It’s written for hands-on DIY work, not a classroom manual.
Identify causes by considering screw type and length, substrate material, and whether the screw was driven to the right depth.
For tests, reseat or replace suspect screws, check for loose panels by applying pressure, and look for stripped heads or pulled-out drywall.
Fixes include selecting the correct screw for the substrate, backing out and re-driving with steady, controlled leverage, and ensuring the head sits flush; if you’re unsure about torque or depth, check the product label, manufacturer instructions, or local rules.
Key takeaways
- Check screw length and type per drywall thickness before installation.
- Verify screw depth to sit slightly below surface without tearing paper.
- Test for wood vs metal studs to choose correct screw pattern and torque.
- Use proper pilot holes where specified to prevent wood splitting and dulling.
- Quick fixes: reseat screws with a compatible bit and avoid overdriving.
- Safety: wear eye protection and keep power tool tips away from others.
Table of Contents
- Introduction
- Key takeaways
- Quick Troubleshooting Checklist (at a Glance)
- Tools and Materials Checklist
- Identifying Common Drywall Screw Problems (Causes)
- Diagnostic Tests and Visual Checkpoints (How to Test)
- Fixes and Step-by-Step Repairs (from Quick Fixes to Full Remediation)
- Choosing the Right Screws and Fasteners
- Proper Screw Placement and Technique
- Safety, Code, Cost, and Planning Considerations
- Conclusion
- FAQ
Quick Troubleshooting Checklist (at a Glance)
When you start diagnosing drywall screw issues, begin with the obvious symptoms. Look for screws that won’t bite, heads that spin, screws that pull out, or signs of corrosion and snapping. Use a quick test to confirm each symptom so you can triage efficiently.
Next, map out a fast flow: identify whether you have wood or metal studs, verify the screw type and length, and confirm pilot hole size and drilling technique. Check that the screw reaches solid backing by at least a basic amount, that pilot holes were used on hard substrates, and that you’re using the correct drywall screw type for the job. Then try immediate fixes in order: switch to the proper length and type, predrill or widen holes as needed, use anchors or toggles for brittle drywall, and avoid overdriving that damages the paper facing. Finally, validate fixes with quick tests like reseating in scrap drywall, testing on a mock load, and reassessing moisture or corrosion presence to decide if a different fastener is required.
Symptom-to-solution map
Use this checklist to quickly diagnose and address common drywall screw issues.
- Screw won’t bite: Check if you’re using the correct screw type (coarse-thread for gypsum). If skipped, screws may strip or break.
- Head spins: Ensure pilot holes are predrilled. Without them, screws can spin and damage drywall paper.
- Screw pulls out: Verify screw length reaches into solid substrate by at least 1 inch. Insufficient length leads to pull-outs.
- Screws corrode or snap: Inspect for moisture or corrosion. If present, address the source and use appropriate fasteners.
- Screw head is overdriven: Check if you’re overdriving screws. This damages paper facing and weakens hold.
- Screws pop out after installation: Ensure you’re using wall anchors or toggle bolts for brittle drywall or hollow spots.
- Screw head is loose: Recheck if screw length is sufficient and pilot holes are used. Loose heads indicate insufficient engagement with substrate.
- Screws strip the hole: Switch to a longer, wider, or self-drilling screw for harder substrates.
Quick rule: Always start by checking screws and pilot holes before moving on to substrate issues.
When to repair vs replace
Use this checklist to determine if a local repair is sufficient or if panel replacement or structural work is needed.
- Small crack/hole: If less than 6 inches, repair with joint compound and tape. Larger ones may require panel replacement.
- Loose screw/anchor: Tighten or replace if possible. If not, consider replacing the entire panel.
- Water damage: Inspect for mold and structural integrity. Minor damage can be repaired; severe cases need panel replacement.
- Dented drywall: Small dents may be filled and sanded. Large ones or those affecting structure require panel replacement.
- Crumbling drywall: This indicates moisture damage. Replace the entire panel and address the moisture source.
- Warped drywall: Warping affects structural integrity. Replace the panel and consider addressing underlying causes (e.g., humidity).
- Multiple issues in one panel: It’s often easier and more cost-effective to replace the entire panel rather than attempting multiple repairs.
Quick rule: If damage is extensive, affects structural integrity, or requires multiple repairs, consider replacing the entire drywall panel.
Tools and Materials Checklist
Start by identifying the problem signs and the product specs you must match to stay on the right track. Note the screw type, length, thread pattern, coating, and substrate compatibility to ensure you pick the right fastener. Use this to build a quick validation plan before you drill a single hole.
Gather core tools and consumables you’ll rely on: an impact driver or drill with the appropriate bits, a screw gauge or calipers, a magnetic stud finder, a screw extractor, a tape measure, and a small level for alignment. Have on hand drywall screws rated for the substrate, concrete screws if needed, wall anchors or sleeves, corrosion-resistant coatings, washers, backer material, and any thread sealant or adhesive specified by the fix. Always read packaging and labels for substrate compatibility, length and gauge, coating or galvanization, and any lot or date codes to avoid expired hardware.
Essential tools and PPE
Before you start, ensure you have the right tools to diagnose and fix drywall screw issues safely. This checklist helps you gather everything needed.
- Impact driver or drill: For driving screws into concrete. Check it’s in good working order.
- Masonry bit: To pre-drill holes for screws. Ensure it matches your screw size.
- Screwdriver bits: Compatible with your impact driver or drill. Verify they’re secure and undamaged.
- Screw gauge or calipers: To measure screw length and gauge. Check they’re accurate and clean.
- Magnetic stud finder: For locating metal studs or obstructions. Test it on a known metal surface.
- Screw extractor: To remove stripped screws. Ensure it’s the right size for your screws.
- Tape measure: For accurate measurements. Check it’s calibrated correctly.
- Small level: For aligning drywall panels. Verify it’s true and undamaged.
- Safety glasses: Protect eyes from debris. Ensure they fit well.
- Work gloves: To protect hands from cuts and injuries. Check they’re not worn out.
- Dust mask: For protection against drywall dust. Ensure it fits securely.
Quick rule: Always prioritize safety first. Wear appropriate PPE throughout the job.
Fasteners and consumables to have on hand
Stock up on these fasteners and materials to tackle common drywall screw issues efficiently. This checklist helps you prepare.
- Drywall screws: Rated for concrete. Check lengths match your substrate thickness and labels for compatibility.
- Concrete screws (e.g., Tek or Tapcon): For when drywall screws won’t cut it. Verify they’re the right size and type for your application.
- Wall anchors or sleeves: As needed, for securing drywall to concrete. Ensure they match your screw size and substrate type.
- Corrosion-resistant coatings: Like zinc or galvanized finishes. Check labels for compatibility with your screws and environment.
- Washers: If needed, for added support. Verify they’re the right size for your screws.
- Backer material: For reinforcing weak areas. Ensure it’s suitable for your substrate and application.
- Thread sealant or adhesive: As specified by the fix. Check it’s compatible with your screws and substrate.
- Joint compound: For filling gaps and holes. Verify it’s the right type for your repair.
- Patch materials: Like mesh tape and drywall mud. Ensure they match your joint compound and application.
Quick rule: Always check manufacturer specs to ensure you’re using the right fasteners and consumables for your specific job.
Identifying Common Drywall Screw Problems (Causes)
Break down the failure modes you’re likely to see, with quick definitions for pops through joints, overdriven or underdriven screws, stripped heads, corrosion, and pull-out. Include hidden issues like skim coat cracking or screw-head wobble to catch early signs.
Group root causes into substrate conditions, screw selection, installation technique, and environmental factors. Consider backing material, wood versus metal studs, bit sharpness, torque, and edge distance that affect bite. On site, inspect head seating, test pull-out, note any rotation without tension, and verify stud type and cavity depth. Call out patterns like wrong length for thickness, missing pilot holes, dull tools, driving too fast, and moisture-related corrosion as common culprits. Use a quick decision tree: substitute the correct screw type and length, adjust pilot hole size, predrill where needed, switch to corrosion-resistant fasteners in damp zones, and re-secure with proper spacing to prevent repeats.
Installation errors
Mistakes during installation can lead to drywall screw problems. Here are some common ones to avoid:
- Inadequate torque: Too much or too little force when driving screws can cause heads to strip or screws to pop.
- Wrong screw type: Using self-drilling screws on metal studs or drywall with a skim coat can lead to damage and poor holding power.
- Incorrect length: Screws that are too short won’t hold the drywall securely, while those that are too long may poke through.
- Improper spacing: Screws spaced too far apart can cause drywall to sag or pop. Too close together wastes materials and makes finishing difficult.
To avoid these issues, follow manufacturer guidelines for torque, use the right screw type for your application, choose screws of appropriate length, and space them evenly according to code requirements.
Environmental and material causes
Material choices and environmental factors can impact the performance of drywall screws. Consider these aspects:
- Moisture exposure: High humidity or water exposure can cause corrosion, leading to screw failure. Use corrosion-resistant fasteners in damp zones.
- Framing movement: Wood studs can shift over time, causing screws to loosen. Use longer screws and consider using construction adhesive for added support.
- Vibrating loads: Areas subject to vibration (e.g., near machinery) require heavier-duty fasteners. Consult manufacturer guidelines for suitable screw types.
- Corroded fasteners: Old or improperly stored screws may corrode, leading to poor holding power. Inspect and replace any suspect fasteners.
Understanding these factors helps you choose the right materials and prevent common issues like corrosion, cracking, and weak bonds.
Design and planning mistakes
Poor design choices can lead to drywall screw problems. Here are some common mistakes to avoid:
- Incorrect backing: Installing drywall on soft or uneven surfaces can cause screws to pop or pull out. Ensure a solid, flat surface before installation.
- Unsupported seams: Seams without proper support (e.g., no blocking) can sag or crack over time. Always install blocking at seams and corners.
- Using nails instead of screws: Nails are not suitable for drywall installation due to their tendency to pop and lack of holding power. Always use screws.
- Ignoring manufacturer/code requirements: Failing to follow guidelines for screw spacing, length, or type can lead to problems down the line. Always consult relevant codes and manufacturers’ recommendations.
Avoiding these design and planning mistakes helps ensure a strong, durable drywall installation that will last.