
Introduction
Dry spray on walls is a rough, sandy coating left when spray material dries unevenly. It’s usually caused by improper spray technique or poor surface prep. Fixing it starts with cleaning, sanding, and blending so the surface is ready for another coat.
To prevent dry spray next time, adjust the spray setup and ensure the wall is properly prepared. Test a small area first and keep a steady, even pass while watching the edge finish. Follow the manufacturer’s instructions for material and equipment, and check local rules or labels for safety and timing.
Key takeaways
- Verify it’s truly dry spray by touching, comparing texture, and cure clues.
- Wear respirator and eye protection; contain dust with barriers and cleanup plan.
- Set up containment to prevent dust movement during repair work.
- Choose repair method based on overspray severity; skim coats if needed.
- Feather edges gradually with a trowel or sprayer to blend.
- Follow local code and label instructions; verify curing times before finishing.
Table of Contents
- Introduction
- Key takeaways
- Quick Diagnosis: Is This Really Dry Spray?
- Common Causes of Dry Spray
- Immediate Fixes for Light or Newly Formed Overspray
- Repair Workflow for Moderate to Severe Rough Overspray
- Preventing Dry Spray Next Time — Job Setup and Environment
- Preventing Dry Spray Next Time — Equipment Selection and Technique
- Tools and Materials Checklist
- Visual Checkpoints and Quality Control Before Final Cure
- Conclusion
- FAQ
Quick Diagnosis: Is This Really Dry Spray?
Dry spray is a rough, bumpy film that often lacks smoothness and uniform color. It can feel gritty to the touch and look uneven up close. Distinguishing it from minor texture or dust requires a careful look at the surface under good light.
Start with a simple decision flow: Is the film visibly rough across a broad area or only in random islands? If the finish is otherwise intact and the roughness is touching up to a flat plane, you may have dry spray. If the surface sheen is consistent and the texture mirrors the rest of the wall, you likely need a standard refinishing approach. Verify product data and local rules if you’re unsure before moving forward.
Visual and tactile signs of dry spray
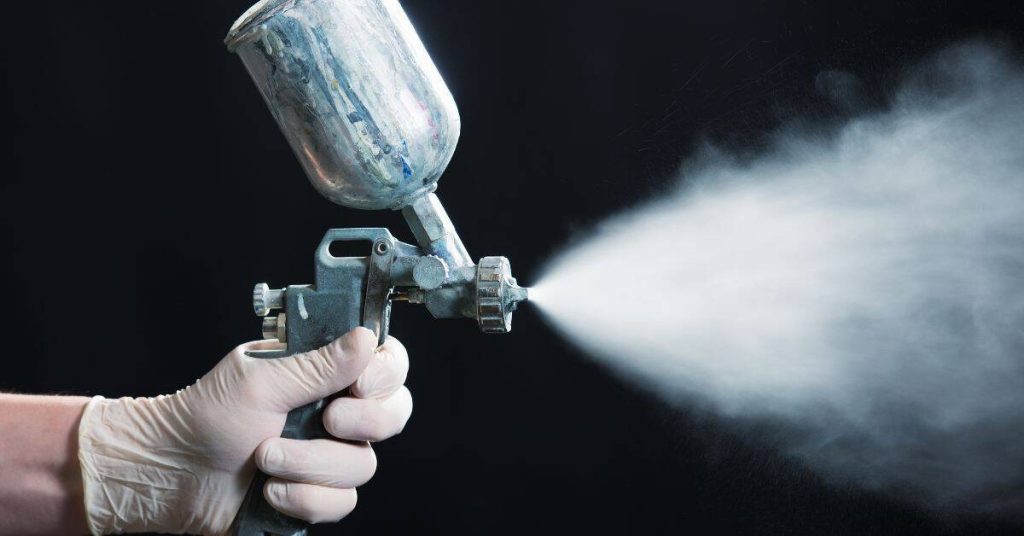
The first step is to identify the telltale signs of dry spray. Unlike other finish problems, dry spray leaves a powdery, rough texture on your walls. It’s like running your hand over sandpaper.
Here’s what you’re looking for:
- Poor film formation: The paint doesn’t form a smooth, even layer. Instead, it looks like a thin, dusty coating.
- Rough texture: The surface feels rough to the touch, not smooth like a typical painted wall.
This is different from orange peel (a fine, consistent texture), runs (streaks or drips), or other texture issues. If you’re unsure, compare the affected area with a known good section of your wall.
How to map affected areas and assess extent
Once you’ve identified dry spray, it’s time to figure out how much area is affected. Grab a pencil, some masking tape, and a measuring tape.
Start by marking the edges of the problem area with masking tape. This helps keep track of where you’ve already checked and prevents further damage.
Next, measure the length and width of the affected area. Write these measurements down for future reference.
Now, test small patches to see if the dry spray is localized or widespread. Use a damp cloth to wipe a small, hidden area. If the paint comes off easily, you’ve got dry spray. If it doesn’t, you might be dealing with something else.
Common Causes of Dry Spray
Most dry spray happens from environmental factors, material setup, or technique issues. Poor atomization or too-high air pressure can blow fine droplets onto the surface. Temperature and humidity swings during application also affect how the film lays down.
Always start by checking the paint label and the equipment manual for recommended settings and conditions. If you’re unsure, confirm with the manufacturer or a local pro before adjusting equipment. Use these references to guide your prep and application changes to prevent recurrence.
Environmental contributors (temperature, humidity, airflow)
Temperature, humidity, and drafts can wreak havoc on your dry spray job. Here’s how:
Temperature: Extreme heat or cold affects paint viscosity. Too hot, it’s thin; too cold, it’s thick. Neither’s good for atomization.
Humidity: High humidity can cause poor film formation and even mildew growth. Low humidity makes the paint dry too fast, causing dry spray.
Airflow: Drafts mess with your spray pattern, leading to uneven coverage and overspray. Check manufacturer guidance and avoid extreme conditions.
Paint and material factors (age, viscosity, incompatibility)
The right paint is crucial for a smooth finish. Here’s what to look out for:
- Age: Old paint can separate or thicken, leading to poor atomization and dry spray.
- Viscosity: Over-thinning paint reduces film build, causing dry spray. Use the recommended viscosity for your sprayer.
- Incompatibility: Using incompatible products (like oil-based primer with water-based paint) can cause poor adhesion and dry spray.
- Wrong product choice: Some paints just aren’t meant for spraying. Check the label; if it says ‘brush on’ or ‘roll on’, don’t spray!
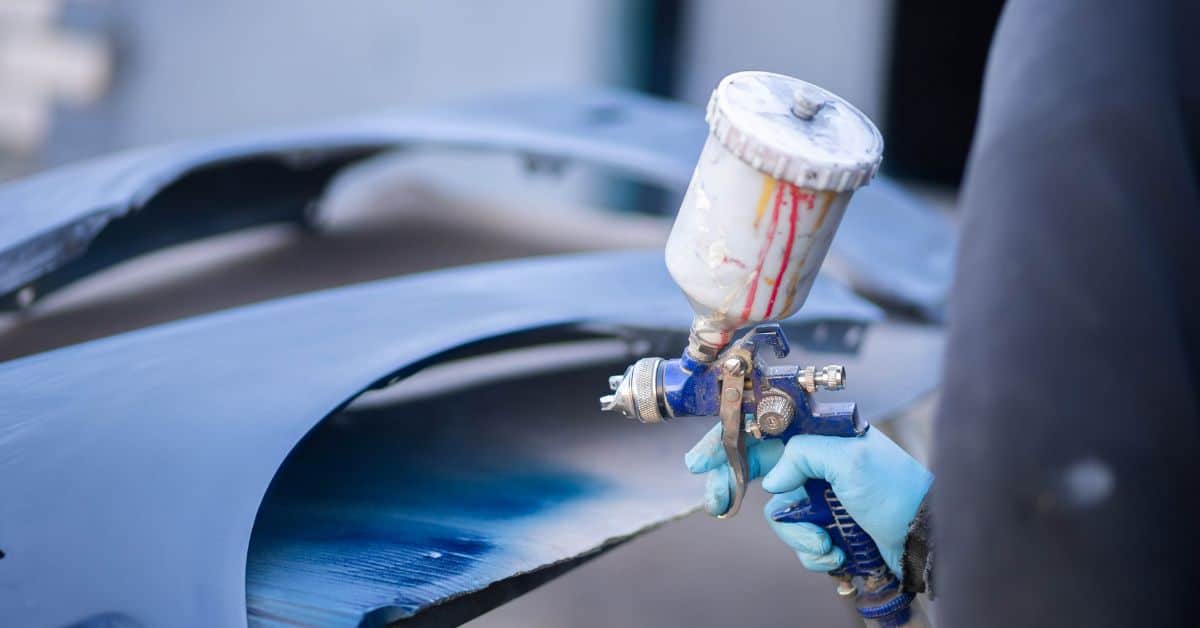
Equipment and application technique (tip, pressure, distance, speed)
Using the right equipment and technique is key to a smooth finish. Here’s what you need to know:
- Tip size: Too small, paint won’t atomize properly; too large, it’ll be too thick and dry slowly.
- Pressure: Insufficient pressure means poor atomization; excessive pressure causes overspray. Start low, adjust as needed.
- Distance: Too close, paint’s too thick; too far, it’s too thin. Aim for 8-10 inches away from the wall.
- Speed: Too-fast passes mean poor coverage and dry spray. Take your time, keep a steady pace.
Immediate Fixes for Light or Newly Formed Overspray
For light overspray with an intact film, start with a gentle approach: wipe or rinse the surface to remove loose material. Lightly scuff with a fine texture block to neutralize rough spots. Recoat with careful pass to blend the edge with the surrounding finish if permitted by the product data.
Temporary fixes can include a thin, compatible topcoat pass that fills minor irregularities and allows work to continue. Avoid drastic thinning or aggressive stripping unless you confirm the coating system accommodates it. Always check the label or instructions for any limits on rework and touch-ups.
Brushing, Light Blending, and Touch-ups
For minor dry spray issues, you can often blend the rough spots with a brush or small roller. Here’s how:
1. Test first: Before you start, do a test patch in an inconspicuous area to ensure your technique works.
2. Use a soft-bristle brush or small roller: Dip it lightly into some fresh paint and gently blend the rough spots. Work from one side of the spot to the other, feathering the edges to avoid visible lines.
3. Let it dry: Allow the blended area to dry completely before inspecting your work. If needed, repeat the process or move on to wet-sanding for tougher spots.
Wet-Sanding and Spot-Recoating
For more stubborn dry spray issues, you can try wet-sanding to smooth the surface. Here’s a gentle approach:
1. Start with fine grit: Use 220 or 320-grit sandpaper, dampened with water. This helps prevent dust and keeps the surface cool.
2. Sand lightly: Apply even, gentle pressure as you sand in small circular motions. Be careful not to press too hard or sand too long in one spot, which can damage the finish.
3. Recoat wisely: After sanding, wipe off any residue with a damp cloth and let it dry. If the area is still rough or visible, you may need to recoat. However, if the surface feels smooth but looks dull, do not recoat. Sanding has likely removed some of the finish’s gloss, and another coat will only make it worse.
Repair Workflow for Moderate to Severe Rough Overspray
Plan a calm, staged repair: sand the affected area to smooth the film, then apply a compatible filler if needed and re-sand for a uniform surface. Clean the dust, seal if required, and recoat with the correct sequence so that adhesion is assured. Allow proper dry times between steps according to the product instructions.
Patience and order are key: start with light sanding, proceed to filling if necessary, then prime and repaint to even out film thickness. Follow the manufacturer’s sequence for primers and topcoats, and verify that the final finish matches the surrounding area before cure. If in doubt, verify steps with the product label or instructions.
Sanding, feathering, and surface prep
Start by removing the defective film with medium-grit sandpaper. Be patient, work slowly to avoid damaging the substrate.
Feather the edges using fine-grit paper. This blends the repaired area into the surrounding wall, preventing visible lines.
Wipe clean with a damp cloth and let dry. Inspect for any missed spots or dust before proceeding.
Primer selection and full-recoat strategy
If the overspray is severe, prime before repainting to ensure better adhesion. Choose a primer compatible with your topcoat’s brand and type.
Tip: If you’re unsure, ask at your local hardware store or consult the paint manufacturer.
Plan your coats carefully. Apply multiple thin coats instead of one thick one to avoid repeating the overspray issue.
Preventing Dry Spray Next Time — Job Setup and Environment
Before you start, plan the work window to match favorable conditions and avoid sudden changes in temperature or humidity. Contain the work area to minimize dust and drafts that can disturb atomization. Use drop cloths and seal off adjacent spaces as needed for cleaner edges.
Check product-specific conditions on the label or data sheet, and follow any stated environmental limits. Confirm ventilation requirements and any time windows for re-entry or curing as part of your setup. These checks help you prevent dry spray from the outset.
Scheduling and controlling temperature/humidity
Check your paint’s label. It’ll tell you the ideal temp and humidity for application. Plan your job around that.
If it’s too hot, shade the area with tarps. If it’s too cold or humid, use heaters or dehumidifiers. Keep temps within 10°F of each other between surface and paint.
Pro tip: Use a thermometer and hygrometer to monitor conditions in real-time.
Masking, masking-check, and dust control
Use painter’s tape and drop cloths to mask off areas. Check your work – make sure edges are tight.
Keep the area clean. Dust can clog spray guns or ruin finish. Use a tack cloth or damp sponge to wipe down surfaces before spraying.
Pro tip: If you’re working in an enclosed space, use a dust extractor or air filter to keep particles at bay.
Preventing Dry Spray Next Time — Equipment Selection and Technique
Start with the spray settings and nozzle that match the product’s recommendations. Use the smallest practical tip size for the film build you want and test on a sacrificial panel first. Adjust distance, speed, and passes based on the test results to avoid over-atomization.
Record a couple of test passes and compare finish quality under daylight, then refine technique before final spraying. Always verify the nozzle, pressure, and spray pattern against the manufacturer instructions or product label to ensure proper atomization.
How to test and tune sprayer settings
Before you start spraying, do some test passes on a scrap piece of plywood. This helps you dial in your sprayer settings.
Start by adjusting the distance between the nozzle and surface. Too close can cause dry spray, too far might result in poor atomization. Aim for 6-10 inches.
Next, play around with overlap. Around 50% is a good starting point. This ensures even coverage without over-applying material.
Finally, adjust your pass speed. Too fast can lead to dry spray, too slow might cause runs or sags. A consistent, steady pace is key.
Spray technique best practices (pass rate, overlap, pattern)
Maintaining a consistent pass speed is crucial. Too fast can cause dry spray, too slow might lead to over-application.
Overlap each pass by about 50%. This ensures even coverage and prevents streaks or lines from showing through.
Keep your spray gun perpendicular to the surface. Tilting it can cause uneven atomization, leading to dry spots or runs.
Maintain a steady, smooth pattern. Sudden movements can result in inconsistent film build and dry spray.
Tools and Materials Checklist
Keep a practical toolkit on hand: sanding blocks or blocks with appropriate grits, masking materials, a compatible filler or skim coat, a primer if needed, and finishing coats that match the existing system. Include rags, solvents or cleaners appropriate for the coatings you’re using, and a lightweight roller or brush for final touch-ups if allowed by the system.
Have alternatives ready for common situations, such as a different filler or primer option if your first choice isn’t compatible. Check labels and manufacturer instructions for compatibility and proper use, and keep a simple inventory list to verify what you have before starting.
Essential tools for diagnosis and repair
Before you start fixing rough overspray, make sure you have the right tools. This checklist helps you diagnose issues and perform repairs.
- Sandpaper (120-220 grit): For smoothing rough spots. Start with coarser, then use finer grits.
- Sanding block: Ensures even pressure while sanding. Prevents gouging the surface.
- Sprayer test materials (paint, primer): To test settings and ensure compatibility with your sprayer.
- Paintbrushes/rollers (various sizes): For touch-ups and blending edges. Synthetic bristles work best for latex paints.
- Protective gear (gloves, goggles, mask): Safety first! Protect your eyes, skin, and lungs from dust and chemicals.
- Tack cloth or damp rag: Removes sanding dust. Prevents it from clogging sprayer or causing imperfections.
- Putty knife (small): For scraping off heavy overspray. Be gentle to avoid damaging the surface.
- Screwdriver (flathead, Phillips): To remove any masking tape or fixings before sanding.
- Drop cloths or plastic sheets: Protects floors and nearby surfaces from overspray and dust.
Quick rule: Always have the right tools for the job. It saves time, prevents damage, and ensures a professional finish.
Paint, primers, thinners and consumables to verify
Before you start mixing and applying products, check these items to ensure compatibility and safety.
- Product type: Match the primer to your topcoat (latex to latex, oil-based to oil-based).
- VOC content: Check for low or zero VOCs if you’re sensitive to fumes or want an eco-friendly option.
- Recommended thinners: Follow manufacturer’s guidance. Using the wrong thinner can ruin paint or cause poor adhesion.
- Primer coverage: Ensure it provides adequate coverage and adhesion for your topcoat.
- Paint color and finish: Double-check you have the correct shade and sheen. Once mixed, it’s hard to return or exchange.
- Paint viscosity (thickness): Test a small amount on a spare surface. It should spread easily but not be too runny.
- Cleaning supplies (solvents, rags): Have the right solvents to clean your sprayer and tools after use.
- Masking tape (blue or green painter’s tape): Protects edges from overspray. Remove it carefully once paint is dry to avoid pulling off dried paint.
- Plastic drop cloths: Protects floors and nearby surfaces from spills and drips.
Quick rule: Always verify your materials before starting. It prevents waste, ensures a smooth finish, and saves you time in the long run.
Visual Checkpoints and Quality Control Before Final Cure
After repair or repainting, perform a daylight check by inspecting edges and flat areas with natural light or a bright lamp. Look for uniform sheen, edge crispness, and absence of pinholes or runs. Run a light touch inspection to feel for any remaining rough spots.
If anything looks off, plan a quick rework on the affected zones before the final cure. Confirm that the overall film thickness and texture match the surrounding surface, then proceed with standard curing guidance from the product label or data sheet.
How to inspect finishes under different lighting
Inspect your work at different stages of drying and under various light conditions to catch any issues early.
- Natural Light: Check in morning and afternoon. It reveals texture flaws and missed spots.
- Angled Light: Use a flashlight at an angle. It highlights imperfections and rough patches.
- Touch Test: Feel the surface once dry to touch. Smoothness confirms a good finish; roughness needs rework.
- Dry Spots: Check for any missed or under-sprayed areas that may feel dry but look uneven.
- Wet Spots: Ensure no wet spots remain. They can cause discoloration and texture issues upon drying.
- Color Consistency: Verify the color is even across the entire surface.
- Drips or Runs: Look for any drips or runs that may have occurred during application.
- Edges and Corners: Check edges and corners. They’re often missed and can look uneven.
Quick rule: Inspect regularly, under various lights, and by touch to catch issues early and avoid rework.
When to wait longer or perform an additional corrective step
Use this checklist to decide if a finish needs further work, another coat, or if it’s acceptable.
- Drying Time: Check the recommended drying time. Waiting too soon can cause issues upon use.
- Smoothness: Feel the surface. If rough, consider light sanding and another coat.
- Color Uniformity: Ensure the color is even. If not, apply a second coat after proper drying.
- Texture Consistency: Check for any textural inconsistencies. Sand lightly and recoat if needed.
- Dust or Debris: Inspect for any trapped dust or debris. Lightly sand and clean before another coat.
- Heavy Use: Avoid heavy use until fully cured to prevent damage or marks.
- Temperature/Humidity: Consider the environment. High humidity or low temperatures can affect drying and curing.
- Final Inspection: Perform a final inspection before considering the job done.
Quick rule: Be patient, inspect regularly, and follow up with corrective steps if needed to ensure a quality finish that lasts.
Conclusion
Fixing rough overspray is a practical, durable job if you stay safe and follow a sound plan. Test first in a small area, then work methodically to protect the surface and your health, so you don’t end up with bigger damage or costly rework.
Before you start, run through this natural, stepwise check: assess quickly to confirm it’s dry spray, pick the right fix for the severity, set up the workspace with proper ventilation and containment, choose the right equipment and technique, gather the tools and materials, and perform visual checks at each stage so you know you’re moving toward a solid final cure, not just a quick patch.
Common pitfalls to avoid are rushing, skipping small-area testing, or applying the wrong technique for the surface. Protect yourself with fresh PPE, ventilate, keep a clean edge on the repair, and verify permanence with the final checks before cure. If something feels off—poor adhesion, compromised substrate, or you’re unsure about the material interactions—stop and reassess rather than pushing forward.
If the overspray is truly severe, or you’re dealing with sensitive substrates, calling a professional is wise. When in doubt, don’t fight it alone—get a second opinion and use the right trade tools. You can do this, and with clear steps and careful work, you’ll end up with a clean, durable finish that lasts.
FAQ
What’s the simplest way to finish up rough overspray without dragging more mess?
Lightly skim the rough spots with a narrow blade or a sanding pad to knock down high ridges. Then wipe with a damp rag to remove dust before applying any touch-up material. If the surface is still stubborn, follow the product label’s guidance for re-coating times and method.
Should I spray or roll over rough overspray for a cleaner look?
Roll or brush tends to give you more control on existing rough areas. Spraying can save time, but it often re-creates overspray unless you mask and adjust technique. Pick the method you can consistently manage with the work area ready.
How do I protect the rest of the room while I fix the overspray?
Seal off the area with plastic sheeting and tape, especially openings like doors and ducts. Work from the clean side toward the problem area to keep dust and spray contained. Check that ventilation is balanced and steady, not creating strong drafts across the work zone.
What should I check before re-coating after fixing rough overspray?
Read the product instructions for surface prep, cure readiness, and re-coat timing. Make sure the surface is clean, dry, and free of dust. If in doubt, test a small area first and verify it adheres and dries as expected as per the manufacturer’s notes.