
Introduction
Dense troweled concrete floors can resist stain absorption, causing many stains to fail.
You’ll learn why this happens, and how to select compatible stains and proper surface prep to achieve reliable color results.
Key takeaways
- Dense troweled floors have low porosity; stain requires compatible penetrating formulas and proper surface prep protocols.
- Epoxy sealers or film-formers can hinder dye penetration on dense floors without adequate prep.
- Test porosity with a water drop test; expect slow absorption or pooling.
- Use compatible water-based stains or solvent-based systems tuned for density.
- Prepare with mechanical grinding or chemical densifiers to open pores.
- Patch test on small area; sealers must be compatible with topcoat life.
Table of Contents
- Introduction
- Key takeaways
- How dense troweled (machine-troweled) concrete differs from typical slabs
- Types of concrete stains, dyes, and sealers — which work and which don’t
- Testing your concrete before staining: porosity, contaminants, and existing treatments
- Surface preparation strategies to make dense floors stainable
- Choosing the right products and tools for dense floors
- Common mistakes, safety, scheduling, and cost considerations
- Aftercare, maintenance, and long-term performance
- Conclusion
- FAQ
How dense troweled (machine-troweled) concrete differs from typical slabs
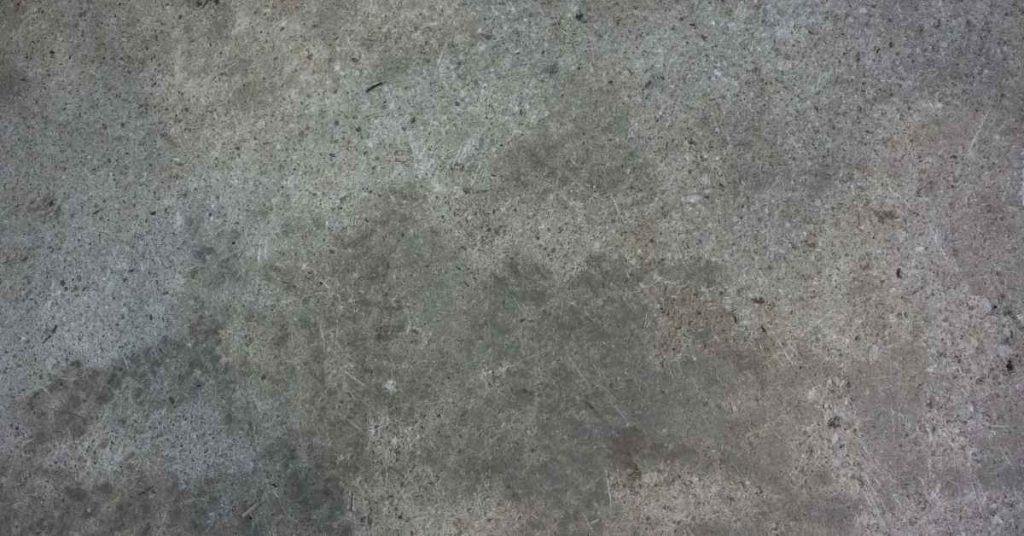
A machine-troweled finish is created by rapid, multiple passes with power trowels to harden the surface. This process yields a dense, low-porosity slab with a reduced surface profile. You can often spot it by its tight CSP and harder feel than broomed or lightly finished slabs.
Telltale signs of a dense finish include very smooth appearance, minimal surface capillaries, and high surface hardness. These traits influence stain penetration, absorption, and bond at the interface between stain and concrete. Typical causes of density are finish method, curing regimes, and the use of densifiers or chemical hardeners.
Surface chemistry and porosity basics
Concrete’s surface is a web of tiny pores, like a sponge. These pores allow liquids to penetrate and react with the concrete.
Machine-troweled surfaces have fewer, smaller pores due to their dense nature. This low porosity means stains can’t easily soak in or react with the concrete below.
Low porosity prevents penetrating stains from reacting or absorbing, leading to poor color development and potential failures.
Common finishes and where failures originate
Different finishing methods create varied surface profiles:
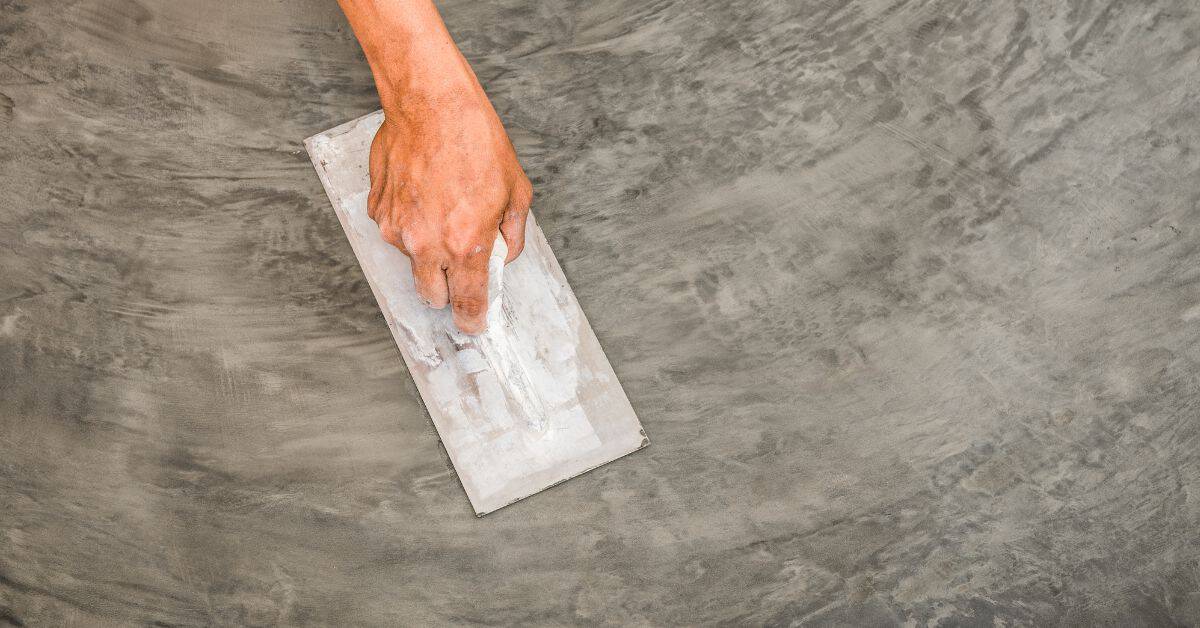
- Machine-trowel: Rapid, multiple passes with power trowels create a dense, low-porosity surface.
- Hand-trowel: Slower process allows more water evaporation, resulting in higher porosity.
- Power float: Smooths the surface but doesn’t significantly change porosity compared to machine-troweling.
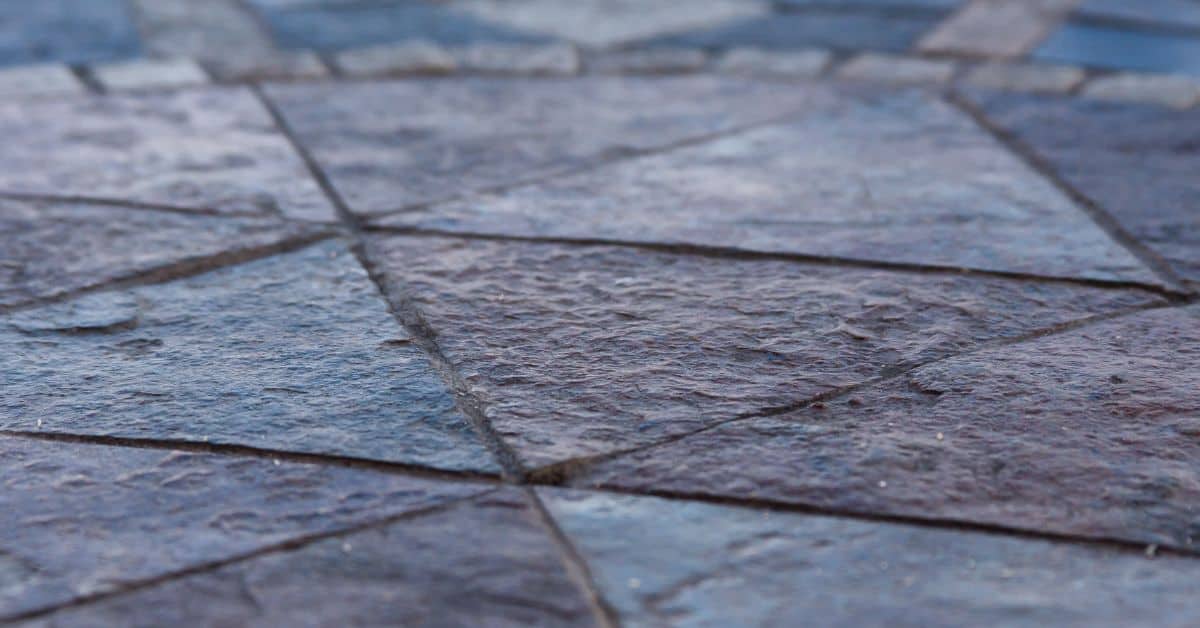
- Burnished: Highly polished, lowest porosity of all finishes.
Each finish affects stain outcomes:
– Machine-trowel and burnished surfaces may lead to whitening or incomplete color development due to low porosity.
– Hand-trowel and power float surfaces generally allow better stain penetration but can still fail if too dense.
Types of concrete stains, dyes, and sealers — which work and which don’t
Dense, machine-troweled floors interact differently with acids, water-based stains, and solvent dyes. Surface density, epoxy or urethane topcoats, and prior sealers can limit dye or stain penetration and color uniformity. Distinguish acid stains, water-based stains, solvent dyes, and acetone dyes, and compare penetrating vs film-forming sealers.
Before full application, perform spot tests on representative areas, check moisture content, pH, and cleanliness, and test porosity and adhesion with both stain and sealer. Document results and drying times to guide your next steps. Clean and profile the surface as needed to improve compatibility.
Penetrating stains and densified concrete compatibility
Penetrating stains, like acid stains and reactive stains, rely on the porous nature of concrete to absorb color. Densified or machine-troweled floors have reduced porosity due to their smooth, compact surface.
Densifiers, used to harden and densify concrete, further reduce absorption. This makes it tough for penetrating stains to soak in evenly, leading to patchy results.
To check compatibility, perform spot tests on your floor. If the stain doesn’t absorb well or leaves inconsistent color, consider alternatives like surface-applied dyes or paints.
Surface-applied color systems and coatings (dyes, paints, overlays)
For non-porous floors, consider surface-applied color systems. These don’t rely on absorption but rather sit atop the concrete.
Dyes can be used to add color to dense surfaces. They’re typically water-based and provide consistent, uniform color. However, they may require a sealer for protection.
Epoxies and solid-color sealers are other options. These provide durable, long-lasting color but may alter the appearance of your floor if not applied correctly.
Overlays can also be used to change the color or texture of dense floors. They’re typically applied over a primer and provide a consistent, uniform finish.
Testing your concrete before staining: porosity, contaminants, and existing treatments
Porosity, contaminants, and any existing treatments can make or break stain performance. Define measurable outcomes like uniform absorption and even color to guide your testing plan. This helps you decide whether to proceed or adjust methods.
Porosity testing includes water drop tests, capillary absorption checks, and small dye tests to gauge penetration. Use spot tests with solvents on inconspicuous areas to detect film-forming coatings and note slick or dull residues. Plan remediation based on findings and consider lab analysis if results are inconclusive.
Water absorption (quick field) test and what results mean
The water drop test is a quick, easy way to check your concrete’s porosity. Here’s how:
1. Place a few drops of water on the surface.
2. Observe how they behave over 10-15 minutes.
Results:
– If water beads up and stays on the surface, your concrete is dense with low porosity. Choose stains designed for such surfaces.
– If water soaks in quickly, your concrete is porous. Opt for stains that penetrate well.
Chemical and adhesive residue checks
Before staining, check for sealers or curing compounds that could hinder absorption:
1. Apply a small amount of acetone to an inconspicuous area using a cotton swab.
2. Wipe gently. If the surface becomes dull or changes texture, you’ve found a film-forming coating.
What it means:
– Residues indicate existing treatments that could prevent stain absorption and cause blotching.
– Remedy: Strip or etch the surface before staining to ensure proper penetration.
Surface preparation strategies to make dense floors stainable
Set a clear objective: prep options should reliably yield stain absorption on dense, machine-troweled floors. Identify which method fits the surface condition based on quick tests and observations. This helps avoid over- or under-prepping.
Pre-checks include porosity tests and solvent-based checks for sealers or films, plus documenting surface contaminants. Options range from removing sealers, mechanical profiling, and acid or chemical etching, each with its own impact on profile and safety. Choose the method and test a small area first.
Removing existing sealers and coatings safely
Before you start staining, check if your concrete floor has any sealers or coatings. These can prevent stains from penetrating.
Solvent-based strippers are usually the best choice for removing sealers. Apply them with a brush or roller, let it sit, then scrub and rinse off. Always follow the manufacturer’s guidelines.
For tougher coatings like epoxy or urethanes, you might need to use heat guns. Scrape off as much as possible first, then use the heat gun to soften and remove the rest. Be careful not to damage the concrete.
After removal, perform an adhesion test with a piece of tape to ensure nothing’s left behind. If it sticks, strip again.
Creating a suitable surface profile (CSP) for penetrating stains
Penetrating stains need a rough enough surface to soak in. A good CSP has a micro-roughness of 1-2 mils.
The best way to achieve this is by diamond grinding. It’s precise and creates the right profile. Rent or buy a grinder with diamond blades, secure it properly, and grind in small sections.
Alternatively, you can use shot blasting, which shoots tiny steel shots at high speeds to create micro-roughness. It’s faster but can be messier and less precise than grinding.
After profiling, perform a visual check. The surface should look evenly roughened, not smooth or shiny. If it passes, move on to the next step.
Choosing the right products and tools for dense floors
Density from machine-troweling affects stain acceptance through porosity, capillary action, and surface glaze. Use this to frame your product selection. Consider how each option modifies absorption and color development on dense surfaces.
Compare penetrating stains, water- or solvent-based dyes, topical coatings, bond primers, and densifier-compatible stains. List the essential tools for each step, from grinders to test cards, and use test patches to verify adhesion and color before full application. Plan for proper sequencing and safety measures during the job.
Tools and materials checklist
Before you start, make sure you’ve got the right gear. This list covers essentials for prep and staining.
- Grinder: For surface prep and creating a suitable profile (CSP). Skip this, risk poor stain adhesion.
- Shot blaster or scarifier: To remove contaminants and create micro-pores. Miss this step, stains won’t penetrate well.
- Pressure washer: For thorough cleaning. Bypass this, you’ll struggle with stain acceptance.
- Safety gear (gloves, goggles, ear protection): Protect yourself from debris and noise.
- Testers (pH strips, water drop test kit): To check floor readiness. Ignore these, you might stain too early or late.
- Dye test cards: For previewing color before full application. Skip this, you could end up with unwanted surprises.
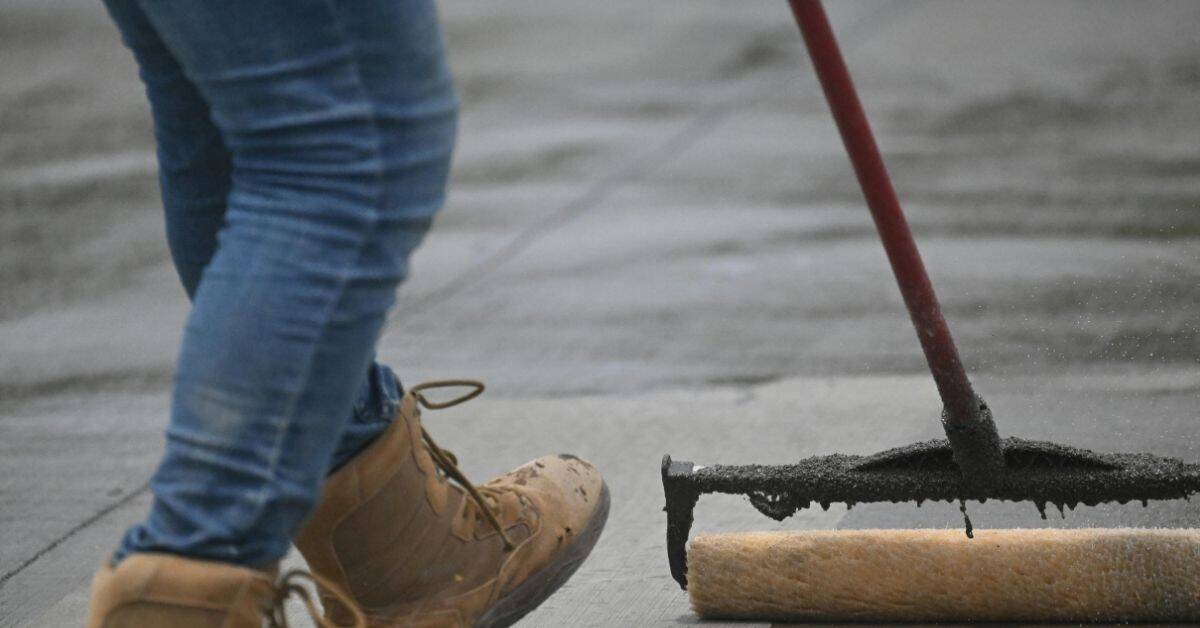
- Pump sprayer or brush roller: For even stain/dye application. Use the wrong tool, expect inconsistent results.
- Microfiber rollers (optional): For applying topical coatings and sealers. Don’t use these, you might leave behind streaks or missed spots.
Quick rule: Gather all tools and materials before starting. It’s easier to prep once than to redo work later.
Product decision flow: test → prep → stain or coat
First, test your floor. Porosity is key to choosing the right product.
If porous: Penetrating stains are your best bet. They soak in, coloring from within. No need for primers unless you’re dealing with fresh concrete or high pH (over 12).
If not porous: Consider water- or solvent-based dyes and topical coatings. These sit on the surface. You might need to mechanically profile first (create micro-pores) for better adhesion.
Always test a small area first. Document results, adjust your plan if needed. This way, you’re not gambling with your entire floor.
Common mistakes, safety, scheduling, and cost considerations
Common errors include insufficient prep, failing to clean properly, and skipping porosity or moisture tests. These slip-ups often lead to uneven color or early failure on dense floors. Schedule tasks with clear milestones to avoid rushing critical steps.
Safety protocols demand respirators, gloves, eye protection, and adequate ventilation. Budget thoughtfully for materials, labor, and equipment, with a contingency for re-work or patching. Document tests and outcomes to guide future decisions.
Top 8 application mistakes and how to avoid them
Here are the top eight mistakes homeowners make when applying concrete stains on dense floors. Avoid these for a successful project.
- Skipping tests: Always test your concrete’s porosity, moisture, and existing treatments before staining.
- Inadequate surface profile: Ensure you’ve created a suitable surface profile (CSP) to allow stain penetration.
- Leaving incompatible sealer in place: Remove old sealers or coatings that could interfere with stain adhesion.
- Rushing recoat times: Follow manufacturer guidelines for drying and cure windows between coats.
Avoid these common pitfalls to ensure your concrete stain job lasts and looks great.
Project planning, timeline, and rough cost factors
Planning a concrete staining project involves understanding timelines and cost drivers. Here’s what to expect:
Timeline: Allow time for testing (1-2 days), removal of existing coatings (1-3 days), profiling (1 day), stain application (1-2 days per coat), and cure (at least 72 hours between coats). Ambient conditions, floor size, and existing coatings can extend these times.
Cost factors: Material costs vary by stain type ($0.50-$3.00 per sq ft), sealers ($0.10-$1.00 per sq ft), and densifiers ($0.20-$1.00 per sq ft). Labor can range from $40-$80 per hour, with equipment rental adding $30-$100 per day. Contingency for re-work or failed patches should be around 5-10% of total project cost.
Aftercare, maintenance, and long-term performance
Maintenance goals for stained or coated dense slabs focus on color retention, slip resistance, and surface integrity. Plan routines that support long-term performance without excessive wear. Establish realistic expectations for service life based on products used.
Regular cleaning with approved cleaners and pH-appropriate methods helps preserve color. Monitor adhesion and look for signs like dullness or microcracking, and plan resealing or recoating as needed. Keep records of maintenance and observe environmental factors that affect performance.
Cleaning, Resealing, and Repair Best Practices
Regular cleaning is key to maintaining your stained concrete floor’s appearance. Use a mild, pH-neutral cleaner every 2-4 weeks to remove dirt and grime.
Never use acidic or abrasive cleaners as they can dull the finish and fade colors.
For spills, wipe promptly with a damp cloth. For tougher stains, use a soft-bristled brush and your chosen cleaner, working in small sections.
Reseal every 2-5 years, depending on traffic and wear. Check for signs like increased moisture uptake or gloss/opacity shifts. Follow the manufacturer’s guidelines for recoating.
Troubleshooting Post-Install Problems
If your floor looks blotchy, it might be due to inconsistent staining or improper surface preparation. Lightly sand and reapply stain in affected areas.
Peeling can occur if the slab wasn’t clean or dry enough before staining. Scrape off peeling material, prep the area again, and recoat.
Hot-tire pickup happens when tires leave marks on the floor. This is usually due to improper curing or high tire temperatures. Unfortunately, there’s no fix for this; prevention through proper curing is key.
If problems persist or you’re unsure, consult a professional. They can perform tests and provide tailored solutions.
Conclusion
Dense, machine-troweled concrete can look great with the right stain, but the payoff depends on solid prep, careful testing, and safer work practices. Start with a small test area, verify porosity and contaminants, and choose products designed for dense floors. If the surface isn’t properly prepared or if you’re unsure about contaminants, you’ll waste time and money and risk a blotchy, uneven finish.
Proceed with a simple, step-by-step check: confirm surface texture and porosity with a quick test patch, identify any existing treatments or coatings, choose compatible stains or dyes and sealers, plan your schedule to avoid moisture and dew, and follow the product instructions for cleaning, priming, and application. Always do a test in an inconspicuous spot, allow full cure, and document the results so you can scale up with confidence. Use proper PPE, ventilate the area, and keep pets and kids away during work and curing.
Common mistakes to avoid are skipping the test patch, using the wrong product for a dense floor, and rushing the surface prep or dusting. Don’t skip patching cracks, don’t seal too early, and don’t apply products over contaminants or lingering curing compounds. Safety rules to follow: wear eye protection and a respirator as required, keep a clean work zone, and always read and respect manufacturer directions for dwell times, temperatures, and ventilation.
If the area is heavily contaminated, you’re unsure about the floor’s porosity, or you’re dealing with complicated stains or coatings, call a professional instead of forcing it. When in doubt, pause, reassess, and plan a safer, more predictable path. With proper prep, testing, and patience, you’ll get durable color that lasts and saves you from costly mistakes.
FAQ
Can any stain work on a dense troweled floor?
No. Dense, smooth troweled concrete resists many stains. You need a stain made for dense surfaces and proper surface prep. If you try the wrong product, it will look blotchy or fail fast.
What prep steps help stain stick on dense floors?
Clean the surface well. Lightly profile or etch the floor if the stain calls for it. Let it dry completely before applying the stain.
Why do some stains fail after curing on dense floors?
The surface may be too smooth or previously sealed. The stain can sit on top or peel off instead of penetrating. Proper prep and a compatible product are non negotiable.
Any quick rule of thumb for choosing stain?
Pick a stain labeled for dense or smooth concrete. Check that it works with any sealers or toppings you already have. When in doubt, test a small area first and follow the manufacturer’s directions.