Plaster

Plaster is for cement-based and traditional plastering projects where a smooth or durable surface is the goal.

You’ll find guides on surface prep, bonding, scratch/brown/finish coats, patching, corner details, sanding and finishing, and how to avoid common issues like cracking, poor adhesion, and uneven texture.

If your project is “make this wall look right again,” this is the category to start with.

Person smoothing plaster on wall with trowel wearing red glove

Matching a 1920s plaster finish: how to recreate subtle trowel marks and sheen

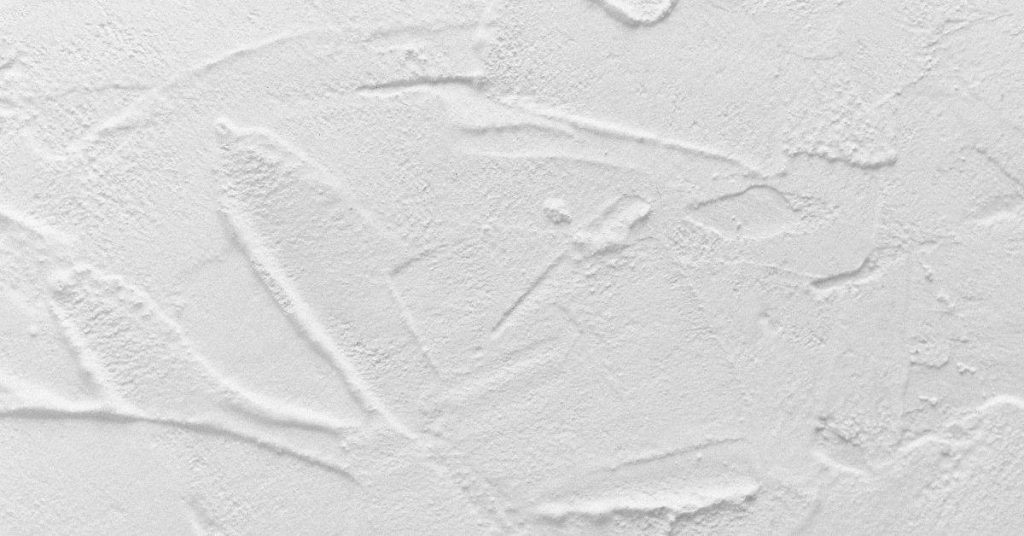
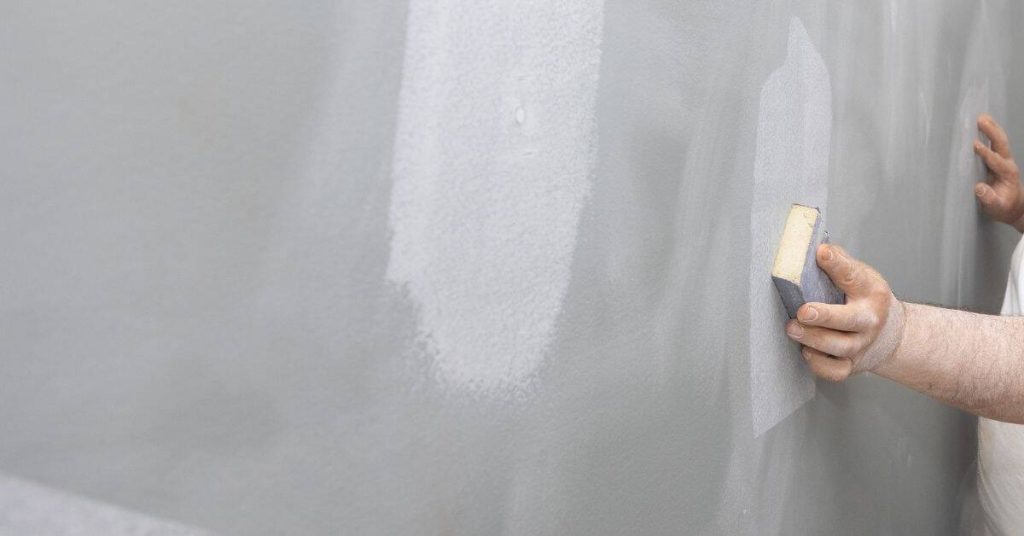
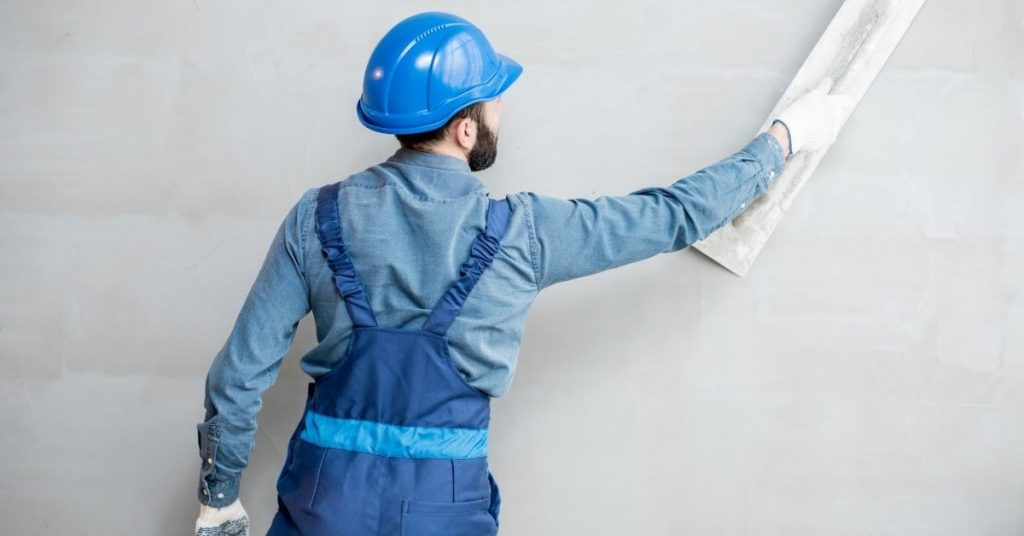
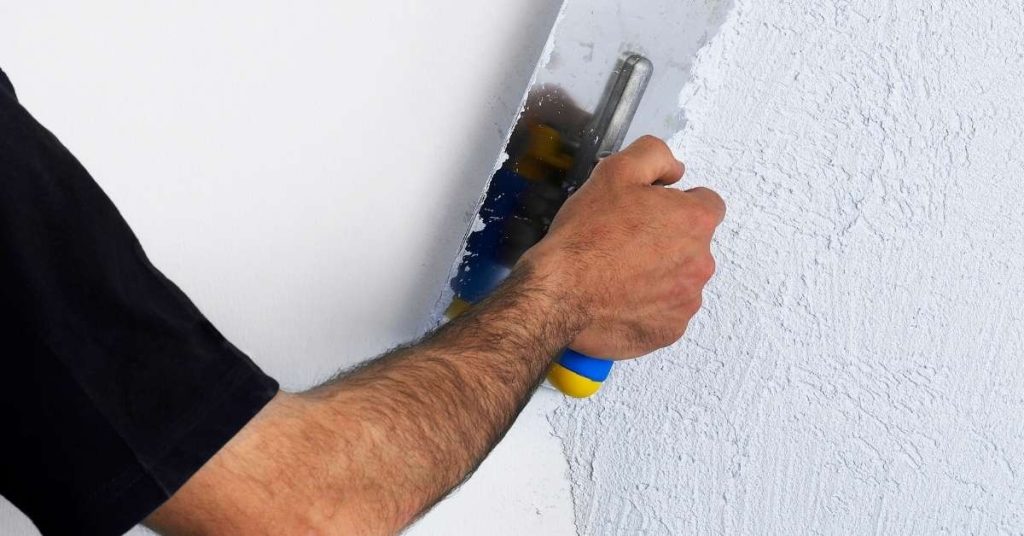
Introduction A matching 1920s plaster finish is a subtle, handmade wall surface that uses light trowel marks and a soft, aging sheen. The goal is to recreate the quiet texture and depth of period walls without looking overdone. It involves careful surface work, controlled plaster mixes, and patient application. Before you start, assess the existing […]

Matching a 1920s plaster finish: how to recreate subtle trowel marks and sheen Read More »

Cordless drill and scattered wood screws on wooden surface

Stabilising small plaster areas over wood lath: when spot washers are enough

Introduction Spot washers can stabilise small plaster areas over wood lath. This article explains a practical, hands‑on approach for assessing and addressing those loose patches. Keep the work simple and focused on local repairs rather than rebuilding whole walls. Evaluate the wall condition first to decide if spot washers alone will hold or if additional

Stabilising small plaster areas over wood lath: when spot washers are enough Read More »

Hand holding trowel and hawk with plaster compound

Planning a plaster skim job: sample walls, staging rooms, and avoiding scope creep

Introduction Planning a plaster skim job is outlining which walls to skim, choosing sample walls to test finishes, and setting up staging areas to keep the work organized. It helps prevent scope creep by defining what work is in scope and what isn’t. Start by walking the space and noting surface condition, then map a

Planning a plaster skim job: sample walls, staging rooms, and avoiding scope creep Read More »

Close-up of textured white plaster surface

Bonding agents explained: PVA vs acrylic vs plaster weld and where each fails

Introduction Bonding agents like PVA, acrylic, and plaster weld are surface glues that improve adhesion between materials. This article explains how each one works, where it tends to perform best, and the common limits you’ll run into on-site. You’ll learn practical tips for surfaces and prep so the agent can grip and cure reliably. PVA

Bonding agents explained: PVA vs acrylic vs plaster weld and where each fails Read More »

Hand applying sponge to textured plaster wall

Blending textures on old plaster walls: sand grading tricks and sponge timing

Introduction Blending textures on old plaster walls means smoothing uneven surfaces by using sand grading and sponge timing to achieve a cohesive finish. This article focuses on practical, hands-on steps you can follow in a DIY setting. You’ll balance texture retention with a softer final look while it remains within safe expectations for plaster repair.

Blending textures on old plaster walls: sand grading tricks and sponge timing Read More »

Worker in blue helmet smoothing a light gray plaster wall

Roman Clay Wall Finishes: Substrate Picks, Burnish Timing, and Sealing Options

Introduction Roman clay wall finishes are traditional lime-based plasters applied to walls to create a natural, earthy, matte surface. They require a clean, sound substrate and proper priming before application. Burnish timing depends on conditions and should be tested on a scrap area to get the feel you want. These finishes work well in living

Roman Clay Wall Finishes: Substrate Picks, Burnish Timing, and Sealing Options Read More »

Person applying plaster on wall with trowel

High-Gloss Venetian Plaster: A Layering Plan to Avoid Drag Marks and Streaks

Introduction High-gloss Venetian plaster is a multi-layer decorative finish that builds a shiny, mirror-like surface. This article lays out a practical layering plan to keep drag marks and streaks under control as you work. You’ll be working in thin, even coats and checking your tool marks as you go. Begin with surface prep, then keep

High-Gloss Venetian Plaster: A Layering Plan to Avoid Drag Marks and Streaks Read More »

bucket with plastering tools on wet surface outdoors

Tadelakt for DIY Bathrooms: Burnishing, Waxing, and Details That Prevent Failure

Introduction Tadelakt is a traditional lime plaster finish used in bathrooms that you burnish and wax to create a smooth, water-resistant surface. This article covers the key steps you can do yourself, like burnishing and applying wax, and the details that help prevent failure. Keep in mind that proper preparation and careful curing are essential

Tadelakt for DIY Bathrooms: Burnishing, Waxing, and Details That Prevent Failure Read More »

Man applying plaster patch to interior wall cracks

Plaster Patching at Stair Stringers: Reinforcement for Vibration Zones

Introduction Plaster patching at stair stringers is a repair method that stabilizes cracks and adds stiffness where vibration occurs. It targets the areas where the stringer carries load and movement from foot traffic. This guide describes a practical, hands-on approach you can tackle with basic tools. Start by cleaning the damaged area and selecting a

Plaster Patching at Stair Stringers: Reinforcement for Vibration Zones Read More »

Worker applying plaster to a white wall wearing yellow helmet

Paper Tape vs Fiberglass Mesh in Plaster Repairs: Where Each One Fails First

Introduction Paper tape is a traditional plaster repair method that tends to fail first at weak joints or moisture-prone areas. Fiberglass mesh is a modern patch option that can fail where the mud isn’t embedded well or runs behind the patch. Both have their own failure points depending on prep and technique. In repairs, focus

Paper Tape vs Fiberglass Mesh in Plaster Repairs: Where Each One Fails First Read More »