
Introduction
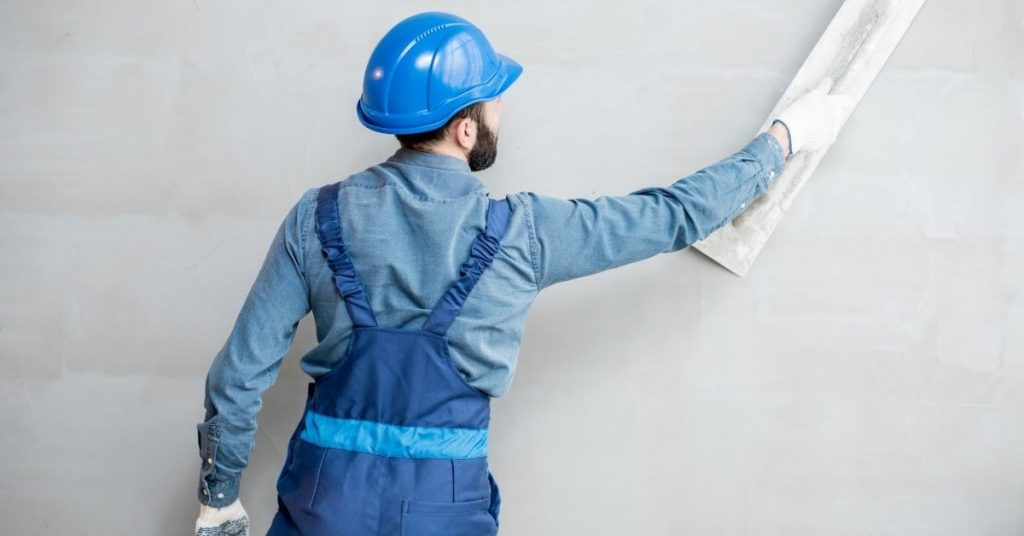
Roman clay wall finishes are traditional lime-based plasters applied to walls to create a natural, earthy, matte surface. They require a clean, sound substrate and proper priming before application. Burnish timing depends on conditions and should be tested on a scrap area to get the feel you want.
These finishes work well in living spaces, hallways, and kitchens where a warm, handmade look is desired. Be mindful of limitations like color variation, humidity, and substrate compatibility, and always check the product label, manufacturer instructions, and local rules. Packaging options vary, and the product will include guidance on coverage and sealing choices; use that to plan your job and avoid overbuying.
Key takeaways
- Roman clay works best on primed, stable plaster or drywall substrates with even absorption.
- Substrate qualification guides bonding tests, moisture checks, and edge stabilization before finishing.
- Prep with clean surfaces, dust removal, and per manufacturer’s primer recommendations.
- Burnish timing affects sheen; test small area and adjust pressure cautiously.
- Sealants and finishing options vary; verify compatibility and coat expectations.
- Safety note: wear eye protection, respirator, and guard surfaces to avoid dust.
Table of Contents
- Introduction
- Key takeaways
- What Roman Clay Is and When to Choose It
- Substrate Selection and Qualification
- Surface Preparation and Primers
- Tools, Materials, and Pre-Job Checklist
- Application Techniques: Base Coat Through Final Coat
- Burnishing: Timing, Pressure, and Techniques
- Sealers and Finishing Options
- Maintenance, Troubleshooting, Safety, and Budget Considerations
- Conclusion
- FAQ
What Roman Clay Is and When to Choose It
Roman Clay is a natural lime-based or lime-putty formulation that uses mineral binders and a stone-meal or marble-matte finish. It contrasts with limewash and other plaster finishes through its dense, tactile depth and low-sheen surface.
This finish is ideal for spaces that crave warmth and texture, such as living areas and bedrooms, and can be used in bathrooms when proper sealing is in place. It pairs well with wood, stone, and metal accents to create a cohesive, handcrafted look. Substrates can include primed plaster, gypsum board with bonding primer, and suitable cementitious surfaces, with moisture managed before application. Begin with priming, patching, and porosity checks to ensure a uniform base. Burnish timing will influence sheen and color permanence, and sealing options can preserve the matte look while protecting the finish.
Composition and visual characteristics
Roman Clay is a natural, eco-friendly wall finish made from a lime-based or lime-putty formulation. It’s mixed with mineral binders like clay and aggregate, typically stone-meal or marble-matte, to create its unique texture.
The typical sheen of Roman Clay is subtle, almost matte, but can vary based on the trowel technique used during application. The color depth comes from natural earth pigments, which give it warm undertones that can shift slightly depending on lighting and moisture levels.
Lime saturation plays a significant role in determining the final appearance. Higher lime content results in a more vibrant finish, while lower content offers a softer look. The trowel technique also influences texture – wider trowels create broader strokes, while narrower ones produce finer lines.
When to specify Roman Clay vs other finishes
Roman Clay stands out among other wall finishes due to its unique characteristics. Unlike limewash, which is translucent and requires multiple coats, Roman Clay offers full coverage in a single application.
Compared to Venetian plaster, Roman Clay has a more uniform texture and matte finish. Venetian plaster often features visible aggregate particles and a higher sheen. Choose Roman Clay for a consistent, soft-touch surface.
In contrast to regular paint, Roman Clay provides a tactile, plaster-like feel. It’s ideal for spaces where you want to emphasize the warmth and natural beauty of the walls. Paint, on the other hand, is better suited for smooth, uniform surfaces with minimal texture.
Substrate Selection and Qualification
Roman Clay accepts substrates that are porous and well-prepared, such as lime-based plasters, cementitious plasters with proper porosity, and properly prepared plaster layers. Avoid dense, non-porous, or moisture-trapped surfaces unless they are modified first.
Performance criteria include flatness, appropriate porosity, structural stability, and manageable moisture content. Pre-qualification tests cover moisture checks, adhesion tests, surface profiling, and porosity assessment. Surface conditioning involves cleaning, crack repair, feathered edges, and primer requirements specific to each substrate type. This guidance helps determine whether the substrate is ready or needs additional work before proceeding.
Suitable substrates and level-of-finish requirements
Roman Clay performs best on smooth, flat surfaces. Here are the ideal substrates:
Drywall Level 5 Finish: This provides a seamless, ultra-smooth surface that accepts Roman Clay beautifully.
Other suitable bases include smooth plaster, well-prepared cementitious plasters, and certain lime-cement mixes. These offer the right level of porosity and absorbency for optimal bonding.
Unsuitable substrates and remediation options
Certain surfaces won’t work with Roman Clay. Here’s what to avoid and how to fix them:
Wet areas, like bathrooms or showers, can trap moisture. Ensure these are properly waterproofed before applying Roman Clay.
Exterior surfaces may be too porous or exposed to elements that could degrade the finish. Consider installing an appropriate backer board and priming.
Glossy or unstable substrates need remediation: repair cracks, remove existing coatings, and ensure structural stability before applying Roman Clay.
Surface Preparation and Primers
Prepare the substrate by removing dust and loose material and confirming compatibility with lime or Roman Clay finishes. Address delamination and ensure the chosen substrate type is suitable for the coating system.
Moisture assessment uses a meter and dew point considerations, followed by proper cleaning, patching, and priming. Light sanding promotes adhesion and pore control, while primers or bonding agents tailored to lime finishes help achieve uniform appearance. Plan drying windows, ventilation, and safety steps in the sequencing from cleaning to priming.
Surface Prep Checklist and Inspection Points
Before you prime, ensure your surface is ready. This checklist helps.
- Remove dust: Use a soft brush or vacuum to clear loose particles. Dust affects adhesion.
- Check sheen: Your surface should be matte. Shiny spots need cleaning.
- Test for loose material: Tap the wall. If it sounds hollow, there’s instability.
- Identify substrate: Ensure you have a compatible base like plaster, cement, or drywall.
- Check delamination: Peeling or flaking indicates instability. Repair before proceeding.
- Moisture check: Use a moisture meter and consider dew point. Moisture traps cause issues later.
- Evaluate pH: Roman Clay likes neutral to slightly alkaline surfaces (pH 7-8).
- Capillary rise: Check for moisture rising from the ground. This can ruin your finish.
- Patch cracks and voids: Use lime putty or hydraulic cement. Feather edges for a smooth plane.
- Light sanding: Smooth any rough spots to promote adhesion.
- Remove sanding dust: A tack cloth keeps your surface clean.
Quick rule: Skipping these steps can lead to delamination, moisture issues, and poor adhesion.
Primer Choices and Adhesion Testing
Choose a primer that plays nice with Roman Clay. Water-based all-purpose primers often work, but follow your manufacturer’s recommendations.
Why prime? Primers promote adhesion, seal the surface, and help achieve a uniform appearance.
Before you prime, perform an adhesion test. Here’s how:
1. Apply a small amount of primer to a hidden area or test patch.
2. Let it dry according to the manufacturer’s instructions.
3. Gently scratch the surface with a nail or coin. If the primer sticks, you’re good to go.
Tools, Materials, and Pre-Job Checklist
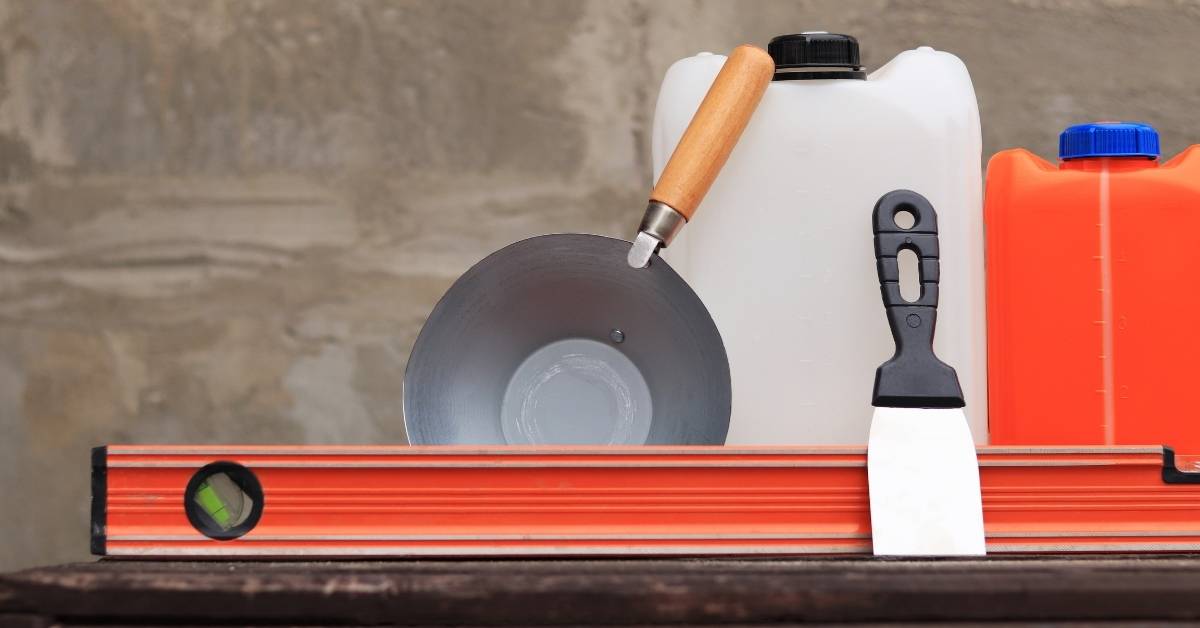
Core tools include trowels, hawks, mixing equipment, brushes, floats, pails, a spray bottle, sponge, and drop cloths. Have edge control tools like a mallet and sharpening stone ready for neat edges.
Materials cover Roman clay mixes, water, bonding agents if needed, primers or sealers compatible with lime, and patching compounds. Store materials properly and note shelf life. Follow mixing and handling guidelines to maintain workable consistency and avoid over-wetting.
Tools and consumables
Before you start, ensure you have all the necessary tools and consumables for a smooth installation.
- Stainless steel trowels (1/2″ & 3/4″): Essential for applying and spreading Roman clay. Skip this, risk uneven application.
- Spacers/taddles: Maintain consistent thickness during application. Without them, you might end up with varying coat thicknesses.
- Hawk & margin trowel: Helpful for holding and transferring material to the working trowel. Missing these can slow down your work.
- Mixing drill with paddle mixer: Crucial for mixing Roman clay consistently. Without it, you might end up with lumps or inconsistent mix.
- Paint/masonry brushes: For applying primer and edge control. Skipping these can lead to poor adhesion and messy edges.
- Float & rubbers (for burnishing): Needed for smoothing and burnishing the finish. Without them, you won’t achieve a smooth, even surface.
- Clean buckets: Essential for mixing and holding material. Using dirty or incorrect containers can contaminate your mix.
- Spray bottle & sponge: For keeping surfaces damp during application. Neglecting this can cause cracking due to rapid drying.
- Drop cloth/work mat: Protects the work area from damage and makes clean-up easier. Without it, you might end up with a messy workspace.
- Mallet & sharpening stone: For edge control and maintaining trowel edges. Skipping this can result in damaged tools and poor finish quality.
Quick rule: Always check your tools before starting to avoid delays and ensure a high-quality finish.
Material quantities, ordering, and mixing notes
Calculate material needs accurately to avoid waste or running short during installation.
- Coverage rates: Use manufacturer’s rates (sq ft per bag) to calculate base and finish coat needs. Underestimating can lead to mid-job shortages.
- Order a buffer: Account for waste due to spills, mistakes, or cuts. Ordering too little can cause delays while reordering.
- Clean water source: Essential for mixing and cleaning up. Using dirty water can contaminate your mix or cause poor adhesion.
- Bonding agents/lime putty (optional): If using, ensure compatibility with Roman clay and follow manufacturer’s guidelines to avoid adhesion issues.
- Primer/sealer: Order enough for two coats – one as a primer and another as a sealer. Skipping this can result in poor adhesion and inadequate protection.
- Crack repair materials: Have these on hand to fix any substrate cracks before application. Ignoring this can lead to cracked finish.
- Pigments/colorants (optional): If tinting, ensure compatibility with Roman clay and follow manufacturer’s guidelines to avoid color inconsistency.
- Storage & shelf life: Follow storage instructions to maintain material quality. Storing incorrectly can lead to wasted product due to spoilage or poor performance.
Quick rule: Always double-check your calculations and order a buffer for waste to avoid mid-job shortages.
Application Techniques: Base Coat Through Final Coat
Set clear expectations for progressing from base coat to finish coat, including substrate compatibility and mix consistency. Understand how to manage wet edges to minimize defects and ensure even build.
Prepare substrates and prime as needed, then apply the base coat with appropriate tools and thickness. Use a layering strategy that blends edges while adjacent areas rema