Concrete vibrator mistakes in DIY forms: honeycombing, blowouts, and how to avoid them
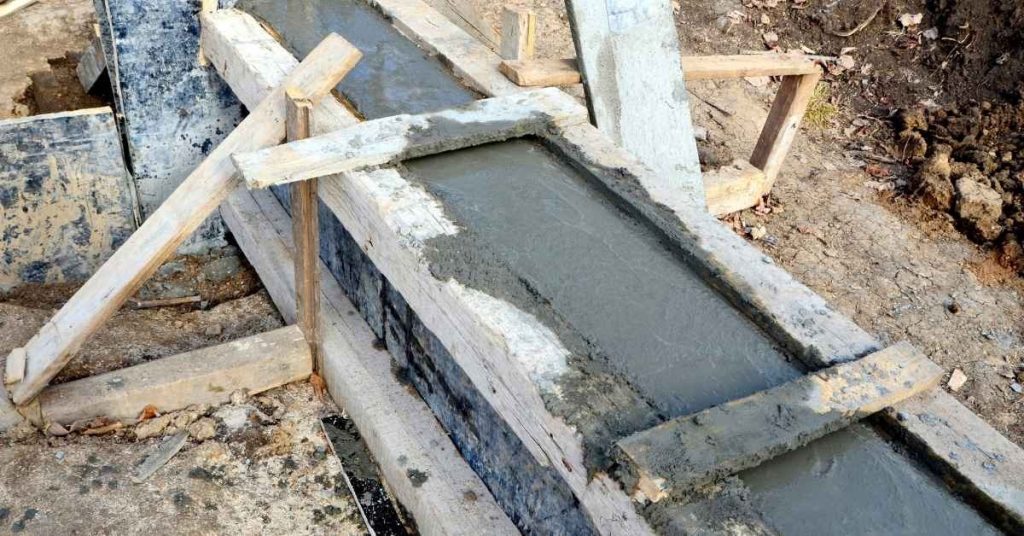
Introduction Honeycombing and blowouts are defects in concrete caused by improper compaction. This article explains how to spot these issues and why they happen in DIY pours. We’ll cover how to use a vibrator correctly and what to check to avoid problems. Identify honeycombing by looking for voids, exposed aggregate, and a rough, porous surface […]
Concrete vibrator mistakes in DIY forms: honeycombing, blowouts, and how to avoid them Read More »