
Introduction
Grout blowouts in block walls are gaps where the grout has failed and the fill no longer stays in place. This article helps you tell which gaps are cosmetic and which signal a structural issue. It keeps the focus on safe, practical repairs you can assess from the surface.
Start by looking for signs of movement, wetness, or widening cracks that go beyond the grout. Check the surrounding block and mortar for instability or hollow sounding areas, and verify any concerns with local rules or a professional if needed. Only proceed with repairs that stay within your comfort level and follow manufacturer instructions for products you choose.
Key takeaways
- Identify grout blowouts as surface loss or voids unrelated to structural cracks.
- Differentiate cosmetic damage from structural concern by checking movement in the wall.
- Document locations with photos and notes before any removal or repair work.
- Wear eye protection and dust control when inspecting or chiseling damaged grout.
- Use compatible grout and don’t overfill; press into joints with care.
- Monitor for new blowouts after rain events and professional evaluation if unsure.
Table of Contents
- Introduction
- Key takeaways
- What Is a Grout Blowout and Common Terminology
- Root Causes of Grout Blowouts
- Visual Checkpoints: Cosmetic Vs Structural Signs
- How to Inspect and Document Grout Blowouts Safely
- DIY Repair Workflow for Cosmetic Grout Blowouts
- Material Specs and Standards Explained (Practical Guidance)
- When to Call a Structural Engineer or Mason: Cost, Scope, and Expectations
- Prevention, Maintenance, and Long-Term Monitoring
- Conclusion
- FAQ
What Is a Grout Blowout and Common Terminology
A grout blowout is when grout is ejected or lost from a joint, leaving gaps in the wall surface. It can also be described as grout loss or joint failure, depending on how the void forms and how visible it is. Understanding the difference between a blowout and a crack helps determine how serious the problem is.
Common terms to clarify include blowout, grout loss, joint failure, and cosmetic grout damage. These terms are used to distinguish issues that affect appearance from those that may indicate structural concern. Clear definitions help guide whether immediate action is needed.
Types of Blowouts and Where They Occur
Grout blowouts in block walls can manifest in several ways and locations. Understanding these patterns helps you identify the extent of damage and plan repairs.
Horizontal Cores: Blowouts here may indicate structural issues due to excessive lateral pressure. Look for cracks or gaps wider than hairline fractures with a powdery, crumbly texture.
Vertical Cells: These blowouts might be cosmetic but can signal underlying problems if extensive. Inspect vertical joints for signs of grout loss or joint failure.
Bed Joints: Blowouts here could also be cosmetic, but they may indicate structural issues if widespread. Check these horizontal joints for any damage.
How Grout Differs from Mortar and Concrete
Grout, mortar, and concrete play distinct roles in block wall construction. Understanding their differences helps you choose the right material for repairs.
Grout: Typically lighter in color and more porous than mortar or concrete, grout fills the voids between blocks. It’s designed to maintain surface appearance rather than structural capacity.
Mortar: Used to bond blocks together, mortar provides the primary structural support for walls. Damaged mortar may require extensive repairs, including block replacement or reinforcement.
Concrete: Often used as a backing material in cavity walls, concrete provides additional strength and stability. If damaged, it may need specialized repair techniques.
Root Causes of Grout Blowouts
Construction and material factors that contribute to blowouts include poor consolidation, insufficient grout cover, and incorrect placement techniques. Inadequate packing can leave voids that later release grout under load or vibration. These conditions are often preventable with proper workmanship and supervision.
Environmental drivers such as moisture exposure and freeze–thaw cycles can degrade grout over time. Ongoing influences like corrosion of reinforcement and wall settlement further increase the risk of blowouts. Verifying the construction method and material compatibility helps identify likely causes.
Construction and workmanship issues
Improper grout placement, voids, or lack of reinforcement can lead to early failures in block walls. In older walls, check for:
- Poor consolidation: Grout may not have been properly compacted during application.
- Low cover: Insufficient grout may have been used, leaving blocks unprotected.
- Wrong grout placement: Grout may have been applied incorrectly, leading to weak points in the wall.
In newer walls, these issues might still be present due to poor workmanship or substandard materials.
Environmental and load-related causes
Over time, environmental factors and loads can cause grout loss in block walls. These include:
- Repeated moisture exposure: Prolonged contact with water can degrade grout.
- Freeze-thaw cycling: Extreme temperature changes can cause grout to expand and contract, leading to deterioration.
- Lateral loads: Sideways forces on the wall can dislodge grout over time.
- Settlement: Movement of the foundation or structure can put stress on grout joints, causing them to fail.
Regularly inspect your walls for signs of these issues to prevent major damage.
Visual Checkpoints: Cosmetic Vs Structural Signs
Cosmetic signs include visible missing grout, surface staining, and rough or crumbly joints without movement. These indicators suggest surface-level repairs may be sufficient in some cases. They do not necessarily imply structural failure.
Structural signs warrant closer scrutiny. Look for bulging joints, cracks that widen with time, doors or windows that bind, or motion in the wall when nearby loads shift. If movement is present, stop and seek professional assessment before proceeding with repairs.
Cosmetic Indicators to Monitor or Repair
Use this checklist when you notice minor surface issues on your block walls. These signs typically do not compromise the structure but should be addressed for aesthetic purposes.
- Isolated Small Hollows: Check for small, scattered hollow spots along grout lines. Confirm by gently tapping with a screwdriver; a dull sound indicates an issue. If skipped, water can accumulate and cause further damage.
- Surface Spalling: Look for small, scattered flakes or pieces falling off the surface. Gently brush away any loose material to confirm. Ignoring this can lead to larger spalls over time.
- Minor Efflorescence: Check for white, powdery deposits on the surface. If localized and not spreading, clean with a solution of water and muriatic acid (1 part acid to 8 parts water), then monitor.
Quick rule: If you find any of these cosmetic issues, repointing usually suffices. Ensure the new grout matches the existing for best results.
Structural Red Flags That Demand a Professional Assessment
Use this checklist when you suspect your block walls may have structural issues. These signs could indicate a compromised structure and require immediate attention.
- Horizontal Stepping: Inspect joints for uneven, staggered alignment. This can indicate movement or settlement beneath the surface. If left unchecked, it could lead to further displacement.
- Displacement: Check for visible movement or misalignment of blocks. Confirm by measuring diagonals; if they differ significantly, there may be a problem. Ignoring this can result in progressive wall failure.
- Bulging: Look for outward protrusion of the wall surface. If bulging is present and accompanied by significant voids (>10% of grout line), immediate inspection is required to prevent collapse.
Quick rule: If you notice any of these structural red flags, consult a structural engineer immediately. Do not attempt DIY repairs for major issues.
How to Inspect and Document Grout Blowouts Safely
Start with safety: wear eye protection, gloves, and sturdy footwear. Use stable ladders or scaffolding when accessing elevated areas. Do not work on damaged walls if there is obvious instability.
Document findings with clear notes and photos. Photograph each affected area from multiple angles and mark locations on a site plan. If uncertainty remains about the severity, stop and consult an expert before continuing.
Step-by-Step Process
The following steps guide you through inspecting and documenting grout blowouts safely, ensuring no further damage is caused and all necessary information is recorded.
- Prepare the area: Clear any obstructions, check weather conditions to avoid slippery surfaces or rain affecting inspection. Wear appropriate safety gear including gloves, glasses, and a hard hat.
- Inspect visually: Walk around the wall, looking for any visible signs of grout blowouts such as cracks, crumbling, or discoloration. Use a flashlight to illuminate hard-to-see areas.
- Tap and sound: Gently tap on the wall with a hammer or similar tool. Listen for hollow or dull sounds that could indicate a grout blowout. Be careful not to use excessive force that could cause further damage.
- Measure and document: Use a measuring tape to record the dimensions of each grout blowout. Take photographs from various angles, ensuring they are well-lit and clearly show the affected area.
- Clean up or final checks: After inspection, clean up any debris created during the process. Double-check that all necessary information has been recorded before concluding the inspection.
Tools and Techniques for a DIY Inspection
Equipping yourself with the right tools ensures a thorough and safe inspection of grout blowouts. Here are some basic, noninvasive tools to use:
- Measuring tape: To record dimensions accurately.
- Flashlight: For illuminating hard-to-see areas and ensuring no blowouts go unnoticed.
- Hammer or similar tool: Gently tap on the wall to listen for hollow or dull sounds indicating a grout blowout. Be cautious not to use excessive force that could cause further damage.
- Camera or smartphone with camera function: To photograph the affected areas from various angles, ensuring clear and well-lit images.
- Ladder or mirror (optional): For inspecting inaccessible areas. Rent or borrow if necessary to avoid unnecessary purchases.
What to Record for a Contractor or Engineer
Detailed and accurate records streamline professional evaluation. Include the following information in your report:
Describe each grout blowout’s location, size, shape, and any visible signs such as cracks, crumbling, or discoloration. Photograph the affected areas from various angles, ensuring they are well-lit and clearly show the issue.
Record the history of progression if possible, noting when the first signs appeared and how they have changed over time. Include any environmental clues that might contribute to the grout blowouts, such as excessive moisture or temperature fluctuations.
Ensure to date and sign all reports for record-keeping purposes. If grout blowouts are accompanied by other structural issues, mention them in the report.
DIY Repair Workflow for Cosmetic Grout Blowouts
Begin with a calm assessment to confirm the issue is cosmetic rather than structural. Prepare the area by cleaning loose material and dust to a sound edge. Gather appropriate tools and compatible grout or mortar for the chosen repair method.
Repointing or parging can restore a cosmetic appearance when done to a clean, dry substrate. Follow manufacturer instructions for mixing, application, and cure care. Be mindful of limits and know when to stop and call a professional for non-cosmetic concerns.
Tools and Materials Checklist
Before you begin repairing your grout blowouts, ensure you have the right tools and materials for the job. Here’s a handy checklist to help you prepare.
- Grout Mix: Purchase new grout mix that matches your existing grout as closely as possible. Always check the label for compatibility with your wall material.
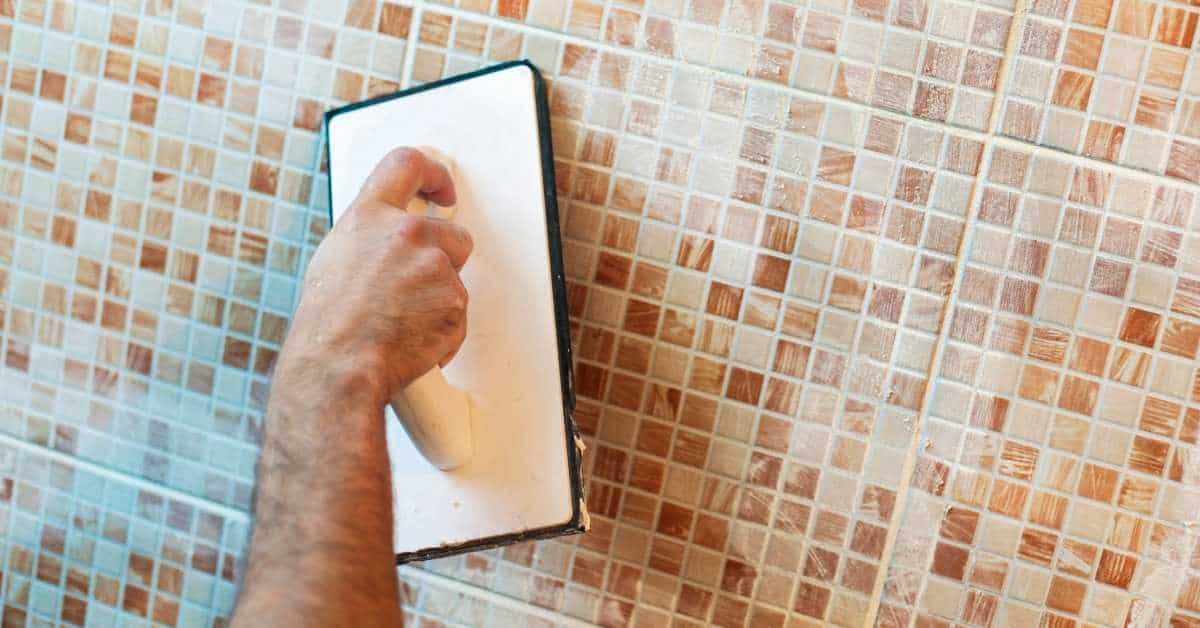
- Trowel: A rubber trowel is ideal for applying grout or mortar. It allows for easy spreading and smoothing.
- Sponge: A damp sponge is essential for cleaning up excess grout and achieving a smooth finish.
- Utility Knife: Use this to cut away damaged grout and create clean lines for repointing.
- Chisel: A small chisel can help you remove old, damaged grout from the joints.