Matt L.

Concrete worker.

Worker smoothing plaster on wall with trowel

Gauging Plaster for Lime Work: Ratios, Set Control, and When to Skip It

Introduction Gauging plaster for lime work means mixing lime, sand, and any additives in the right proportions to control strength and set time so the plaster behaves predictably. Think of it like tuning a recipe: adjust the lime-to-sand ratio and set retarders or accelerators to match your wall, weather, and skill level; check product labels […]

Gauging Plaster for Lime Work: Ratios, Set Control, and When to Skip It Read More »

Hand applying white plaster with putty knife

How to Choose Lime Putty vs Hydrated Lime for Plaster: Workability and Strength Differences

Introduction Lime putty is hydrated lime that has been slaked and aged into a smooth, creamy paste, while hydrated lime (powder) is the dry product you mix on site; putty gives a softer, more workable mortar and powder is quicker to store and use. For a DIY plaster job, choose putty when you want long

How to Choose Lime Putty vs Hydrated Lime for Plaster: Workability and Strength Differences Read More »

Worker wearing yellow helmet applying plaster to wall

Lime Plaster Base Coats: Sand Selection, Hair Reinforcement, and Shrink Control

Introduction Lime plaster base coats are the first thick layer of lime-rich render that provides a key substrate for finish coats and helps control moisture and movement. For DIY work that means picking clean, well-graded sand suited to lime, keeping hair or fiber reinforcement evenly distributed to bridge shrinkage, and using mixing proportions recommended by

Lime Plaster Base Coats: Sand Selection, Hair Reinforcement, and Shrink Control Read More »

Worker applying stucco around windows with protective coverings

Stucco at Window Sills: Drip Edges, End Dams, and How to Stop Staining Below

Introduction Stucco at window sills is the way the exterior plaster and the window flashing work together to shed water away from the opening; a proper setup keeps water off the wall below and prevents staining. In practice that means installing a flashinged sill, a drip edge or kerf, and end dams where the stucco

Stucco at Window Sills: Drip Edges, End Dams, and How to Stop Staining Below Read More »

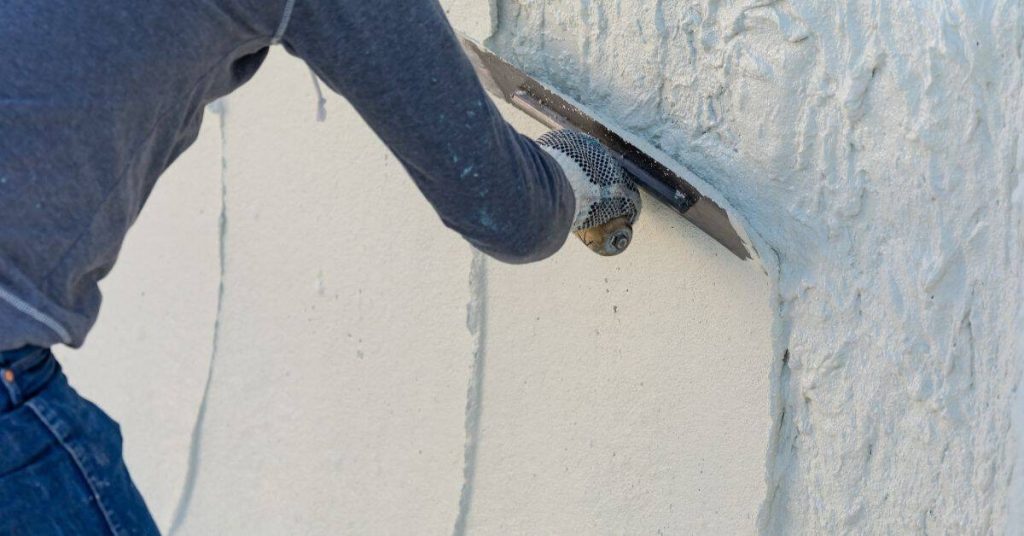
Worker applying stucco to exterior wall with trowel

Galvanic Corrosion at Stucco Accessories: Why Beads Rust and How to Stop Repeat Staining

Introduction Galvanic corrosion is a common issue that affects stucco accessories, particularly metal beads and trims. This process causes rust stains on your otherwise pristine exterior, marring its appearance and potentially leading to more serious damage over time. The good news? Understanding the cause of this problem can help you prevent it from happening again.

Galvanic Corrosion at Stucco Accessories: Why Beads Rust and How to Stop Repeat Staining Read More »

Hand holding spray gun applying paint in mist

HVLP vs Airless vs Conventional Sprayers: Picking the Right System for DIY Durability

Introduction HVLP, airless, and conventional sprayers are three different ways to apply paint or finish, each defined by how they break up and deliver the material to the surface. Pick HVLP when you want low overspray and fine control, airless for fast coverage and thicker materials, and conventional if you need a middle ground with

HVLP vs Airless vs Conventional Sprayers: Picking the Right System for DIY Durability Read More »

Close-up of textured white gypsum plaster surface

Plaster Drying vs Curing: Why Waiting Longer Can Prevent Paint Failure

Introduction Plaster drying is the loss of surface moisture while curing is the chemical hardening process that gives plaster strength; both happen but on different timelines. In plain jobsite terms, the surface can look dry long before the gypsum or cement bond fully sets, so painting too soon risks adhesion problems. Check product labels and

Plaster Drying vs Curing: Why Waiting Longer Can Prevent Paint Failure Read More »

Hand applying plaster to textured wall with metal trowel

Tadelakt Soap Application: How to Maintain Water Resistance Without Streaks

Introduction Tadelakt soap application is the manual rubbing of a fatty soap into cured lime-based plaster to create and maintain a water-resistant, burnished surface. It’s a hands-on finish: you’ll work small areas, rub until the surface feels slick, and then buff to a sheen while avoiding run streaks. Check the soap product label and manufacturer

Tadelakt Soap Application: How to Maintain Water Resistance Without Streaks Read More »

Hand smoothing plaster on wall with trowel

Polished Lime Plaster in Wet Areas: What ‘Waterproof’ Really Means and Safe Details

Introduction Polished lime plaster in wet areas is not automatically waterproof; it’s a breathable finish that can resist splashes when detailed and sealed correctly. In practice that means treating the wall system—substrate, cement backer, membranes, and sealers—as a complete assembly rather than relying on the lime plaster alone. Check product labels and manufacturer instructions for

Polished Lime Plaster in Wet Areas: What ‘Waterproof’ Really Means and Safe Details Read More »

Gloves paintbrushes putty knives and level covered in plaster dust

Plaster Repair on Curved Walls: Flexible Tools and How to Keep Profiles Smooth

Introduction Plaster repair on curved walls means using flexible tools and techniques so the repair follows the wall’s arc without creating bumps or hollows. In practice that means choosing a flexible float or trowel, feathering edges, and working in thin passes until the profile blends with the surrounding surface. Keep expectations realistic and check product

Plaster Repair on Curved Walls: Flexible Tools and How to Keep Profiles Smooth Read More »