
Introduction
Tile countertops are making a comeback as a durable, budget-friendly option for kitchen surfaces.
They can add character and are easier to replace locally if damaged. Check your tile type, edge treatment, and substrate compatibility before starting.
Common pitfalls include uneven surfaces, improper sealing, and grout maintenance. Plan for flatness, choose the right adhesive and grout, and follow manufacturer instructions for backer boards. If in doubt, verify requirements on product labels or with local rules.
Key takeaways
- Inspect substrate stability and levelness before tiling to avoid lippage and cracks.
- Use appropriate tile spacers and grout to prevent future debonding and staining.
- Seal porous tiles and dense countertops after curing per manufacturer instructions.
- Back-buttering and full-bed thinset improve adhesion and reduce hollow spots.
- Plan for a margin for expansion joints and edge finishes in design.
- If DIY, budget time for curing, grout, sealing, and final adjustments.
Table of Contents
- Introduction
- Key takeaways
- Why Tile Countertops Are Back in Style
- Pros and Cons — Honest Trade-Offs to Evaluate
- Tile Types and Material Specs Explained
- Design Approaches and Visual Checkpoints
- Installation Essentials — DIY Vs Hiring a Pro
- Common Pitfalls and How to Avoid Them
- Maintenance, Sealing, and Long-Term Repairs
- Cost, Timeline, and Return on Investment
- Conclusion
- FAQ
Why Tile Countertops Are Back in Style
Tile countertops are trending again because they offer affordability and a high degree of customization. Homeowners can mix colors, sizes, and patterns to create a unique look. The retro-modern appeal comes from classic tile shapes used in fresh layouts.
Consider how durable and repairable tile can be in high-traffic kitchens and baths. Check local rules and product labels for suitability in countertops and humidity-prone areas. Look for design cues in current remodels to confirm this style fits your space.
Design and cultural influences
Tile countertops are back, driven by a resurgence of vintage looks. Homeowners are embracing retro-modern styles, inspired by mid-century designs and the ’70s.
Social media platforms like Instagram and Pinterest have fueled this trend. Homeowners see unique tile installations, get ideas, and want to replicate them in their own homes.
The DIY culture has also played a significant role. Tiles are easy to install with the right tools and knowledge, making them an attractive option for homeowners looking to tackle projects themselves.
Practical reasons for resurgence
Tile countertops are practical and affordable. They cost less than natural stone or quartz, making them an attractive option for budget-conscious homeowners.
Tiles are also easy to replace if damaged. A single tile can be removed and replaced without having to redo the entire countertop.
The availability of new materials and finishes has also contributed to their resurgence. Today’s tiles come in a wide range of colors, patterns, and textures, allowing homeowners to create unique, personalized looks.
Pros and Cons — Honest Trade-Offs to Evaluate
Tile provides easy individual repairs and a wide range of looks. It can be cost-effective up front and offers DIY-friendly tile work in many cases. However, grout lines need maintenance and some tiles may chip if bumped hard.
Think about the long-term care, including sealing schedules and potential regrouting. Verify with product data sheets or manufacturer instructions what maintenance their tiles require. Weigh practicality against aesthetics for your kitchen or bath usage.
Key benefits (durability, customization, cost)
Tile countertops are tough. They’ll last decades with proper care. Expect durability like no other, even in busy kitchens or baths.
Customize to your heart’s content. Tiles come in endless patterns and colors. Add trim for extra flair. Make it truly unique.
Cost-wise, tile beats stone and quartz. It’s cheaper per square foot. Plus, you can DIY install to save more. Budget-friendly is an understatement.
Main drawbacks (grout, seams, heat/weight considerations)
Grout lines are visible. They can stain over time. Regular cleaning is a must to keep them looking fresh.
Seams between tiles can crack or chip. This happens with heavy impacts or temperature changes. Be prepared for some maintenance, especially in high-traffic areas.
Tiles are heavy. They need proper support. If your cabinets aren’t up to par, you might face structural issues. Consider reinforcement if needed.
Heat is another concern. Tiles can crack under extreme heat. Use trivets and protect them from sudden temperature changes. Treat with care, especially around cooktops.
Tile Types and Material Specs Explained
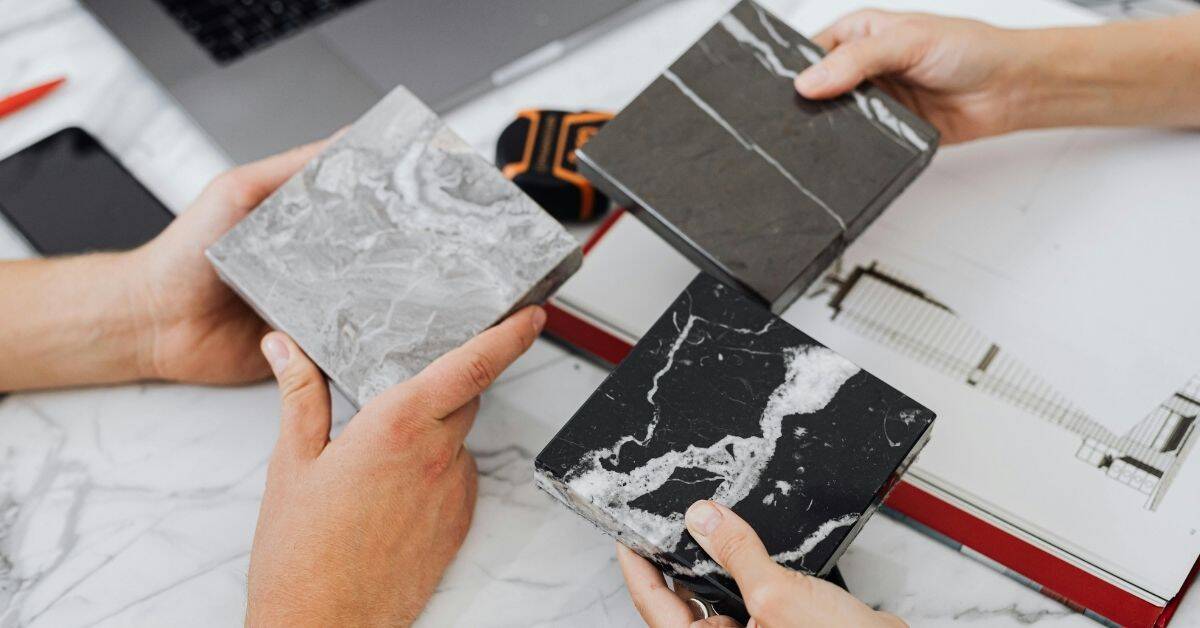
Ceramic, porcelain, natural stone, and mosaic tiles each behave differently under countertop use. Porcelain tends to be denser and less porous than standard ceramic, which affects staining risk. Natural stone offers unique character but requires extra sealing and care.
Look at hardness ratings, porosity, and water absorption as you compare options. Always check the label or specification sheet to confirm suitability for countertop installations. If unsure, ask the supplier or installer for guidance on your application.
Porcelain vs ceramic—what to choose
When it comes to choosing between porcelain and ceramic tiles for your countertops, understanding their differences is key. Both are great options, but they have distinct characteristics that make them suitable for different applications.
Water Absorption: Porcelain has a water absorption rate of less than 0.5%, making it highly resistant to moisture and ideal for areas prone to spills like countertops. Ceramic tiles, on the other hand, have a higher absorption rate, around 3-6%, which makes them more susceptible to moisture damage.
Strength: Porcelain is denser and stronger than ceramic, providing better durability for high-use surfaces such as kitchen countertops. While both are durable, porcelain’s superior strength makes it a better choice for areas that will see frequent use.
Edge Finishing: Porcelain tiles often come with rectified edges, which means they have straight, sharp edges that fit tightly together. This results in fewer grout lines and a more seamless look. Ceramic tiles may not have this feature, so you’ll need to consider the aesthetic impact of wider grout lines.
Natural stone and specialty tiles
For a unique, luxurious look, consider natural stone or handmade specialty tiles for your countertops. These options offer stunning beauty but require careful consideration of their maintenance needs.
Travertine: This limestone-based tile offers a warm, rustic appearance with its earthy tones and textured surface. However, travertine is porous, so it requires regular sealing to prevent stains and moisture damage. Expect to reseal your travertine countertops every 1-2 years.
Slate: Known for its durability and non-slip surface, slate is an excellent choice for high-traffic areas like kitchen islands or bar tops. While it’s less porous than travertine, slate still requires sealing to protect against stains. Sealing should be done every 2-3 years.
Handmade Tiles: These unique tiles offer a custom look with endless design possibilities. However, they often require more care due to their varied surfaces and potential porosity. Expect to seal these tiles regularly, depending on the specific material used in their creation.
Design Approaches and Visual Checkpoints
Experiment with grout color, tile size, and edge profiles to shape the final feel. Larger tiles can read as a seamless surface, while small mosaics add texture. Edge transitions and profiles pull the look together at sinks and corners.
During planning, note visual cues like grout brightness, tile alignment, and edge treatments. After installation, verify that joints are even and the surface looks uniform. Reference the manufacturer’s layout guidelines for best results.
Tile size, pattern, and grout color choices
Use this checklist when selecting tiles for your countertop to ensure visual harmony and cleanliness.
- Tile size: Larger tiles create a sleek, modern look. Smaller ones hide imperfections but may show grout lines more.
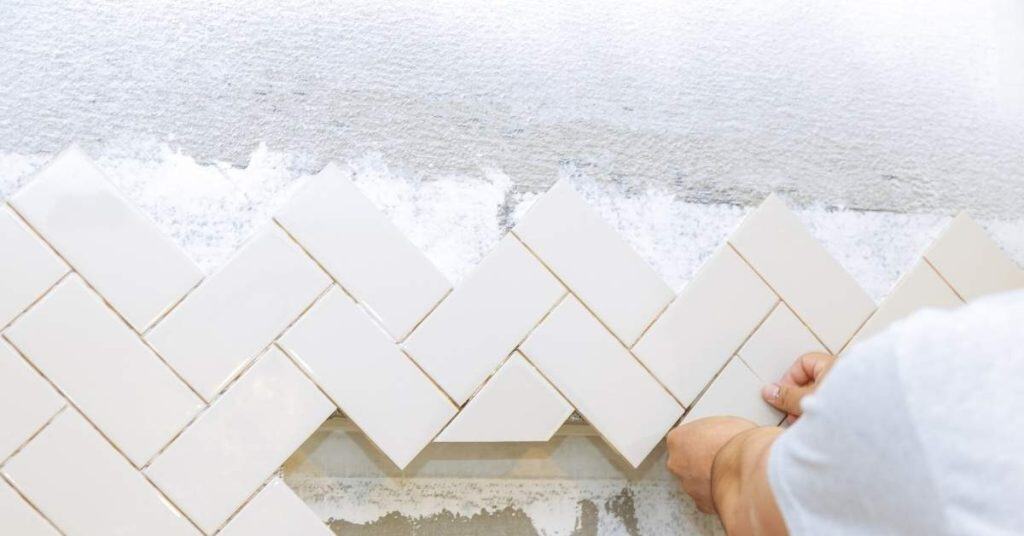
- Pattern: Consider herringbone, subway, or running bond patterns to add visual interest. Avoid complex patterns for small spaces.
- Grout color: Match grout to tile color for a seamless look. Contrasting grout adds drama but shows dirt more easily.
- Seam placement: Plan seam locations to avoid clustering them in one area or running through the center of the countertop.
- Grout joint size: Narrower joints (1/8″ – 1/16″) are sleeker but harder to clean. Wider joints (3/16″ – 1/4″) hide imperfections better.
- Tile shape: Rectangular tiles are classic. Hexagons, mosaics, or other shapes add uniqueness but may require more cutting and installation skill.
- Grout type: Epoxy grout is stain-resistant but harder to install. Cement-based grout is easier to work with but requires better maintenance.
- Tile texture: Smooth tiles are easy to clean. Textured tiles hide dirt but may be harder to maintain.
Quick rule: Consider the scale of your space and desired aesthetic when choosing tile size, pattern, grout color, and type.
Edge treatments and integrated features
Use this checklist to ensure a polished look for your countertop edges and integrate sinks seamlessly.
- Edge profile: Choose from eased, beveled, or bullnose edges. Consider the room’s style and safety when selecting.
- Overhang length: A slight overhang (1″ – 2″) provides a modern look. Longer overhangs (>3″) require support and may pose safety risks.
- Undermount sink integration: Ensure the countertop is thick enough to accommodate an undermount sink. Check that the sink’s lip aligns with the countertop’s underside.
- Seam alignment: Align seams at edges or along natural breaks in the tile pattern for a clean, finished look.
- Edge treatment material: Choose from matching tile, metal, wood, or stone for edge treatments. Consider durability and maintenance needs.
- Faucet placement: Plan faucet location to avoid interfering with sink use or countertop overhangs.
- Backsplash height: A continuous backsplash from the countertop creates a cohesive look. Consider plumbing and electrical work when determining height.
Quick rule: Plan edge treatments, sink integration, and seam alignment early in the design process to avoid costly changes later on.
Installation Essentials — DIY Vs Hiring a Pro
A confident DIYer can handle basic tile installation with careful substrate prep and proper tool use. You’ll need experience with leveling, cuts near edges, and reliable waterproofing considerations. Smaller projects or simple layouts are often doable without a pro.
When to hire a professional includes complex substrates, large-format tiles, or challenging edges and fixtures. Check local codes and the tile manufacturer’s installation instructions to decide the right approach for your space. If in doubt, get a professional opinion before starting.
Tools and materials checklist for DIYers
Before you start, make sure you have all the necessary tools and materials. This list covers a basic countertop job.
- Trowel: Notched trowel (1/4″ or 3/8″) for thin-set mortar.
- Grout float: For applying and leveling grout.
- Sponge: Damp sponge for cleaning excess grout.
- Grout sealer: To protect grout from stains and moisture.
- Tile nippers: For cutting tiles to size.
- Tile cutter or wet saw: For straight cuts on larger tiles.
- Adhesive: Thin-set mortar, suitable for your chosen tile type and substrate.
- Grout: Sanded or unsanded grout, matching your tile joints.
- Safety gear: Safety glasses, gloves, dust mask, and knee pads.
Quick rule: Always check your tools and materials before starting. Missing items can lead to delays or poor results.
When to call a pro (structural, plumbing, or electrical concerns)
While DIY tile cou