Search Results for: wood in concrete floor

Hand smoothing lime plaster on wall with trowel

Lime Plaster in Basements: Moisture Testing, Vapor Drive, and Paint Choices

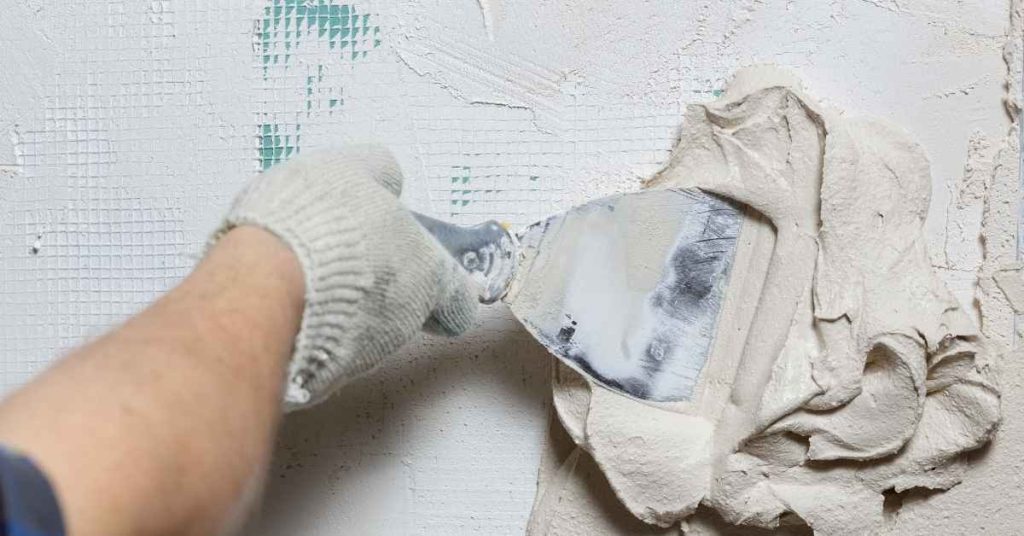
Introduction Lime plaster in basements is a breathable plaster finish that helps manage moisture. It relies on lime’s chemistry to let vapor pass while providing a durable coat. This DIY approach requires careful moisture testing and proper surface prep. Moisture testing, understanding vapor drive, and choosing compatible paints matter for long-term performance. Check product labels, […]

Lime Plaster in Basements: Moisture Testing, Vapor Drive, and Paint Choices Read More »

Hand in blue glove cleaning white wall with green sponge

Cleaning and Resealing Polished Plaster: Soap Scum, Dull Spots, and Refresh Coats

Introduction Cleaning and resealing polished plaster means removing soap scum and dull spots and applying a fresh protective coat. This is a hands-on DIY job that restores the surface without tearing it out. Expect a light scrubbing, careful rinse, and a new sealant layer following the manufacturer’s instructions. Before you start, check the product labels

Cleaning and Resealing Polished Plaster: Soap Scum, Dull Spots, and Refresh Coats Read More »

Black wood stove inside brick fireplace with fire tools and basket

Cleaning Fireplace Soot on Brick: Dry Methods First, Chemistry Second

Introduction Dry methods use physical brushing and vacuuming to lift soot from brick before any chemical cleaners. Start with the gentlest approach and work carefully to avoid staining. Move in small sections and wipe or vacuum away loosened soot as you go. If stubborn soot remains after dry work, you can consider a basic cleaner

Cleaning Fireplace Soot on Brick: Dry Methods First, Chemistry Second Read More »

Worker smoothing plaster wall with trowel near scaffold

Hanging Heavy Objects on Plaster: Toggles, Backing, and Safer Load Paths

Introduction Hanging heavy objects on plaster requires proper backing and safe load paths. Drilling through plaster without a backing can crack the wall, so you need an anchor plan that holds. Always follow the hardware manufacturer’s instructions for plaster surfaces. Begin by locating solid backing or using toggles and backing material designed for plaster. Plan

Hanging Heavy Objects on Plaster: Toggles, Backing, and Safer Load Paths Read More »

Close-up of textured white plaster surface

Flexible Caulks for Plaster Transitions: What Moves Without Staining

Introduction Flexible caulks for plaster transitions are sealants that move with the wall without staining. They help bridge gaps where plaster, drywall, and moldings meet. Choose a product labeled for interior use and compatible with plaster. In a DIY setup, prep clean edges, shape the bead, and smooth the joint with a damp finger. Always

Flexible Caulks for Plaster Transitions: What Moves Without Staining Read More »

Putty knife with dried plaster on wooden surface

Leveling Wavy Lath Before Plastering: Shimming, Tension, and Straightedge Control

Introduction Leveling wavy lath before plastering means making the wall lath flat and true so the plaster can set evenly. Start by mapping high and low spots and use thin shims or temporary battens to bring the lath into line. Always refer to the lath type’s instructions and local rules to choose the right method.

Leveling Wavy Lath Before Plastering: Shimming, Tension, and Straightedge Control Read More »

Hand applying plaster to wall with trowel wearing glove

Fixing Plaster After Water Stains: Salts, Stain Blocking, and When to Cut Out

Introduction Water stains on plaster indicate moisture and mineral salts that have bled into the surface. Address the source and let the area dry before patching, and remove any loose or damaged plaster you can see. Choose a stain-blocking product and patch material based on the area, and always check the label for compatibility and

Fixing Plaster After Water Stains: Salts, Stain Blocking, and When to Cut Out Read More »

Hand applying plaster on wall mesh with trowel

Plaster Over Radiant Heat Walls: Mesh, Isolation, and Thermal Cycling Reality

Introduction Plaster over radiant heat walls is coating heated walls with plaster after adding mesh and a small isolation layer. It relies on a reinforced base and a separating layer to handle heat and movement. In practice, expect this to be a hands-on job that needs careful prep and patience. The work breaks down into

Plaster Over Radiant Heat Walls: Mesh, Isolation, and Thermal Cycling Reality Read More »

Close-up of blue painted stucco wall texture

Patch “Picture Framing” on Painted Stucco: Prime Zones and Feathered Coating Steps

Introduction Patch “Picture Framing” on painted stucco means touching up small areas so the patch blends with the surrounding paint while keeping the texture. This guide introduces how to spot the framing, choose basic tools, and apply a feathered coat with primer over patches. Keep it practical and straightforward, like a real hands-on repair. Before

Patch “Picture Framing” on Painted Stucco: Prime Zones and Feathered Coating Steps Read More »

close-up of rough textured coarse stucco surface

Stucco Terminations at Patios: Splashback Zones, Capillary Breaks, and Grade Fixes

Introduction Stucco terminations at patios are the edge details that stop water and keep finishes from failing. They cover splashback zones, capillary breaks, and grade-related fixes in practical terms. Look to manufacturer guidance for any specific installation steps or local rules. You may see alternate terms for these details like termination trims or kickouts. Make

Stucco Terminations at Patios: Splashback Zones, Capillary Breaks, and Grade Fixes Read More »