Search Results for: surface prep

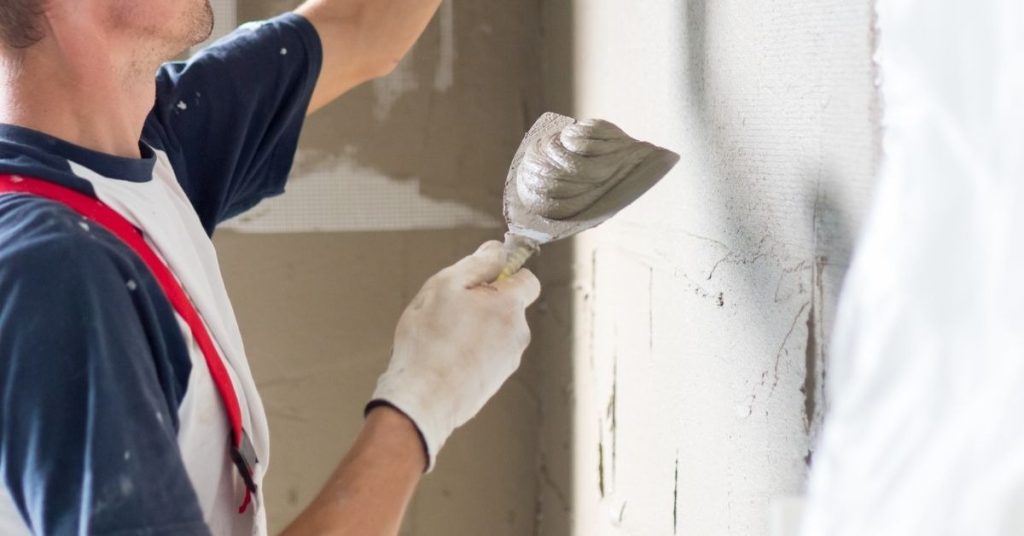
Person applying plaster to a wall using a trowel

Matching Wall Texture After Plaster Repairs: Tools and timing that blend

Introduction Matching wall texture after plaster repairs means blending new texture with existing wall so the repaired area looks seamless. The goal is a finish that doesn’t draw attention to the repair. Keep the approach practical and unobtrusive, focusing on a natural transition rather than a perfect patch. You’ll need the right tools and the

Matching Wall Texture After Plaster Repairs: Tools and timing that blend Read More »

Smooth white plastered ceiling with single hanging light bulb

Blistering Plaster Finish Coats: Causes and a cleaner re-skim approach

Introduction Blistering plaster finish coats are finish layers that lift or bubble because moisture or poor adhesion gets trapped under the surface. In DIY work, heat, humidity, or applying a coat too thick can start blisters. A cleaner re-skim approach means removing the loose skin and reflowing the coat while following the product’s instructions. Begin

Blistering Plaster Finish Coats: Causes and a cleaner re-skim approach Read More »

Worker smoothing plaster on wall with trowel

High-Suction Walls: Preventing plaster from flash-drying and tearing

Introduction High-suction walls pull moisture out of plaster too quickly, causing flash-drying and tearing. To work effectively, you need to control the wall’s thirst and pace your plastering. Keep the work steady and watch the surface for signs of fast drying. Control the suction by misting the wall lightly or using a wet bonding step

High-Suction Walls: Preventing plaster from flash-drying and tearing Read More »

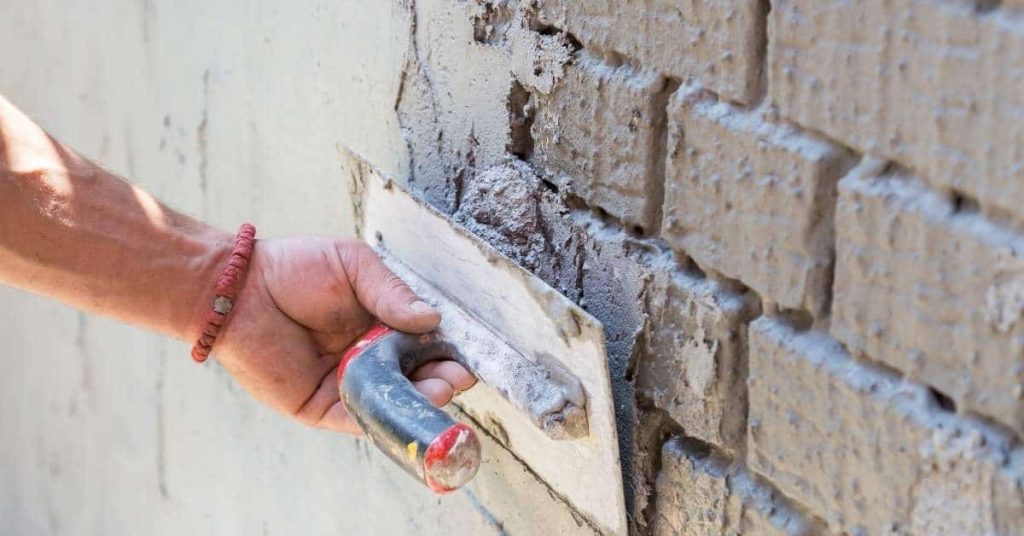
Hand applying plaster to brick wall with trowel

Sealing Lime Plaster: Protection options that still let walls breathe

Introduction Sealing lime plaster means applying a breathable coating that protects the wall without stopping moisture. Choose sealers or finishes that are specifically marked breathable and lime-plaster compatible. Test a small patch first and check the product label for indications of breathability and surface compatibility. Prepare and clean the wall, then apply in thin, even

Sealing Lime Plaster: Protection options that still let walls breathe Read More »

paintbrush resting on yellow paint bucket with roller tray and colorful paint buckets

Limewash Streaks: Preventing lap marks and uneven color

Introduction Limewash streaks are uneven color patches that appear as lap marks when the coating dries. This article explains practical, hands-on steps to prevent them while you’re working with limewash. You’ll learn simple checks and common-sense methods you can do on a DIY project. Start by preparing the surface well and applying limewash in consistent

Limewash Streaks: Preventing lap marks and uneven color Read More »

closeup of hollow clay bricks showing texture and edges

Repairing Roman Clay Scratches: Fixes that don’t leave shiny spots

Introduction Repairing Roman clay scratches means restoring the smooth, even look of the surface without creating new shiny spots. The goal is a natural finish that blends with the surrounding texture and tone. Start by evaluating the scratch, then choose a patching method that won’t leave a glossy patch and test it on a hidden

Repairing Roman Clay Scratches: Fixes that don’t leave shiny spots Read More »