Search Results for: surface prep

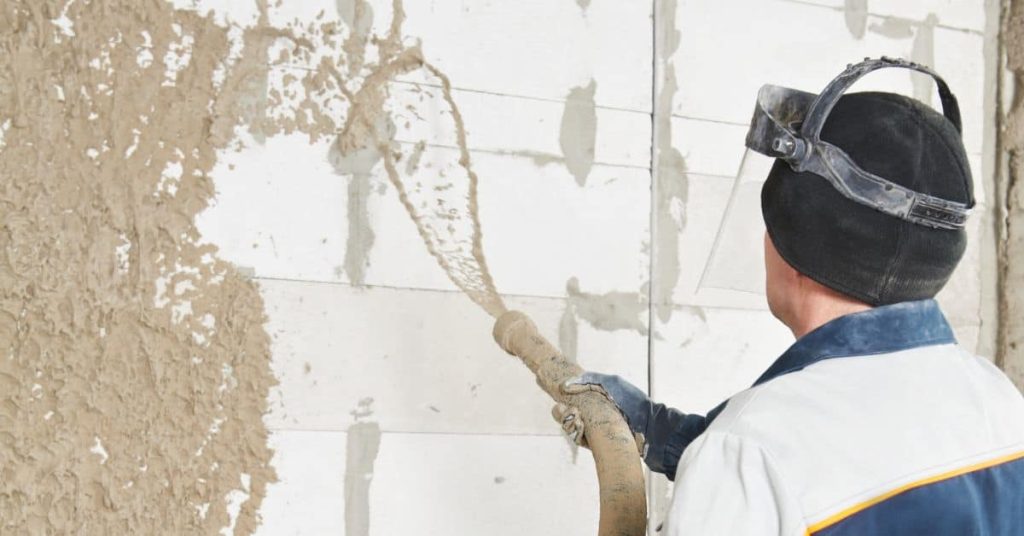
Worker spraying wet stucco onto wall surface

Clear Breathable Sealers for Colored Stucco: When to Seal and When to Leave It Alone

Introduction Clear breathable sealers let moisture escape from stucco while preserving its color. As a DIYer, you want to understand when a finish is appropriate and when it’s better to skip it. This article gives a practical, hands-on view of sealing colored stucco without turning it into a mystery. Surface prep matters: clean, dry, and […]

Clear Breathable Sealers for Colored Stucco: When to Seal and When to Leave It Alone Read More »
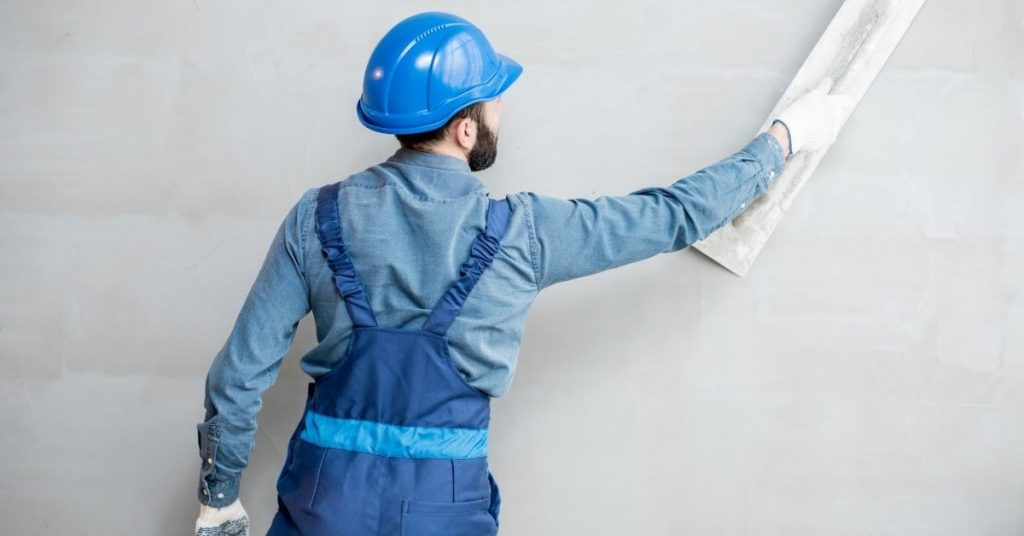
Worker in blue helmet smoothing a light gray plaster wall

Roman Clay Wall Finishes: Substrate Picks, Burnish Timing, and Sealing Options

Introduction Roman clay wall finishes are traditional lime-based plasters applied to walls to create a natural, earthy, matte surface. They require a clean, sound substrate and proper priming before application. Burnish timing depends on conditions and should be tested on a scrap area to get the feel you want. These finishes work well in living

Roman Clay Wall Finishes: Substrate Picks, Burnish Timing, and Sealing Options Read More »

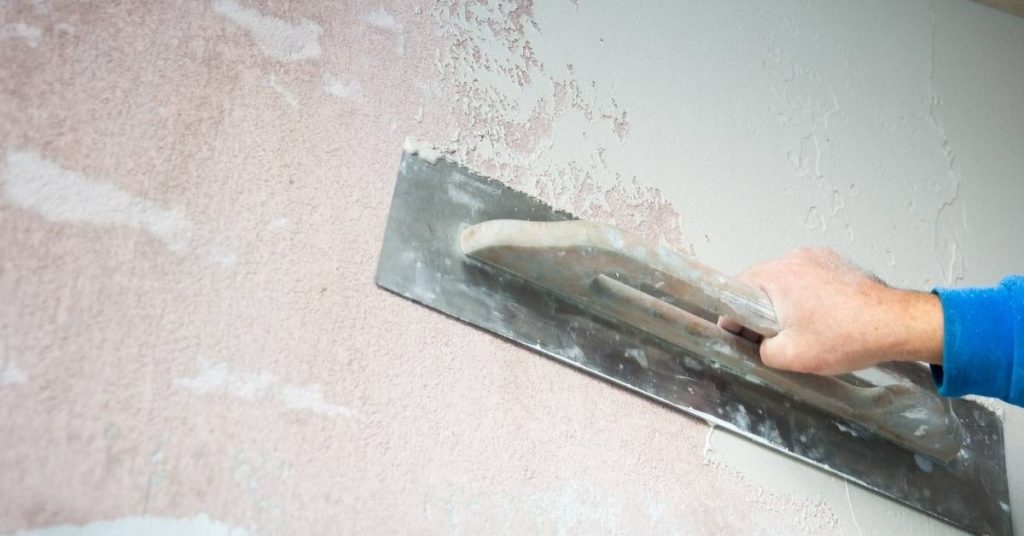
Person applying plaster on wall with trowel

High-Gloss Venetian Plaster: A Layering Plan to Avoid Drag Marks and Streaks

Introduction High-gloss Venetian plaster is a multi-layer decorative finish that builds a shiny, mirror-like surface. This article lays out a practical layering plan to keep drag marks and streaks under control as you work. You’ll be working in thin, even coats and checking your tool marks as you go. Begin with surface prep, then keep

High-Gloss Venetian Plaster: A Layering Plan to Avoid Drag Marks and Streaks Read More »

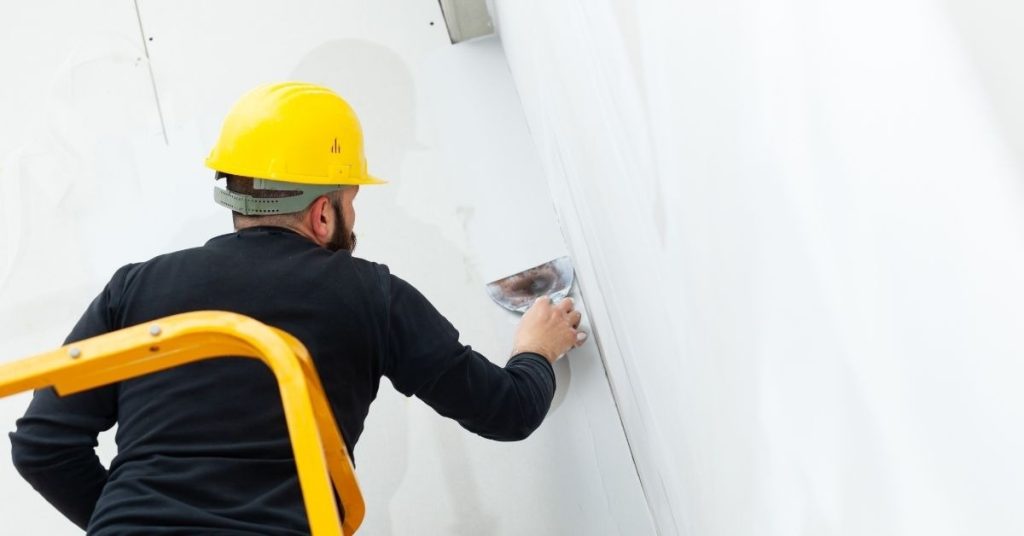
Worker applying plaster to a white wall wearing yellow helmet

Paper Tape vs Fiberglass Mesh in Plaster Repairs: Where Each One Fails First

Introduction Paper tape is a traditional plaster repair method that tends to fail first at weak joints or moisture-prone areas. Fiberglass mesh is a modern patch option that can fail where the mud isn’t embedded well or runs behind the patch. Both have their own failure points depending on prep and technique. In repairs, focus

Paper Tape vs Fiberglass Mesh in Plaster Repairs: Where Each One Fails First Read More »

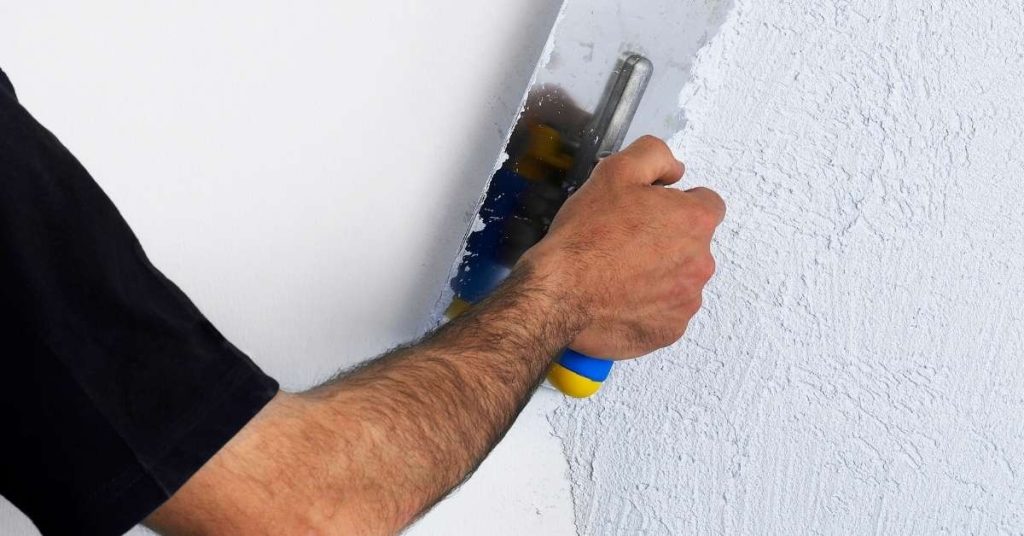
Hand smoothing lime plaster on wall with trowel

Lime Plaster in Basements: Moisture Testing, Vapor Drive, and Paint Choices

Introduction Lime plaster in basements is a breathable plaster finish that helps manage moisture. It relies on lime’s chemistry to let vapor pass while providing a durable coat. This DIY approach requires careful moisture testing and proper surface prep. Moisture testing, understanding vapor drive, and choosing compatible paints matter for long-term performance. Check product labels,

Lime Plaster in Basements: Moisture Testing, Vapor Drive, and Paint Choices Read More »

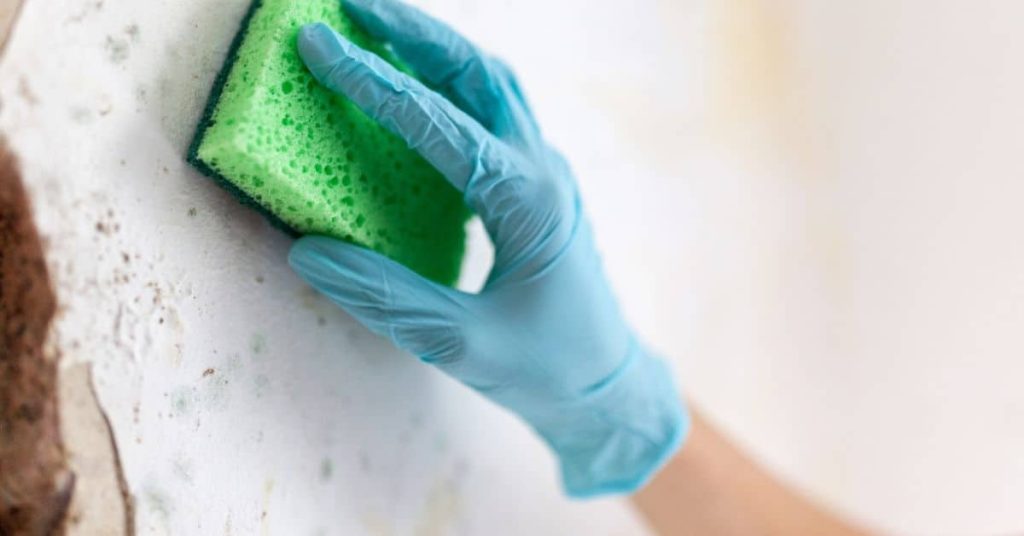
Hand in blue glove cleaning white wall with green sponge

Cleaning and Resealing Polished Plaster: Soap Scum, Dull Spots, and Refresh Coats

Introduction Cleaning and resealing polished plaster means removing soap scum and dull spots and applying a fresh protective coat. This is a hands-on DIY job that restores the surface without tearing it out. Expect a light scrubbing, careful rinse, and a new sealant layer following the manufacturer’s instructions. Before you start, check the product labels

Cleaning and Resealing Polished Plaster: Soap Scum, Dull Spots, and Refresh Coats Read More »

Close-up of textured polished plaster wall surface

Sanding vs Burnishing Polished Plaster: Fixing Trowel Tracks Without Haze

Introduction Sanding and burnishing polished plaster is the process of smoothing and finishing the surface to remove trowel tracks and haze. This is done after the plaster has cured enough to work but while it’s still workable, using gentle abrasion and polish. The goal is a uniform, matte or soft sheen without gouges. Before you

Sanding vs Burnishing Polished Plaster: Fixing Trowel Tracks Without Haze Read More »

Stone column bases and brick wall with light reflections

Brick Chimney Crown Repairs: Why Crowns Crack and How to Form Better Ones

Introduction A brick chimney crown is the concrete cap that sits on top of a brick chimney and keeps water out. Cracks show that the crown is failing and needs attention to prevent water damage. In this DIY guide, you’ll learn a practical, hands-on approach to inspecting, preparing, and forming a better crown. Always check

Brick Chimney Crown Repairs: Why Crowns Crack and How to Form Better Ones Read More »

Snow-covered precast concrete beams stacked outdoors

Clean Concrete Door Threshold Curbs: Isolation Joints and Waterproof Transition Details

Introduction A clean concrete door threshold curb is a raised, sealed transition at a doorway that isolates joints and redirects water. For installation, choose a waterproofing membrane that can bridge the joint between curb and slab, and follow the manufacturer’s surface prep and cure guidance. Architectural details matter—use proper edging, transitions, and compatible sealants, and

Clean Concrete Door Threshold Curbs: Isolation Joints and Waterproof Transition Details Read More »

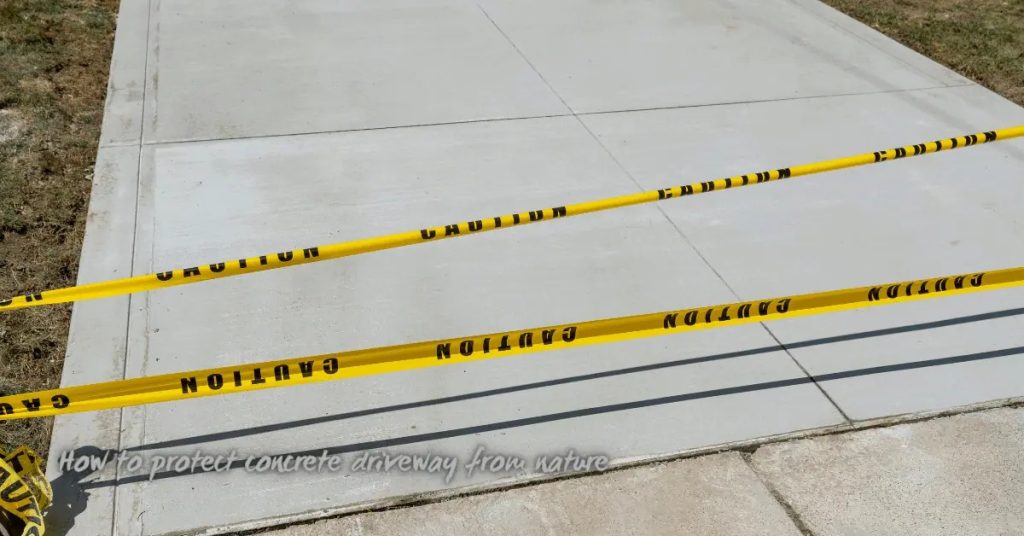
Concrete driveway section blocked by yellow caution tape

Concrete Vapor Barrier Seams and Penetrations: Tape, Patches, and “Oops” Fixes

Introduction A concrete vapor barrier seam is the joined, airtight edge where barrier material meets itself or a patch. Tape and patches are used to seal these seams, and proper technique means clean surfaces, careful pressure, and following the material’s instructions. Penetrations like pipes or conduits must be sealed carefully at the edge where they

Concrete Vapor Barrier Seams and Penetrations: Tape, Patches, and “Oops” Fixes Read More »