Search Results for: surface prep

Hand marking wall near electronic stud finder device

Stucco Clearance Over Walkways: How to Fix Wicking Without Full Removal

Introduction Stucco clearance over walkways means keeping the bottom edge of an EIFS or stucco finish high enough and detailed so moisture doesn’t wick into the walking surface; in plain terms, it’s about creating a gap and proper flashing so water drains away instead of soaking the path. For DIYers that can mean trimming finish, […]

Stucco Clearance Over Walkways: How to Fix Wicking Without Full Removal Read More »

Hand applying stucco on brick wall with trowel

Stucco Termination at Brick or Stone: Transition Details That Don’t Crack or Trap Water

Introduction Stucco termination at brick or stone is the method of finishing and sealing the edge where stucco meets masonry so water is kept out and movement doesn’t crack the finish. Do the job with a clear gap for flashing, a solid backstop, and a termination trim that lets water drain; check product labels and

Stucco Termination at Brick or Stone: Transition Details That Don’t Crack or Trap Water Read More »

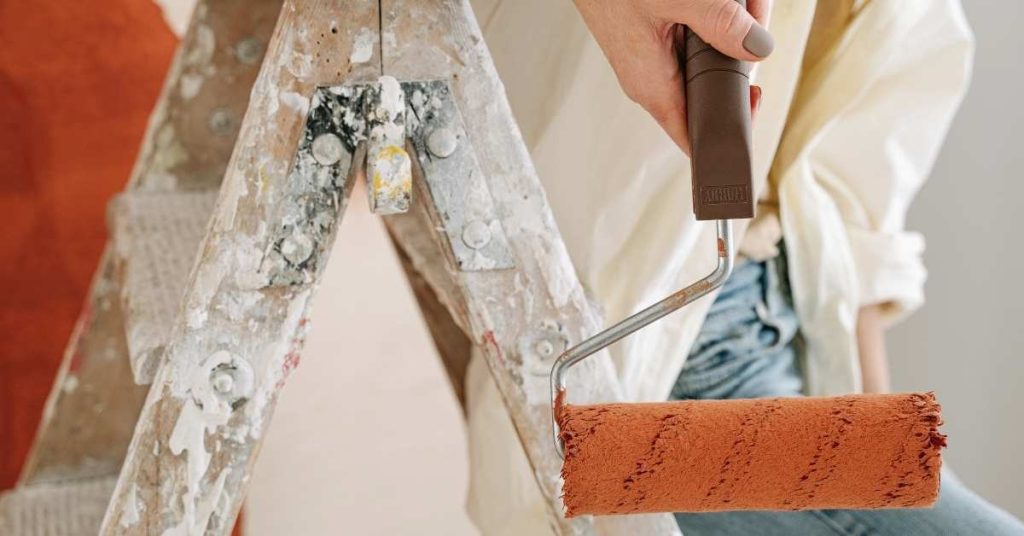
Hand holding paint roller with rusty orange paint near old paint-splattered ladder

Clay Plaster Pigments: Color Mixing, Mottling Control, and How to Test Panels

Introduction Clay plaster pigments are natural earths and oxides mixed into clay-rich binders to tint finishes, and color control comes down to careful mixing, testing, and understanding how clay and additives shift hue and value. For DIY panels, make small test boards, try layered thin coats, and note drying color versus wet—check product labels and

Clay Plaster Pigments: Color Mixing, Mottling Control, and How to Test Panels Read More »

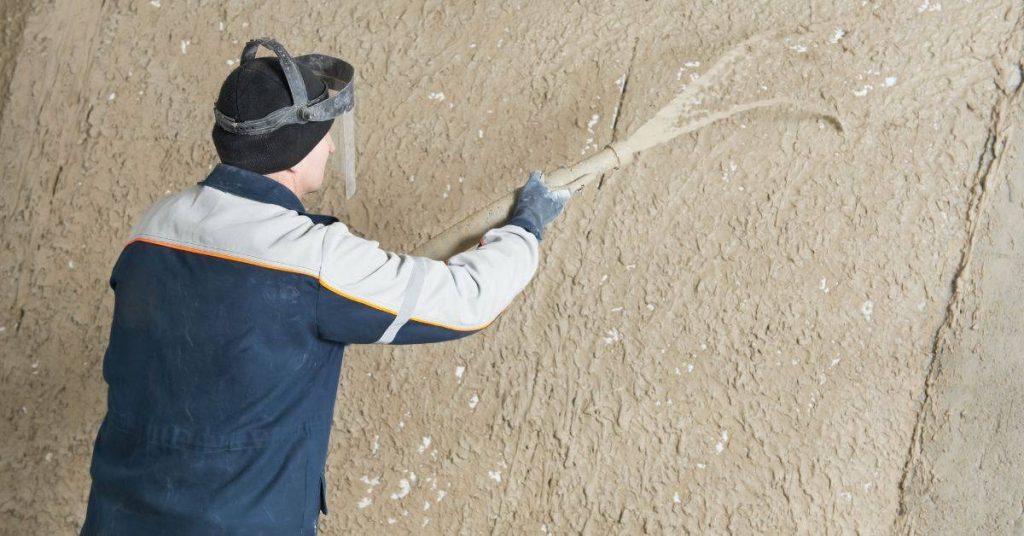
Worker spraying plaster onto wall wearing safety gear

Restoring Plaster Picture Rails: Patch Techniques That Preserve Shadow Lines

Introduction Restoring plaster picture rails means repairing damaged plaster while keeping the thin, shadowed groove where the rail meets the wall intact. This is a hands-on patch job that focuses on feathering new material into the old, matching texture, and protecting the shadow line during work. Expect to use basic plastering tools, patching compounds, and

Restoring Plaster Picture Rails: Patch Techniques That Preserve Shadow Lines Read More »

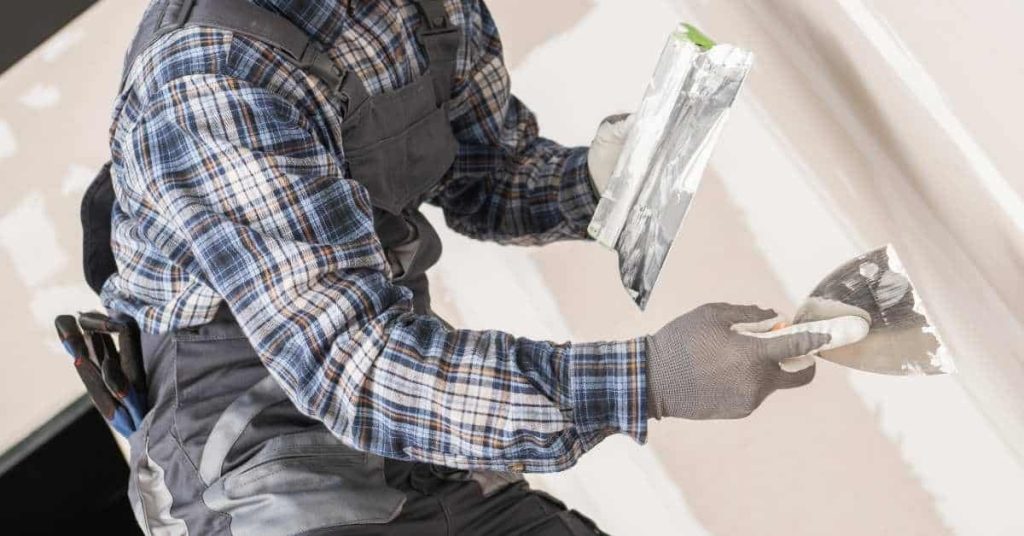
Person applying plaster to plaster cornice with trowel and spatula

Plaster Cornice Repairs: Making Simple Running Molds for Clean Profiles

Introduction Plaster cornice repairs using simple running molds means making a flexible or straight guide that lets you press or cast matching profile runs to restore damaged cornice sections. It’s a hands‑on jig you shape to the original profile and use to form or press repair material in place. This approach is practical for small

Plaster Cornice Repairs: Making Simple Running Molds for Clean Profiles Read More »

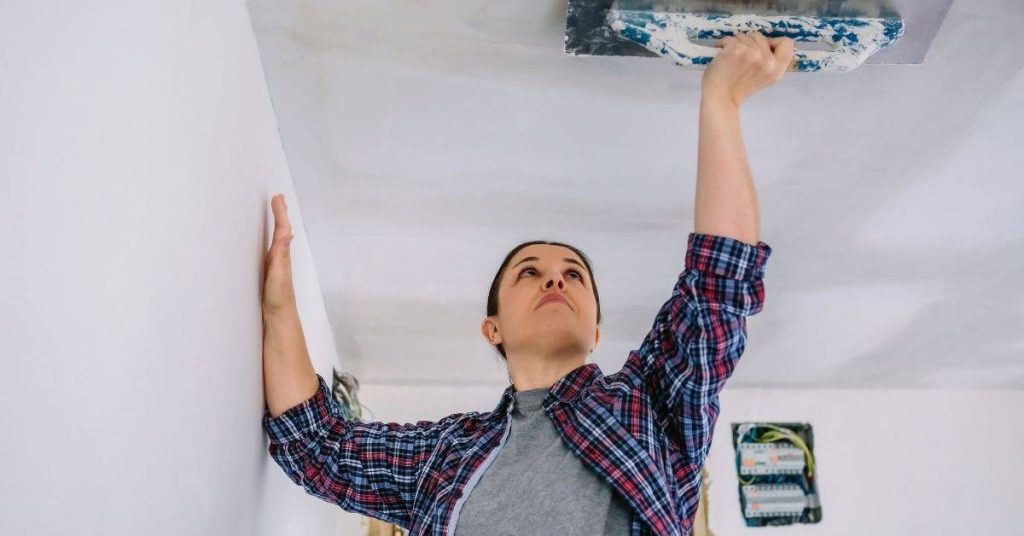
Person smoothing plaster on ceiling with trowel

Fixing Plaster Cracks at Ceiling Medallions: Stress Relief Cuts and Rebuild Strategy

Introduction Fixing plaster cracks at ceiling medallions means cutting relief gaps to stop old stresses and then rebuilding the substrate so the medallion sits on sound plaster, not cracked or loose bits. Start by exposing the damaged area cleanly, check the lath condition and how the medallion is attached, and decide whether to repair lath

Fixing Plaster Cracks at Ceiling Medallions: Stress Relief Cuts and Rebuild Strategy Read More »

Hand applying plaster to wall with trowel tool

Plaster Delamination ‘Bubbles’: Cutback Rules and How to Reattach Without Big Tear-Out

Introduction Plaster delamination “bubbles” are areas where the top plaster coat has lost adhesion to the substrate and forms a raised blister that can pop or tear back. This usually means moisture, weak bonding, or movement has separated layers; check the surface and product instructions to confirm causes before you act. In many cases you

Plaster Delamination ‘Bubbles’: Cutback Rules and How to Reattach Without Big Tear-Out Read More »

Worker smoothing plaster on wall with trowel

Gauging Plaster for Lime Work: Ratios, Set Control, and When to Skip It

Introduction Gauging plaster for lime work means mixing lime, sand, and any additives in the right proportions to control strength and set time so the plaster behaves predictably. Think of it like tuning a recipe: adjust the lime-to-sand ratio and set retarders or accelerators to match your wall, weather, and skill level; check product labels

Gauging Plaster for Lime Work: Ratios, Set Control, and When to Skip It Read More »

Hand applying white plaster with putty knife

How to Choose Lime Putty vs Hydrated Lime for Plaster: Workability and Strength Differences

Introduction Lime putty is hydrated lime that has been slaked and aged into a smooth, creamy paste, while hydrated lime (powder) is the dry product you mix on site; putty gives a softer, more workable mortar and powder is quicker to store and use. For a DIY plaster job, choose putty when you want long

How to Choose Lime Putty vs Hydrated Lime for Plaster: Workability and Strength Differences Read More »

Worker applying plaster to ceiling with scaffolding nearby

Plaster Repairs Around Ceiling Light Boxes: Reinforcement That Stops Ring Cracks

Introduction Plaster repairs around ceiling light boxes are targeted fixes that reinforce the plaster and stop the circular “ring” cracks that form where fixtures meet the ceiling. This means cleaning the crack, adding a reliable backing or reinforcement around the box, and patching with an appropriate plaster or joint compound following the product directions. Treat

Plaster Repairs Around Ceiling Light Boxes: Reinforcement That Stops Ring Cracks Read More »