Search Results for: surface prep

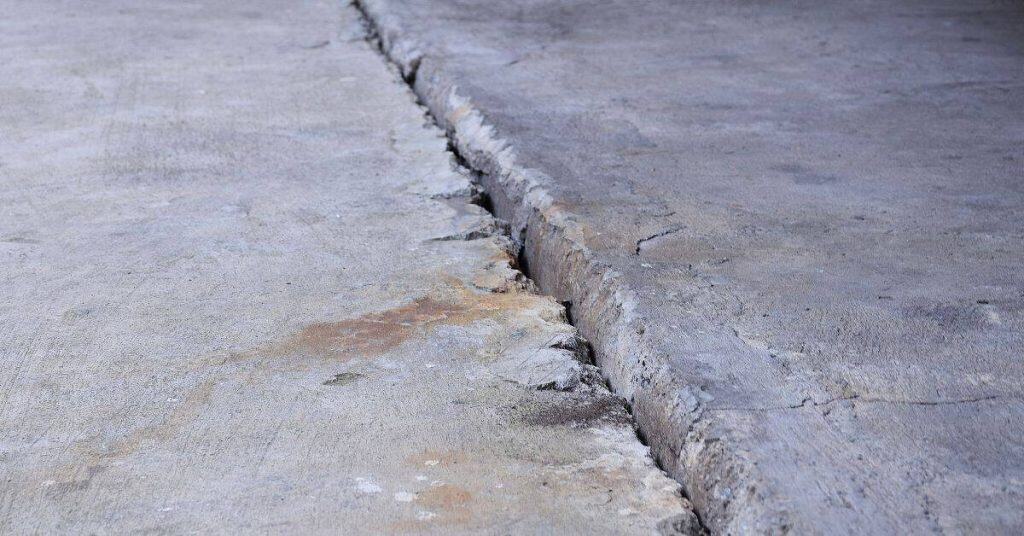
Large crack and gap between two old concrete slabs

Crack Isolation Membranes: What They Can and Can’t Do on Older Slabs

Introduction Crack isolation membranes are thin sheets or coatings that separate a flooring layer from the concrete to limit crack transfer. They’re installed between the slab and the finish, acting as a buffer rather than a full repair. On older slabs, you’ll need to verify compatibility and follow product instructions for best results. What they […]

Crack Isolation Membranes: What They Can and Can’t Do on Older Slabs Read More »
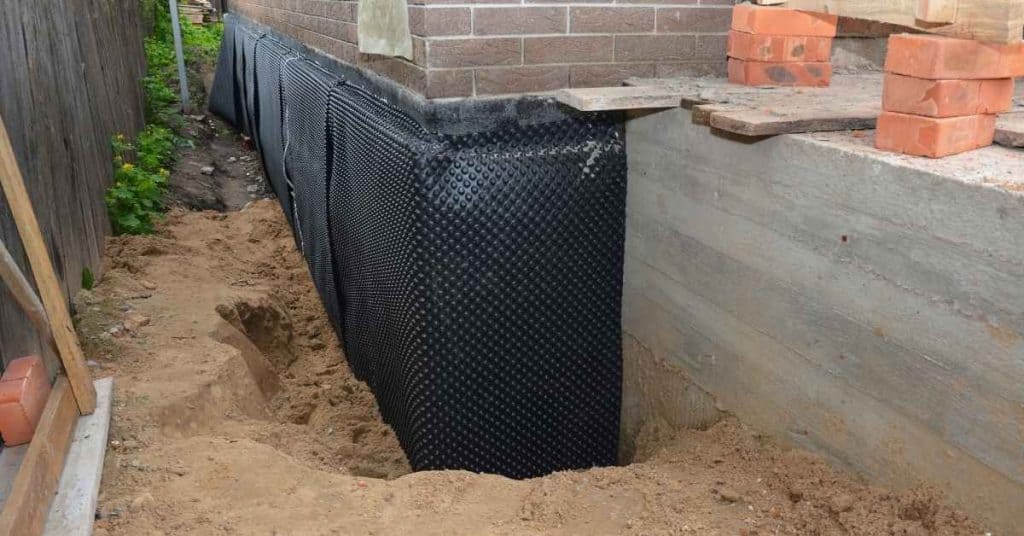
Black dimpled membrane installed on concrete foundation wall

Uncoupling Membrane Basics: Where It’s Worth the Money and Where It Isn’t

Introduction Uncoupling membranes are a lightweight underlayment that helps separate layers to move with the substrate. They’re designed to reduce cracking and relieve some movement, but you need to check what the product is rated for and follow the label. In plain terms, you install them between the substrate and the finish to give you

Uncoupling Membrane Basics: Where It’s Worth the Money and Where It Isn’t Read More »

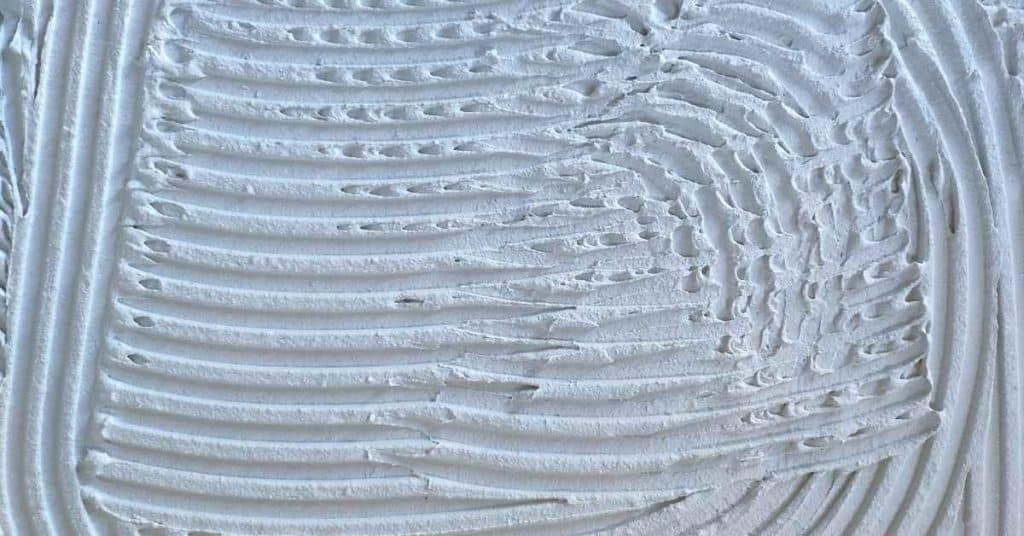
Close-up of white tile adhesive with combed lines

Setting Mosaic Sheets Straight: How to Hide Sheet Lines and Avoid “Snake” Rows

Introduction Setting mosaic sheets straight means aligning the sheets so the grout lines stay in straight, even rows and the sheet edges blend with the pattern. You’ll want a straight edge, a notched trowel, spacers, and a level, plus a method to back-butter where needed. Always check the adhesive label and tile sheet instructions for

Setting Mosaic Sheets Straight: How to Hide Sheet Lines and Avoid “Snake” Rows Read More »

Angle grinder and mallet on ceramic tiles laid on concrete floor

Drilling Holes in Tile: Diamond Hole Saw Technique That Doesn’t Crack the Tile

Introduction A diamond hole saw with careful technique can cut clean, crack-free holes in tile. This introduction explains the practical, hands‑on approach you’ll use to drill through ceramic or porcelain tile without damaging the surrounding material. You’ll want the right tools and steady steps to manage dust and avoid chips. Check manufacturer instructions for drill

Drilling Holes in Tile: Diamond Hole Saw Technique That Doesn’t Crack the Tile Read More »

Stucco Color Coat Repairs: Why They Fail and How to Avoid Weak “Skim” Patches

Stucco Color Coat Repairs: Why They Fail and How to Avoid Weak “Skim” Patches

Introduction A Stucco Color Coat Repair is fixing the top stucco layer to seal cracks and restore the surface. This kind of patch relies on proper surface prep, compatible material, and a smooth skim to blend with the surrounding wall. If the skim is weak, patches can crack, delaminate, or look obvious. You’ll need basic

Stucco Color Coat Repairs: Why They Fail and How to Avoid Weak “Skim” Patches Read More »

Adding a Decorative Band: How to Attach Trim Screeds and Keep Lines Straight

Adding a Decorative Band: How to Attach Trim Screeds and Keep Lines Straight

Introduction Adding a decorative band means attaching trim screeds along a wall to create a framed, visual line while keeping the lines straight. Choose trim and screws appropriate for your surface and check the label or manufacturer instructions for compatibility. Keep the line true with a chalk line and clamps as you set each piece.

Adding a Decorative Band: How to Attach Trim Screeds and Keep Lines Straight Read More »

Stucco Texture Options That Hide Repairs: Sand Float Vs Lace Vs Dash Vs Skip Trowel

Stucco Repair Timeline: Step-by-Step Guide to Hiding Repairs with Sand Float, Lace, Dash, and Skip Trowel Textures

Introduction Embarking on a stucco repair project? Understanding the timeline is crucial for planning your work efficiently. This guide walks you through the step-by-step process of hiding repairs using sand float, lace, dash, and skip trowel textures, ensuring you complete each task within the right timeframe. Whether you’re a seasoned DIYer or a first-timer, this

Stucco Repair Timeline: Step-by-Step Guide to Hiding Repairs with Sand Float, Lace, Dash, and Skip Trowel Textures Read More »

Fasteners Through Stucco: Sealing Strategies That Don’t Create a Water Trap

Sealing Fasteners Through Stucco: A Step-by-Step Timeline to Avoid Water Traps

Introduction The process of sealing fasteners through stucco can seem daunting, but with a clear understanding of the timeline and steps involved, you can ensure a watertight finish that lasts. This guide walks you through the entire process, from site assessment to final inspection, with an emphasis on how long each step takes. Whether you’re

Sealing Fasteners Through Stucco: A Step-by-Step Timeline to Avoid Water Traps Read More »

Delamination Testing: Tap Test

Delamination Testing: Tap Test

Introduction Delamination testing using the tap test provides a quick check for bond failures in composite laminates. The guide explains how to perform the test, recognize abnormal sounds or responses, and interpret what those cues mean for structural integrity. You’ll learn practical steps, common tips, and how to determine when further inspection or more thorough

Delamination Testing: Tap Test Read More »

Best Sealant Joint Detail at Windows: Where to Caulk and Where *not* to

Best Sealant Joint Detail at Windows: Where to Caulk and Where *Not* to

Introduction The best sealant detail for windows is to caulk only the joints that require a flexible, sealed connection and to leave other joints unsealed where drainage or ventilation is needed. You’ll learn how to decide where to apply caulk, what kinds of sealants to consider, and how to prep and apply for a durable

Best Sealant Joint Detail at Windows: Where to Caulk and Where *Not* to Read More »