Search Results for: screed bead

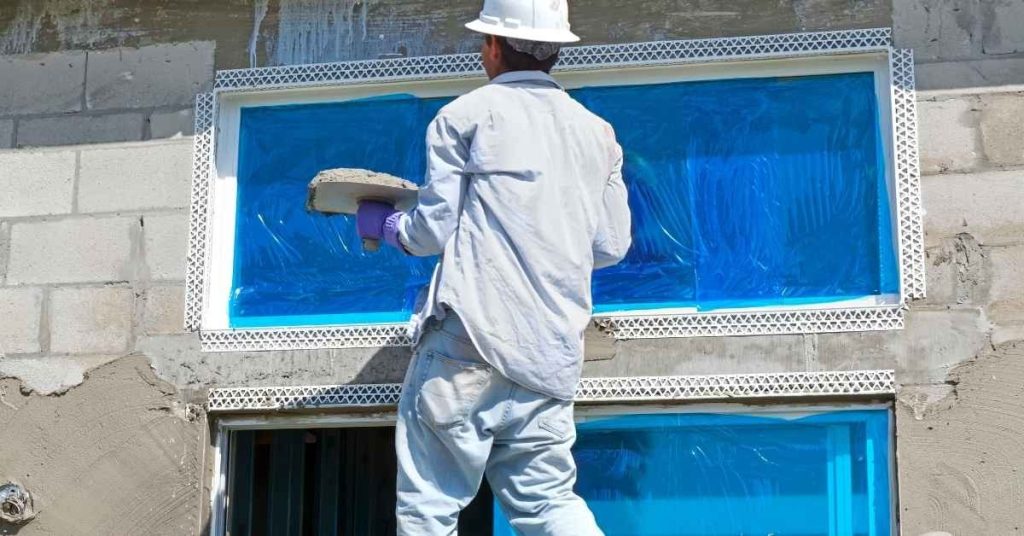
Worker applying stucco around windows with protective coverings

Stucco at Window Sills: Drip Edges, End Dams, and How to Stop Staining Below

Introduction Stucco at window sills is the way the exterior plaster and the window flashing work together to shed water away from the opening; a proper setup keeps water off the wall below and prevents staining. In practice that means installing a flashinged sill, a drip edge or kerf, and end dams where the stucco […]

Stucco at Window Sills: Drip Edges, End Dams, and How to Stop Staining Below Read More »

Hand smoothing plaster on wall with trowel

Polished Lime Plaster in Wet Areas: What ‘Waterproof’ Really Means and Safe Details

Introduction Polished lime plaster in wet areas is not automatically waterproof; it’s a breathable finish that can resist splashes when detailed and sealed correctly. In practice that means treating the wall system—substrate, cement backer, membranes, and sealers—as a complete assembly rather than relying on the lime plaster alone. Check product labels and manufacturer instructions for

Polished Lime Plaster in Wet Areas: What ‘Waterproof’ Really Means and Safe Details Read More »

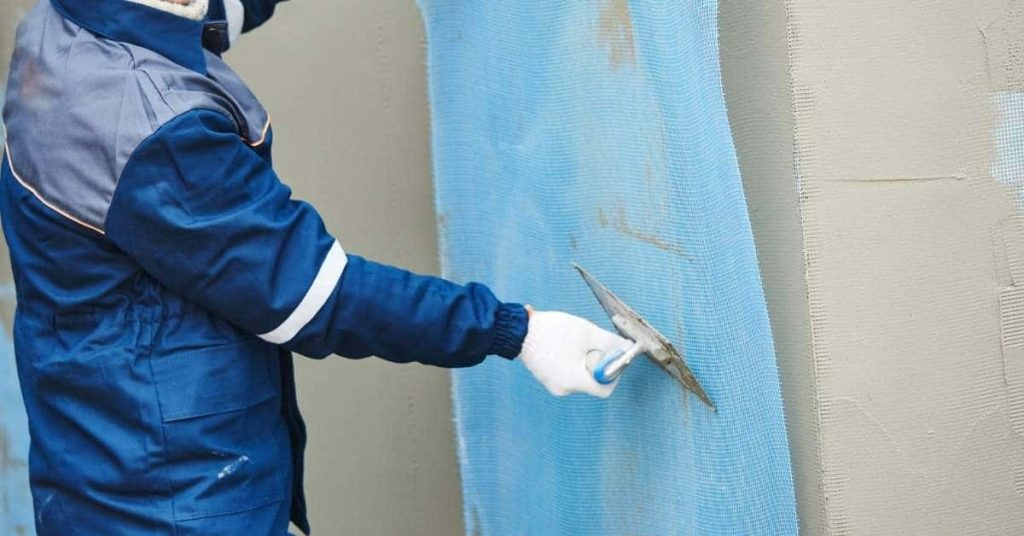
Worker applying plaster over blue reinforcing mesh on wall

Reinforcing Plaster at Material Transitions: A Step-by-Step Timeline to Avoid Telegraphing

Introduction Embarking on a DIY plaster reinforcement project? Understanding the timeline is crucial for successful results. Reinforcing plaster at material transitions involves careful planning and execution, with each step building upon the last. To avoid common mistakes and ensure your finished surfaces don’t telegraph through, follow this comprehensive step-by-step timeline tailored to your specific transition

Reinforcing Plaster at Material Transitions: A Step-by-Step Timeline to Avoid Telegraphing Read More »

Worker applying stucco around window frames on building exterior

Stucco at Window Sills: Drip Edges, End Dams & Timeline for Installation

Introduction Installing stucco window sills with drip edges and end dams is a crucial step in waterproofing your home’s exterior. But how long does this process take? Let’s break down the timeline so you can plan your DIY project effectively. Whether you’re a seasoned DIYer or a first-timer, understanding the duration of each step will

Stucco at Window Sills: Drip Edges, End Dams & Timeline for Installation Read More »

Smooth beige polished lime plaster wall surface

Polished Lime Plaster in Wet Areas: Timeline & Duration for DIY Installation

Introduction The timeline and duration of installing polished lime plaster in wet areas can vary depending on several factors. Understanding the process and its key stages will help you plan your project effectively. In this guide, we’ll break down the installation process into a clear timeline, ensuring you know what to expect at each stage

Polished Lime Plaster in Wet Areas: Timeline & Duration for DIY Installation Read More »

Empty room with freshly plastered white walls and bare concrete floor

How Long Does It Take to Get Dead-Flat Plaster Walls: A Step-by-Step Timeline

Introduction Achieving dead-flat plaster walls is a meticulous process that requires patience and careful planning. Understanding the timeline involved in each step can help you manage your expectations and ensure a successful outcome. In this guide, we’ll break down the process into clear, time-specific steps to give you an accurate estimate of how long it

How Long Does It Take to Get Dead-Flat Plaster Walls: A Step-by-Step Timeline Read More »

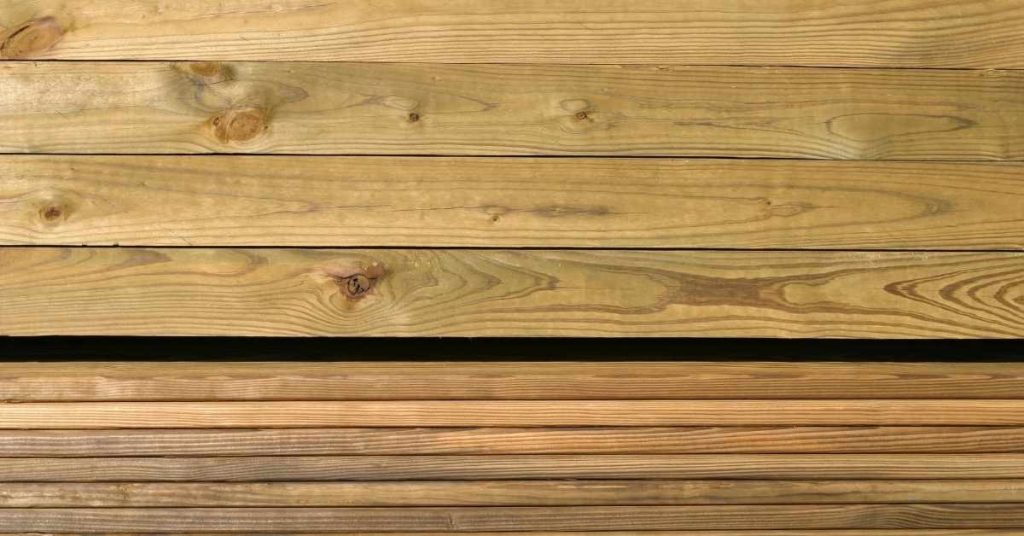
Stacked pressure-treated wood boards with visible grain patterns

Painting Pressure-Treated Lumber: A Step-by-Step Timeline to Ensure Readiness

Introduction The timeline for painting pressure-treated lumber is crucial to ensure a durable, long-lasting finish. Rushing the process can lead to peeling, warping, or mildew growth. Understanding the drying time and when to test your lumber is key. Here’s a step-by-step timeline to guide you through the process. For the full guide, see Painting Pressure-Treated

Painting Pressure-Treated Lumber: A Step-by-Step Timeline to Ensure Readiness Read More »

Liquid concrete pouring onto rough concrete slab

Concrete Overlay Over Old Broom Finish: How to Lock Down Loose Sand and Prevent Delamination

Introduction Locking down loose sand and preventing delamination means preparing a broom-finished surface so the new overlay bonds firmly without peeling. Start by cleaning the surface, removing dust and loose particles with a stiff brush and a vacuum. Check the old slab for cracks and moisture and address any defects before proceeding. Choose a compatible

Concrete Overlay Over Old Broom Finish: How to Lock Down Loose Sand and Prevent Delamination Read More »

Concrete surface showing pitting and rough patches

Fixing Concrete Surface Pop-Offs From Rusty Wire: Root-Cause Repair and Stain Blocking

Introduction Concrete surface pop-offs from rusty wire are spots where embedded wire corrodes and the surface flakes away. This happens when rust pushes on the cement and creates loose, powdery patches. The key is identifying the rust source and planning a safe repair path that restores the finish. First, expose the area, remove loose material,

Fixing Concrete Surface Pop-Offs From Rusty Wire: Root-Cause Repair and Stain Blocking Read More »

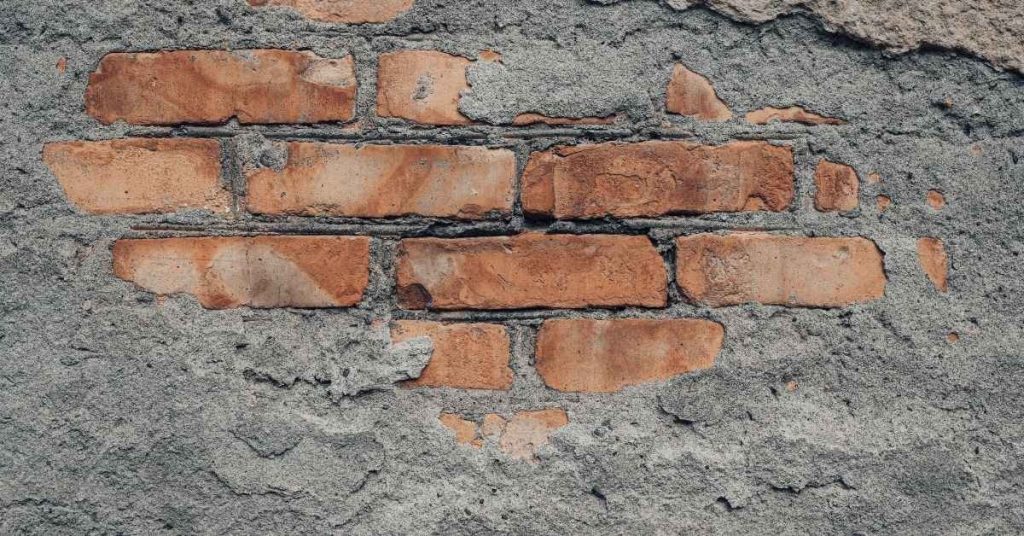
Partially covered brick wall with stucco and exposed bricks

Stucco Termination at Brick or Stone: A Step-by-Step Timeline for DIY Success

Introduction The transition from stucco to brick or stone is a critical detail in any construction project, but it doesn’t have to be time-consuming. With the right planning and execution, you can complete this task efficiently. In this guide, we’ll break down the process into manageable steps, focusing on the timeline to help you understand

Stucco Termination at Brick or Stone: A Step-by-Step Timeline for DIY Success Read More »