Search Results for: recycle block to

Unfinished concrete building structure with window openings

Papercrete (Cardboard Concrete): Common Problems, Simple Tests, and Fixes That Last

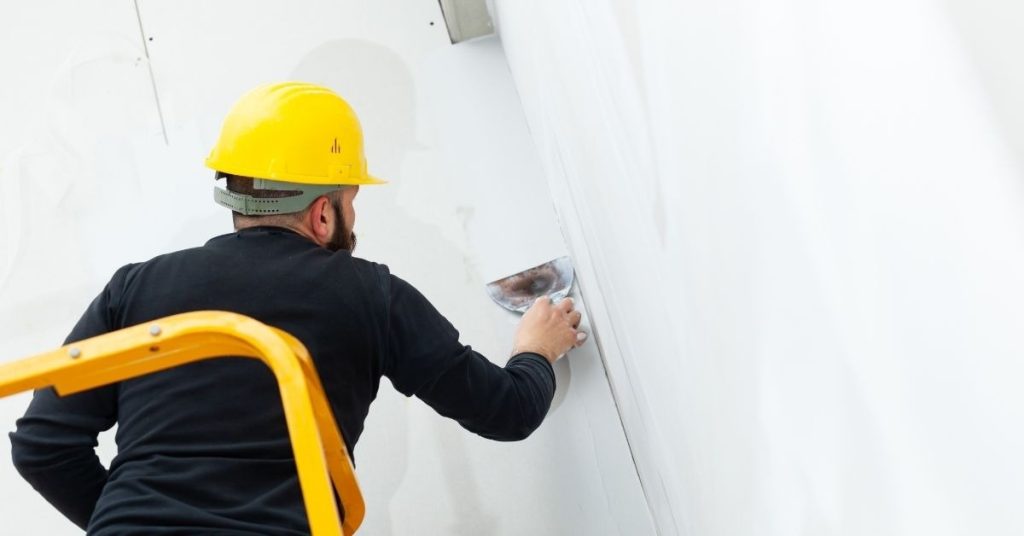
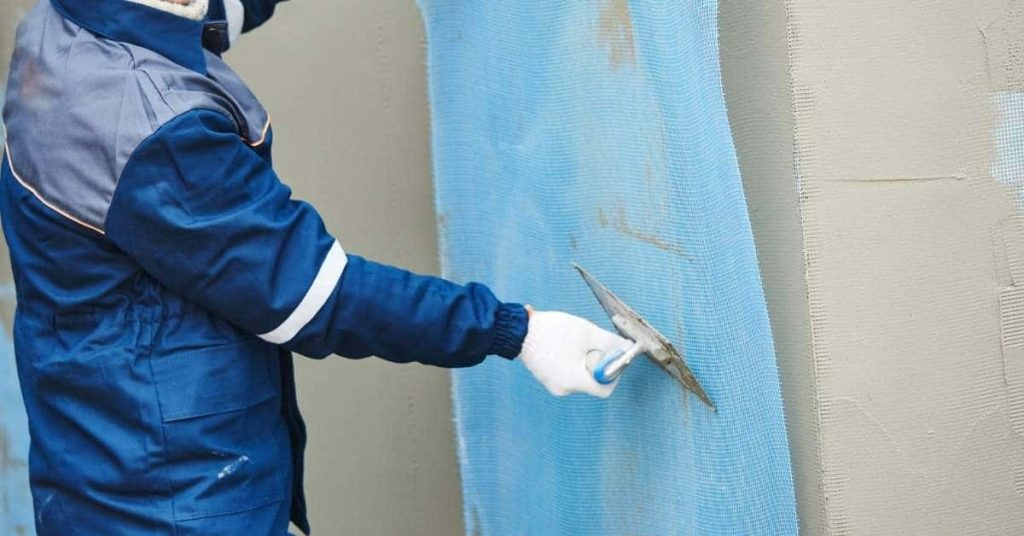
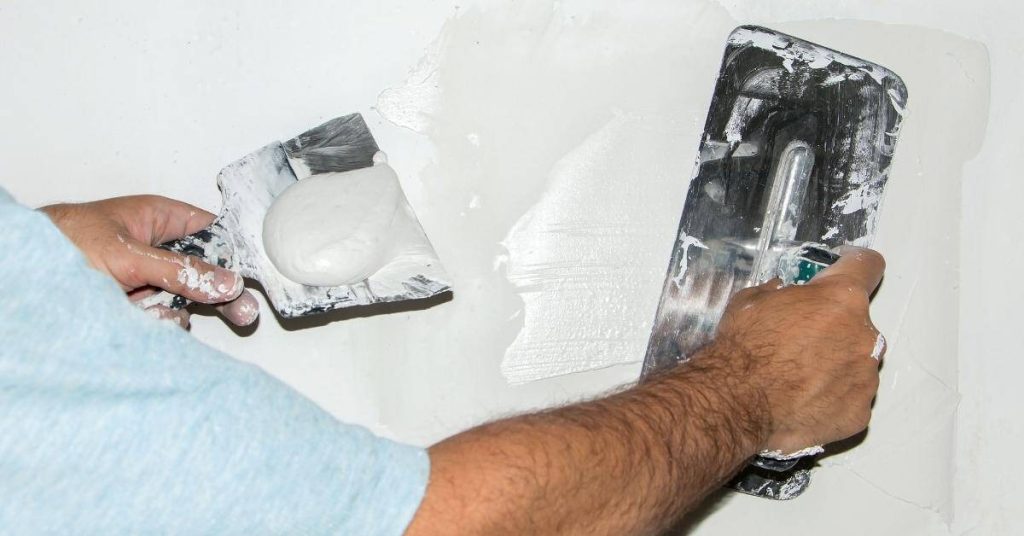
Introduction Papercrete is a composite made from shredded paper or cardboard mixed with a cementitious binder to form a lightweight, workable material. It relies on the paper fibers to add bulk and some insulation, while the binder provides strength. It’s a hands-on option that varies with the exact mix, moisture, and curing conditions, so results […]

Papercrete (Cardboard Concrete): Common Problems, Simple Tests, and Fixes That Last Read More »

Worker wearing yellow helmet applying plaster to wall

Lime Plaster Base Coats: Sand Selection, Hair Reinforcement, and Shrink Control

Introduction Lime plaster base coats are the first thick layer of lime-rich render that provides a key substrate for finish coats and helps control moisture and movement. For DIY work that means picking clean, well-graded sand suited to lime, keeping hair or fiber reinforcement evenly distributed to bridge shrinkage, and using mixing proportions recommended by

Lime Plaster Base Coats: Sand Selection, Hair Reinforcement, and Shrink Control Read More »

Person applying plaster to wall with putty knife

Adding Fibers to Plaster: Hemp, Cellulose, and Horsehair Alternatives Compared

Introduction Adding fibers to plaster means mixing natural fibers like hemp, cellulose, or horsehair into a lime or clay binder to improve crack resistance and tensile strength; choose the fiber type and preparation based on the binder and final exposure. From a DIY foreman’s view, hemp is strong and long fibers need chopping, cellulose is

Adding Fibers to Plaster: Hemp, Cellulose, and Horsehair Alternatives Compared Read More »

Worker applying plaster over blue reinforcing mesh on wall

Reinforcing Plaster at Material Transitions: A Step-by-Step Timeline to Avoid Telegraphing

Introduction Embarking on a DIY plaster reinforcement project? Understanding the timeline is crucial for successful results. Reinforcing plaster at material transitions involves careful planning and execution, with each step building upon the last. To avoid common mistakes and ensure your finished surfaces don’t telegraph through, follow this comprehensive step-by-step timeline tailored to your specific transition

Reinforcing Plaster at Material Transitions: A Step-by-Step Timeline to Avoid Telegraphing Read More »

Inner brick fireplace with crumbling plaster on sides

Plaster Delamination ‘Bubbles’: Timeline for Reattachment Without Big Tear-Out

Introduction The timeline of fixing plaster delamination ‘bubbles’ is crucial to minimize damage and maintain your home’s structural integrity. Understanding the duration of each step helps you plan effectively. From initial assessment to final touch-ups, this guide walks you through the process, ensuring you allocate sufficient time for each task. For the full guide, see

Plaster Delamination ‘Bubbles’: Timeline for Reattachment Without Big Tear-Out Read More »

Person applying white plaster to wall with trowel and hawk

Plaster Undercoats on CMU: Step-by-Step Timeline and Duration Guide

Introduction The timeline for applying plaster undercoats on concrete masonry units (CMU) is crucial to ensure a successful, durable finish. Understanding the duration of each step helps you plan your DIY project efficiently. From surface preparation to cure timing, this guide walks you through the process, helping you allocate sufficient time for each task and

Plaster Undercoats on CMU: Step-by-Step Timeline and Duration Guide Read More »

Person applying plaster to wall with trowel and hawk

Adding Fibers to Plaster: A Step-by-Step Timeline for DIY Success

Introduction Embarking on a DIY plaster project with fiber reinforcement? Understanding the timeline is crucial to ensure your project stays on track and delivers lasting results. From selecting fibers to application, let’s break down the process into manageable steps and timeframes. Whether you’re working with hemp, cellulose, or horsehair, following a clear timeline will help

Adding Fibers to Plaster: A Step-by-Step Timeline for DIY Success Read More »

Worker smoothing wet plaster on wall with gloved hand

Sealing Clay Plaster Without Plasticizing It: Wax, Soap, and Breathable Options

Introduction Sealing clay plaster without plasticizing it means using finishes that protect and repel moisture while keeping the plaster’s porous, vapor-permeable character — think wax, soap, and breathable sealers. In practice that means choosing products labeled as breathable and following the manufacturer’s instructions for coverage and recoat times; when in doubt, test a small area

Sealing Clay Plaster Without Plasticizing It: Wax, Soap, and Breathable Options Read More »

Hand with roller applying green coating over taped surface

Reducing Hot-Tire Pickup on Garage Coatings: A Step-by-Step Timeline

Introduction Applying garage coatings and preventing hot-tire pickup requires careful timing. From surface preparation to final cure, each step takes time, and rushing through them can lead to premature failure. This guide walks you through the process, breaking down each stage with estimated durations to help you plan your project effectively. For the full guide,

Reducing Hot-Tire Pickup on Garage Coatings: A Step-by-Step Timeline Read More »

Person applying paint with brush on wood panel

Painting Dark Colors Without Streaks: A Step-by-Step Timeline

Introduction The process of painting dark colors without streaks requires careful planning and timing. With the right approach, you can achieve a professional-looking finish in just a few days. In this guide, we’ll walk you through the step-by-step timeline for painting dark colors without streaks, from surface preparation to final application and drying time. For

Painting Dark Colors Without Streaks: A Step-by-Step Timeline Read More »