Search Results for: product to seal between floor and wall

Putty knife with dried plaster on wooden surface

Leveling Wavy Lath Before Plastering: Shimming, Tension, and Straightedge Control

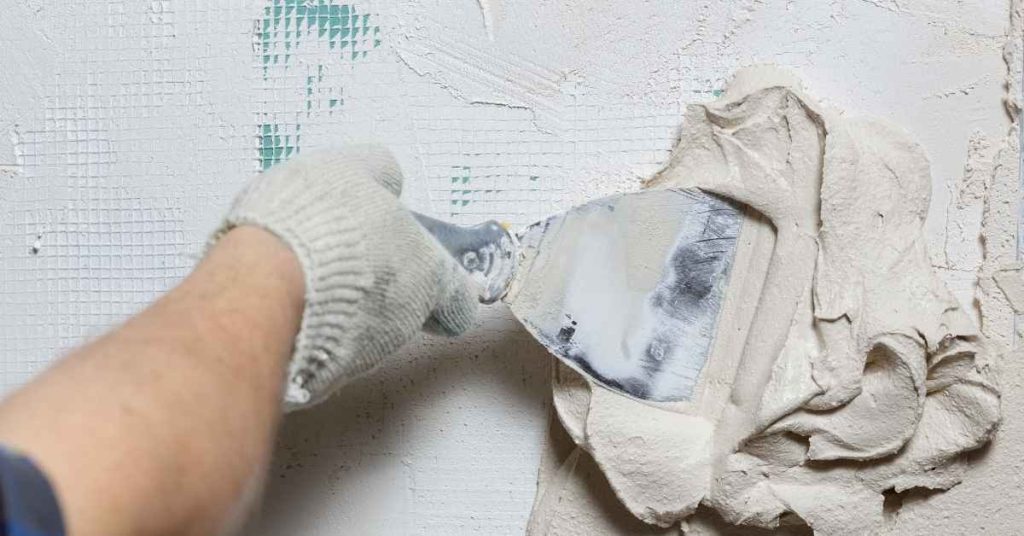
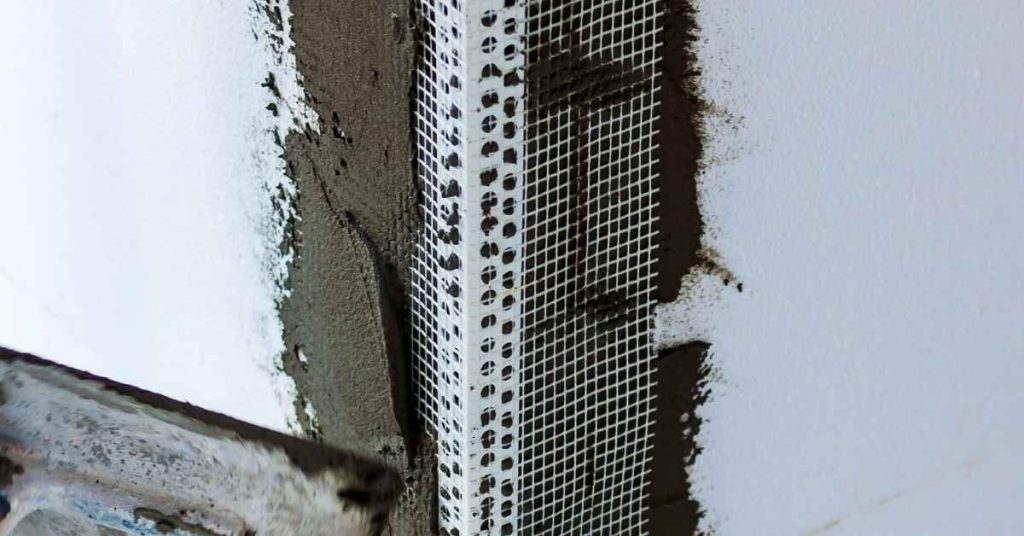
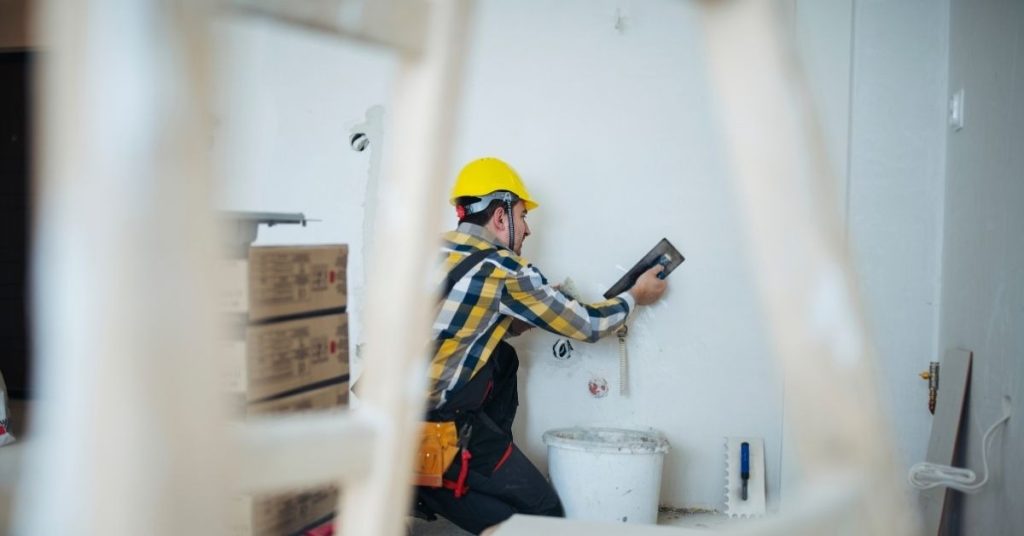
Introduction Leveling wavy lath before plastering means making the wall lath flat and true so the plaster can set evenly. Start by mapping high and low spots and use thin shims or temporary battens to bring the lath into line. Always refer to the lath type’s instructions and local rules to choose the right method. […]

Leveling Wavy Lath Before Plastering: Shimming, Tension, and Straightedge Control Read More »

Hand applying plaster to wall with trowel wearing glove

Fixing Plaster After Water Stains: Salts, Stain Blocking, and When to Cut Out

Introduction Water stains on plaster indicate moisture and mineral salts that have bled into the surface. Address the source and let the area dry before patching, and remove any loose or damaged plaster you can see. Choose a stain-blocking product and patch material based on the area, and always check the label for compatibility and

Fixing Plaster After Water Stains: Salts, Stain Blocking, and When to Cut Out Read More »

Hand applying plaster on wall mesh with trowel

Plaster Over Radiant Heat Walls: Mesh, Isolation, and Thermal Cycling Reality

Introduction Plaster over radiant heat walls is coating heated walls with plaster after adding mesh and a small isolation layer. It relies on a reinforced base and a separating layer to handle heat and movement. In practice, expect this to be a hands-on job that needs careful prep and patience. The work breaks down into

Plaster Over Radiant Heat Walls: Mesh, Isolation, and Thermal Cycling Reality Read More »

Close-up of blue painted stucco wall texture

Patch “Picture Framing” on Painted Stucco: Prime Zones and Feathered Coating Steps

Introduction Patch “Picture Framing” on painted stucco means touching up small areas so the patch blends with the surrounding paint while keeping the texture. This guide introduces how to spot the framing, choose basic tools, and apply a feathered coat with primer over patches. Keep it practical and straightforward, like a real hands-on repair. Before

Patch “Picture Framing” on Painted Stucco: Prime Zones and Feathered Coating Steps Read More »

close-up of rough textured coarse stucco surface

Stucco Terminations at Patios: Splashback Zones, Capillary Breaks, and Grade Fixes

Introduction Stucco terminations at patios are the edge details that stop water and keep finishes from failing. They cover splashback zones, capillary breaks, and grade-related fixes in practical terms. Look to manufacturer guidance for any specific installation steps or local rules. You may see alternate terms for these details like termination trims or kickouts. Make

Stucco Terminations at Patios: Splashback Zones, Capillary Breaks, and Grade Fixes Read More »

Stucco wall with reinforcing mesh and metal bead at corner

Corner Cracks at Stucco Windows: Mesh Orientation and Bead Choices

Introduction Proper mesh orientation and bead selection help prevent corner cracks around stucco windows. The way the mesh is aligned and the type of bead you use influence how the stucco moves at the casement and sill transitions. Choose options based on manufacturer guidance and local methods, then apply consistently. Bead installation techniques matter, especially

Corner Cracks at Stucco Windows: Mesh Orientation and Bead Choices Read More »

Person applying white plaster on wall with trowel

White Haze on New Brickwork: Efflorescence vs Lime Run vs Mortar Wash (and what to do)

Introduction White haze on new brickwork is usually caused by moisture pulling salts to the surface, which can show up as efflorescence, lime run, or mortar wash. These issues look similar, so you’ll want to observe when it appeared and how the surface feels. Check if the haze is on all bricks or just near

White Haze on New Brickwork: Efflorescence vs Lime Run vs Mortar Wash (and what to do) Read More »

Man holding plastering hawk with fresh plaster

Sagging Plaster Ceilings: When Washers Help—and When Strapping Is Smarter

Introduction Sagging plaster ceilings can be stabilized temporarily by using washers under fasteners to pull the plaster back up. This is a short-term fix that can buy time while you plan a more permanent repair. Make sure you’re hitting solid framing, not just flaky plaster. Strapping is usually the smarter long-term approach when the ceiling

Sagging Plaster Ceilings: When Washers Help—and When Strapping Is Smarter Read More »

Worker on stilts applying plaster to ceiling near scaffolding

Plaster Ceiling Cracks Along Joists: Why They Return and How to Bridge Them

Introduction Cracks along ceiling plaster near joists happen when the ceiling system moves and the plaster loses grip. They often reopen because framing shifts or settling continues after repair. This is DIY-friendly but you must inspect joist movement and check for underlying causes. Bridge them by stabilizing the joint area and smoothing a patch over

Plaster Ceiling Cracks Along Joists: Why They Return and How to Bridge Them Read More »

Worker wearing yellow helmet applying plaster to a wall

Plaster After Flooring Changes: Baseboard Edges, Gaps, and Crack Isolation

Introduction Plaster after flooring changes is about finishing edges where the wall meets the new floor to keep things smooth and crack-free. This topic covers baseboard edges, gaps, and how plaster behaves around different floor heights. Stay practical and honest about what you can patch and what might need more follow-up. Start by inspecting the

Plaster After Flooring Changes: Baseboard Edges, Gaps, and Crack Isolation Read More »