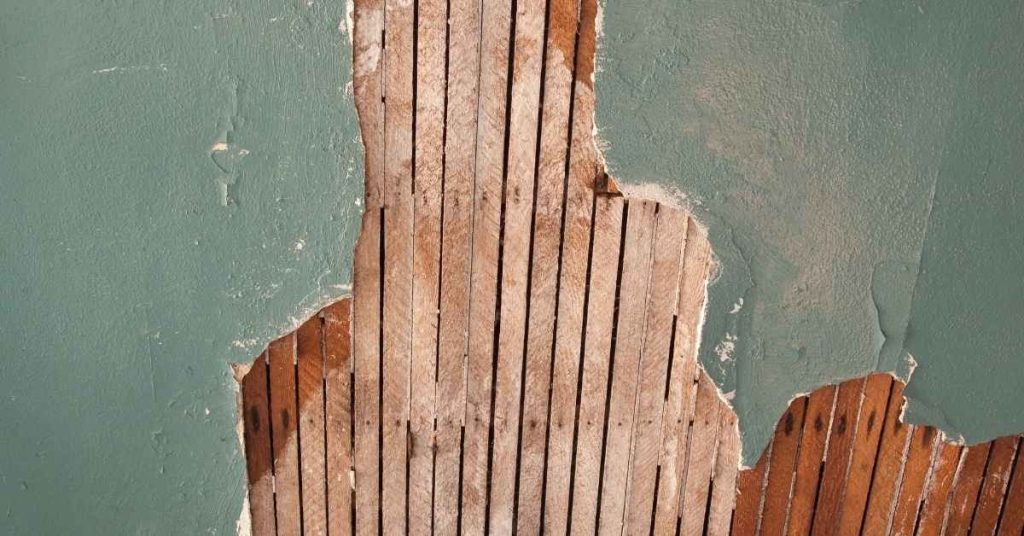
Plaster Key Failure on Wood Lath: Step-by-Step Repair Timeline and Duration
Introduction The timeline for repairing plaster key failure on wood lath can vary depending on the extent of damage, but understanding the process will help you plan effectively. This guide walks you through each step, from diagnosis to completion, with approximate time frames. Before starting, gather your tools and materials, ensuring everything is in good […]
Plaster Key Failure on Wood Lath: Step-by-Step Repair Timeline and Duration Read More »