Search Results for: primer sealer for concrete

Man applying plaster to interior wall with trowel

Plaster Repairs in High Humidity Rooms: How to Prevent Powdery Finishes

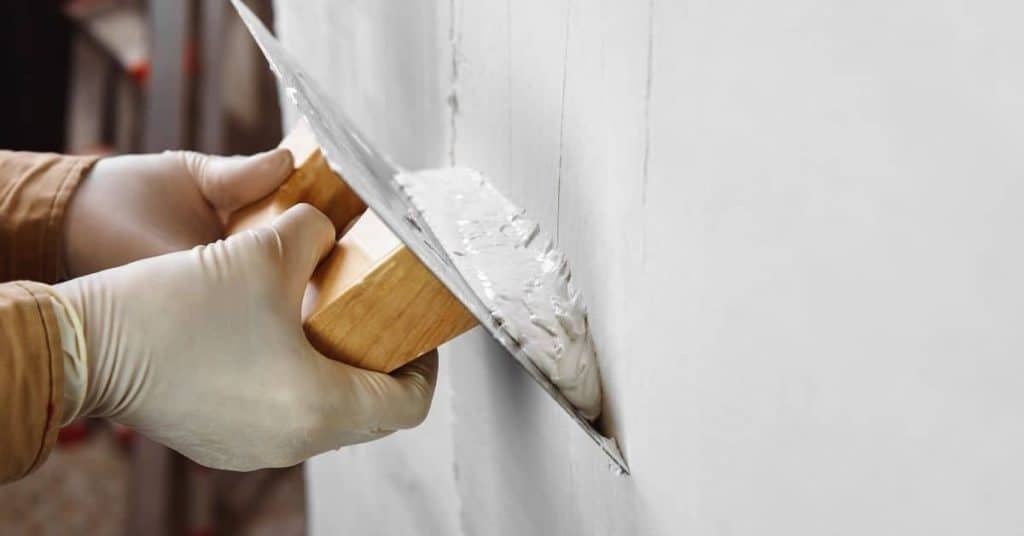
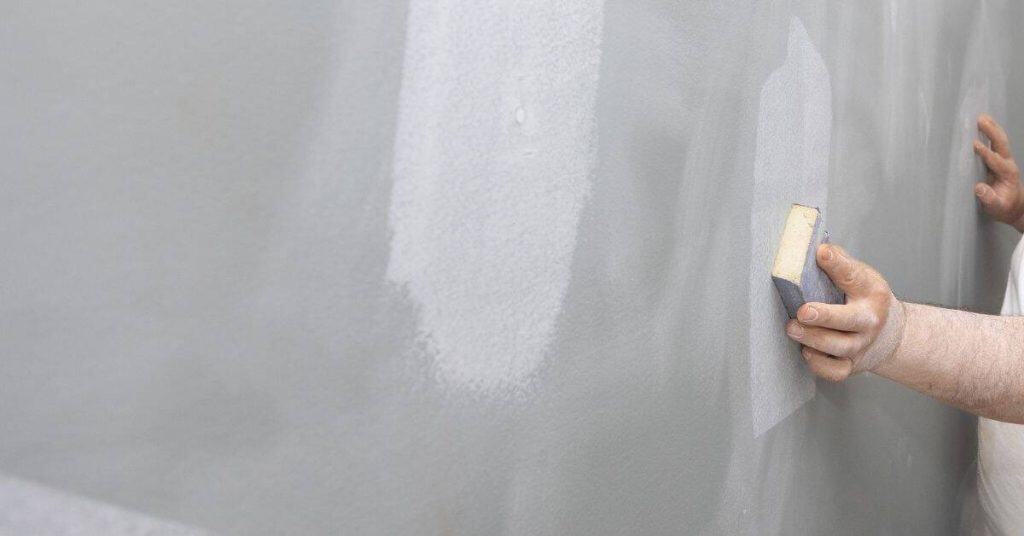
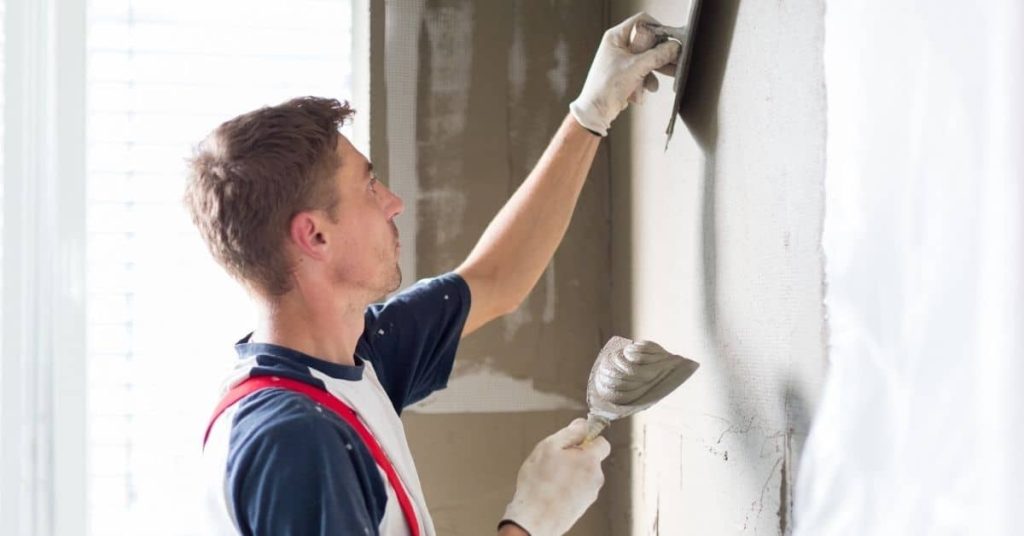
Introduction Plaster repairs in high humidity rooms require moisture-aware prep and material choices to stop powdery finishes. Start by preparing the walls carefully, removing loose material and cleaning the surface before patching. Choose materials and patching methods suited for humid conditions, and verify any limits on use with the product label or manufacturer instructions. Mix […]

Plaster Repairs in High Humidity Rooms: How to Prevent Powdery Finishes Read More »

Person applying plaster to wall near window corner

Repairing Cracks at Door and Window Corners: Reinforcement Methods That Stay Invisible

Introduction Invisible reinforcement methods for cracks at door and window corners involve strengthening the surrounding frame and substrate without visible patching. This article covers practical, stay-in-place techniques you can do yourself to keep a tight, long-lasting seal. You’ll identify crack types and choose a method that doesn’t alter the look of the opening. Identify crack

Repairing Cracks at Door and Window Corners: Reinforcement Methods That Stay Invisible Read More »

Hands in gloves applying plaster with a flat trowel

Lime Vs Gypsum Patching: Why Mismatched Materials Cause Future Failure

Introduction Mismatched patching materials can fail later due to incompatible chemistry. Lime and gypsum set and breathe differently, so using the wrong combo can lead to cracks, dusting, or damp spots. Stick to a patching mix that matches what’s already on the wall for best results. When patching, verify that the material is compatible with

Lime Vs Gypsum Patching: Why Mismatched Materials Cause Future Failure Read More »

Worker applying plaster to wall with trowel and hawk

Plaster and Vapor: Where Breathability Matters in Older Walls

Introduction Breathable plaster and finishes are materials that allow moisture to move through walls while still providing a solid, decorative surface. In practical DIY terms, that means choosing coatings that don’t seal the wall airtight, so old walls can dry out after moisture events. This matters most on older homes with lime or clay components

Plaster and Vapor: Where Breathability Matters in Older Walls Read More »

Man kneeling installing rectangular floor tiles

Preventing Hollow Tiles: Spotting Poor Bond Early and Correcting Course

Introduction Hollow tiles occur when the bond between the tile and the substrate fails, leaving empty space behind. You can spot it early by tapping tiles and listening for a dull thud, or feeling movement underfoot. Look for inconsistent grout lines or tiles that crack easily under light load. Correcting course means improving surface prep,

Preventing Hollow Tiles: Spotting Poor Bond Early and Correcting Course Read More »

Woman in dress cleaning white plaster wall near floor

Stains Bleeding Through Plaster: How to Block and Seal Before Repainting

Introduction Stains bleeding through plaster are stains that show up after painting because the stain is seeping through the surface. Common culprits include water marks, tannins from wood, or mildew, and they can push color through even a fresh coat. Before painting, plan to seal and block the stains with the right primer or sealant,

Stains Bleeding Through Plaster: How to Block and Seal Before Repainting Read More »

Hand sanding a plastered wall with sanding sponge

Sanding vs Polishing Plaster: Time-Consuming Steps & Duration Comparison

Introduction The time it takes to sand or polish plaster can vary greatly depending on the surface area, condition, and your chosen method. Before you start, understanding the timeline for each process will help you plan effectively. In this guide, we’ll compare the duration of sanding vs polishing plaster, breaking down each step’s time commitment

Sanding vs Polishing Plaster: Time-Consuming Steps & Duration Comparison Read More »

Hand with white glove spreading grout on floor tiles

Tile on Plywood: the Right Build-up so You Don’t Get Cracked Grout Lines

Introduction Tile on plywood is a build-up method that stabilizes a tile surface on a plywood base to prevent cracking. Prep the plywood by cleaning it, dulling any slick spots, and making sure the panel is firmly fastened. Choose an adhesive and any underlayment per the label and local rules, and follow the manufacturer’s prep

Tile on Plywood: the Right Build-up so You Don’t Get Cracked Grout Lines Read More »