Search Results for: primer sealer for concrete

Empty garage with concrete floor and closed metal door

Dusty garage slabs: when sweeping and densifiers help and when resurfacing is the only fix

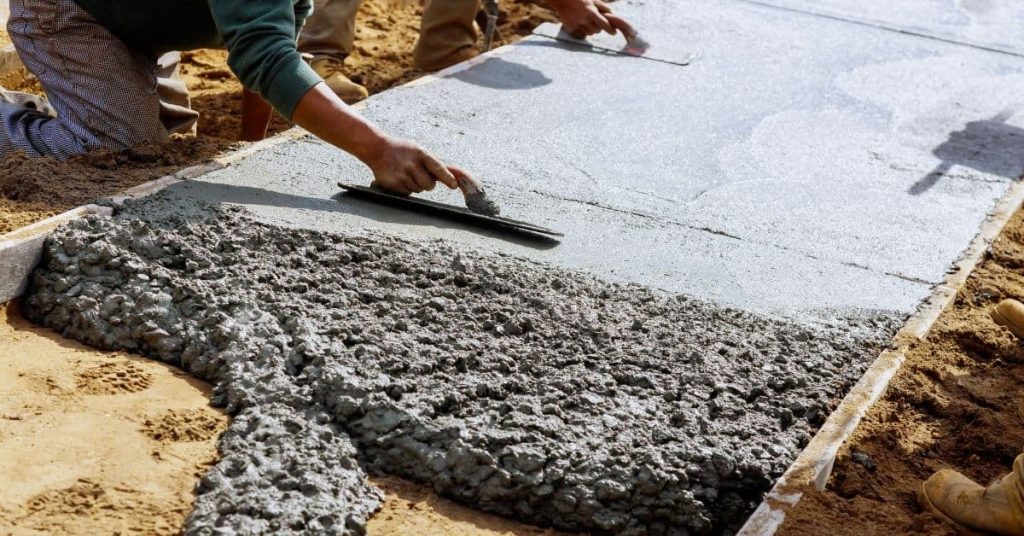
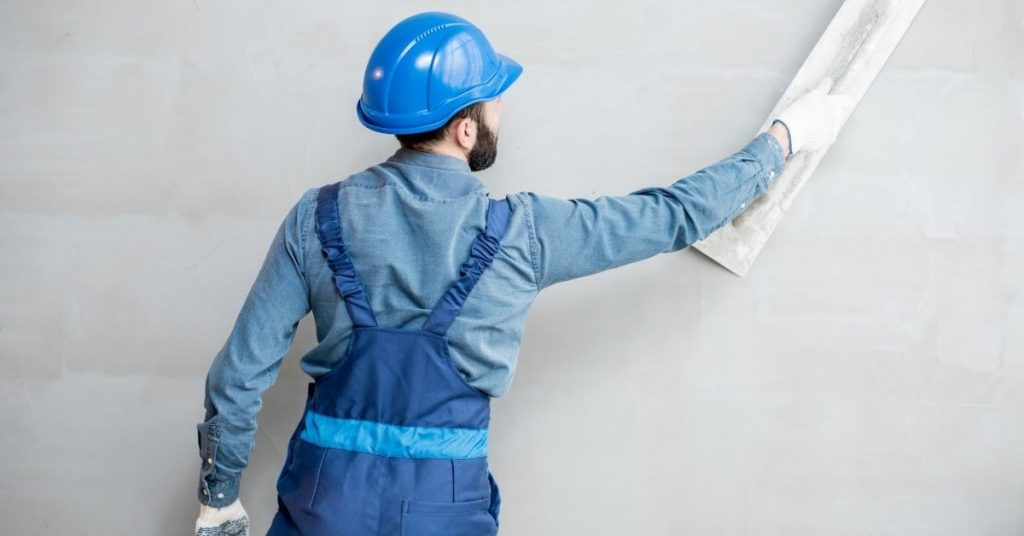
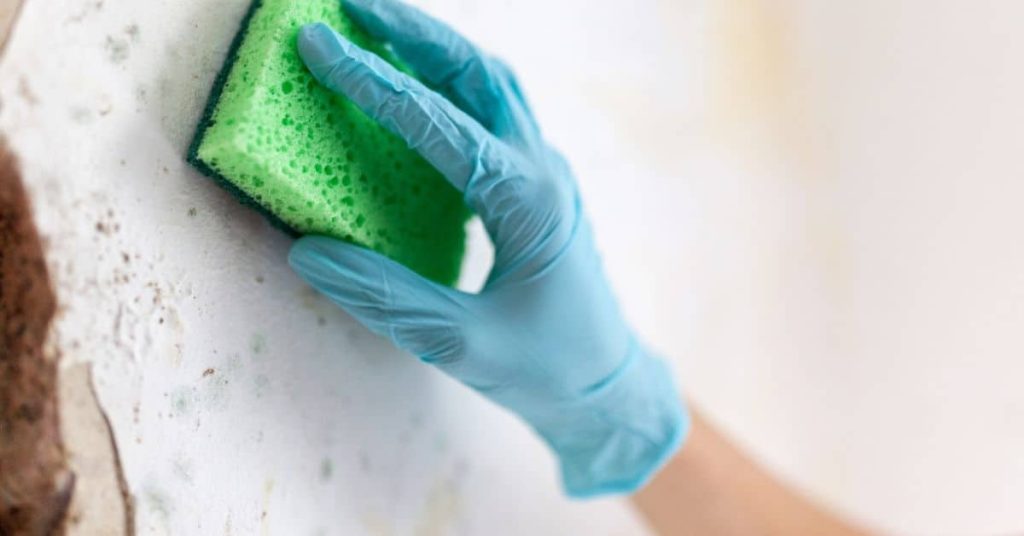
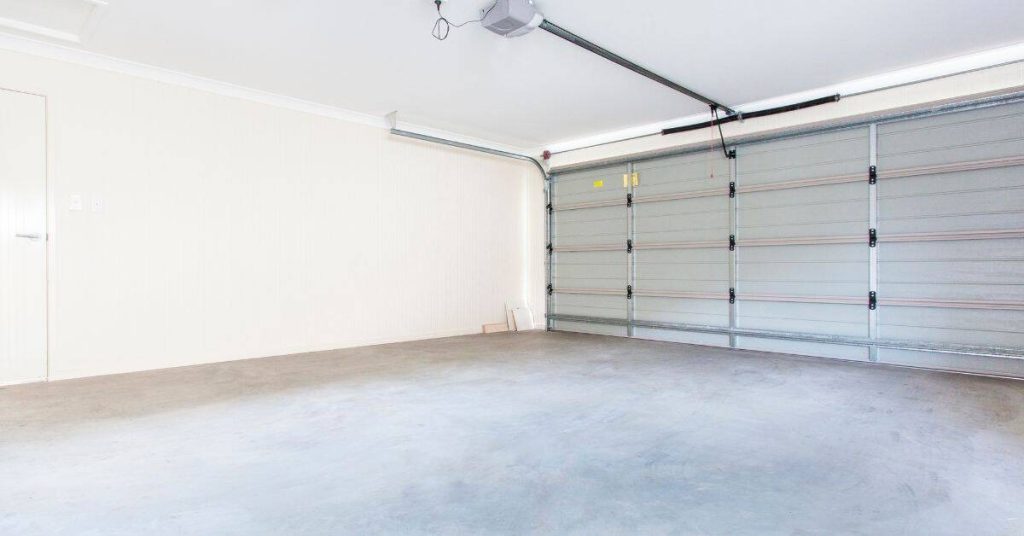
Introduction Dusty garage slabs are concrete floors that shed fine dust from the surface as you walk on them. Causes include worn surface, moisture, and exposure to chemicals or abrasion from vehicles and tools. Keeping the area swept and free of grit helps you see how bad the dust problem is and what needs doing […]

Dusty garage slabs: when sweeping and densifiers help and when resurfacing is the only fix Read More »

Workers finishing fresh concrete slab with hand trowels

Crazing and hairline map cracks: over-finishing clues and how to keep it subtle

Introduction Crazing and hairline map cracks are very fine, web-like cracks that run across the surface of concrete or plaster. They often look like a spiderweb or tiny branching lines and can appear after finishing when the surface dries unevenly. These marks aren’t structural failure, but they do affect the look and texture of a

Crazing and hairline map cracks: over-finishing clues and how to keep it subtle Read More »

Concrete wall formwork supported by braces at construction site

Form oil and release agents: the types that stain and how to avoid fish-eyes

Introduction Form oils and release agents are coatings applied to forms to prevent concrete from sticking. They can stain if the wrong type is used or if the application is uneven. Check the label and follow the manufacturer’s instructions to choose the right option for your form material. To avoid fish-eyes, test a small area

Form oil and release agents: the types that stain and how to avoid fish-eyes Read More »

Close-up of blue textured stucco wall surface

Repairing Stucco Behind Hose Reels and Brackets: Keeping the WRB Intact

Introduction Repairing stucco behind hose reels and brackets means fixing cracks and damage without compromising the wall and its weather barrier. Keep the WRB intact by protecting it while you remove hardware and apply patches. Use appropriate repair materials that match the stucco type and follow label directions, and avoid overloading or trapping moisture. If

Repairing Stucco Behind Hose Reels and Brackets: Keeping the WRB Intact Read More »

Worker with sledgehammer demolishing interior wall

Hollow-Sounding Stucco: Tap Testing, Cut Windows, and When to Stop Spot-Patching

Introduction Hollow-Sounding stucco occurs when tapping the surface reveals a hollow or loose layer beneath the finish. It’s a signal that the underlying material or lath may be compromised. Listen and feel for soft spots, and note where the sound changes as you tap around the area. Start with surface preparation by removing loose material

Hollow-Sounding Stucco: Tap Testing, Cut Windows, and When to Stop Spot-Patching Read More »

Worker in blue helmet smoothing a light gray plaster wall

Roman Clay Wall Finishes: Substrate Picks, Burnish Timing, and Sealing Options

Introduction Roman clay wall finishes are traditional lime-based plasters applied to walls to create a natural, earthy, matte surface. They require a clean, sound substrate and proper priming before application. Burnish timing depends on conditions and should be tested on a scrap area to get the feel you want. These finishes work well in living

Roman Clay Wall Finishes: Substrate Picks, Burnish Timing, and Sealing Options Read More »

bucket with plastering tools on wet surface outdoors

Tadelakt for DIY Bathrooms: Burnishing, Waxing, and Details That Prevent Failure

Introduction Tadelakt is a traditional lime plaster finish used in bathrooms that you burnish and wax to create a smooth, water-resistant surface. This article covers the key steps you can do yourself, like burnishing and applying wax, and the details that help prevent failure. Keep in mind that proper preparation and careful curing are essential

Tadelakt for DIY Bathrooms: Burnishing, Waxing, and Details That Prevent Failure Read More »

Hand smoothing lime plaster on wall with trowel

Lime Plaster in Basements: Moisture Testing, Vapor Drive, and Paint Choices

Introduction Lime plaster in basements is a breathable plaster finish that helps manage moisture. It relies on lime’s chemistry to let vapor pass while providing a durable coat. This DIY approach requires careful moisture testing and proper surface prep. Moisture testing, understanding vapor drive, and choosing compatible paints matter for long-term performance. Check product labels,

Lime Plaster in Basements: Moisture Testing, Vapor Drive, and Paint Choices Read More »

Hand in blue glove cleaning white wall with green sponge

Cleaning and Resealing Polished Plaster: Soap Scum, Dull Spots, and Refresh Coats

Introduction Cleaning and resealing polished plaster means removing soap scum and dull spots and applying a fresh protective coat. This is a hands-on DIY job that restores the surface without tearing it out. Expect a light scrubbing, careful rinse, and a new sealant layer following the manufacturer’s instructions. Before you start, check the product labels

Cleaning and Resealing Polished Plaster: Soap Scum, Dull Spots, and Refresh Coats Read More »

Hand applying plaster on wall with metal trowel

Clay Plaster Dent Repairs: Spot Blends, Burnish Timing, and Invisible Touch-Ups

Introduction Clay plaster dent repairs are about filling dents with clay plaster, blending the patch to the surrounding wall, and keeping the finish invisible. This is a hands-on, small-mesh job you can tackle with basic tools and careful timing. You’ll spot blend by feathering edges and adjusting texture until the repaired area matches the wall.

Clay Plaster Dent Repairs: Spot Blends, Burnish Timing, and Invisible Touch-Ups Read More »