Search Results for: plaster keys

Person applying plaster to ceiling with smoothing trowel

Fixing plaster delamination sounds: tap testing, injection options, and re-skim steps

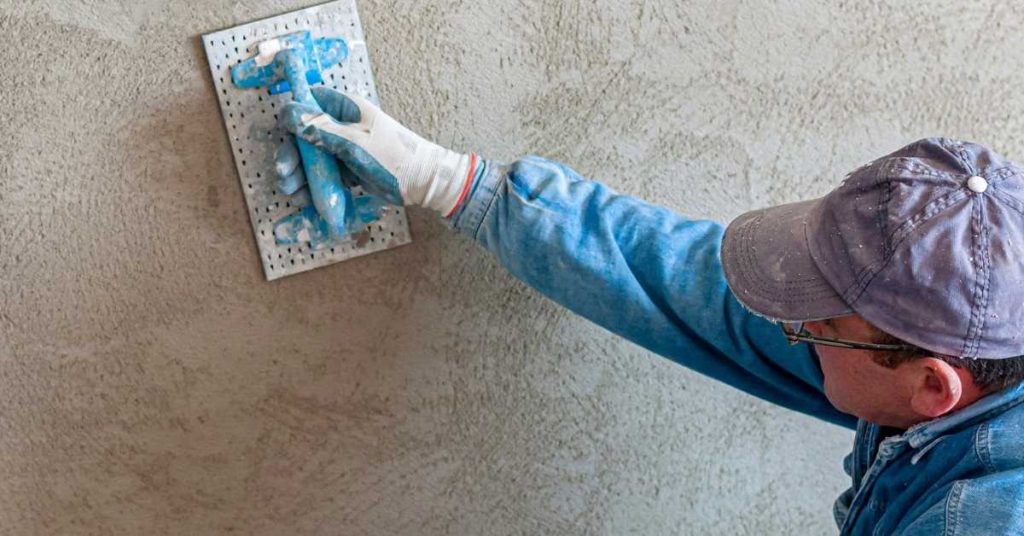
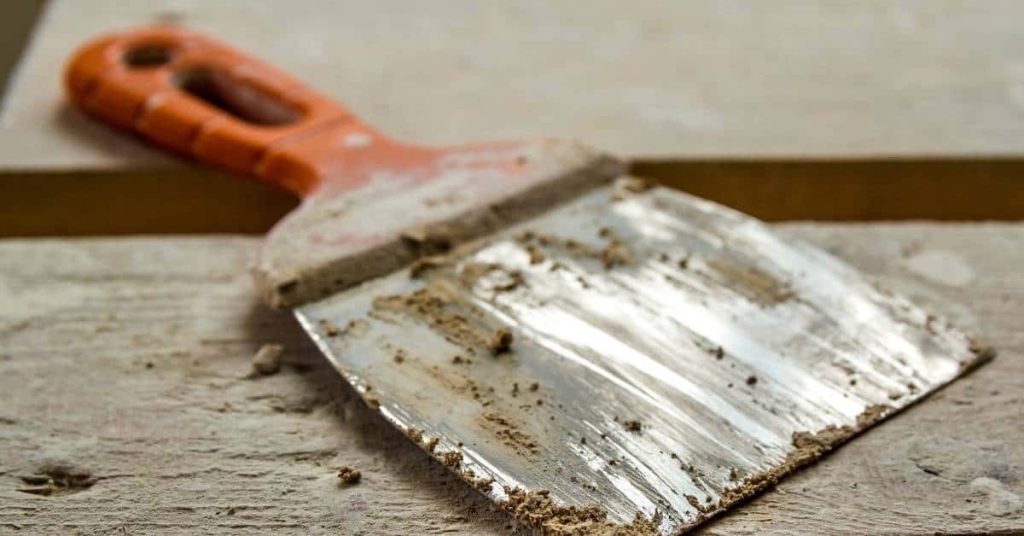
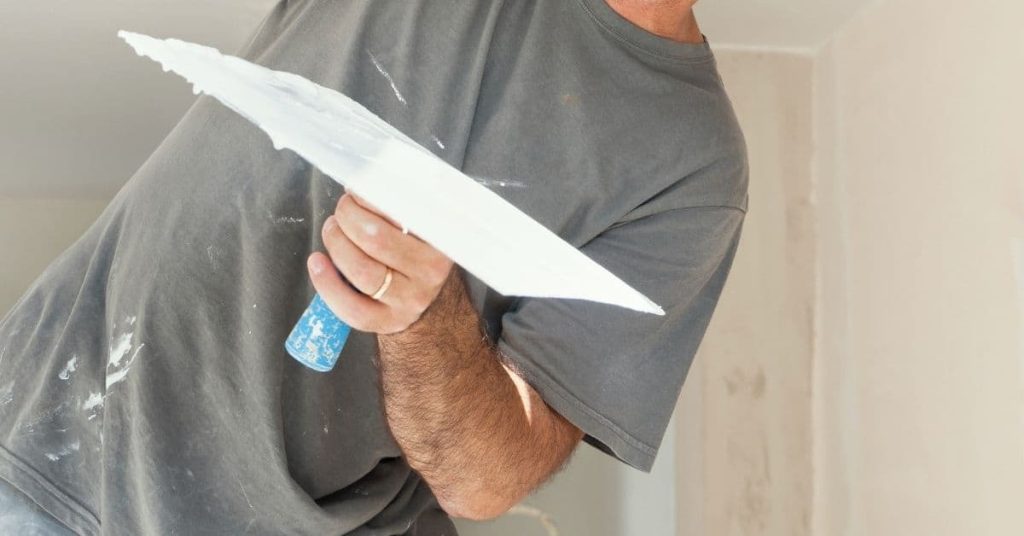
Introduction Delaminated plaster is plaster that has separated from its backing and often sounds hollow when you tap it. This article explains how to listen for those sounds, perform a basic tap test, and decide on non-destructive or repair methods. Use plain language and confirm with manufacturer guidance and local rules before any work. Injection […]

Fixing plaster delamination sounds: tap testing, injection options, and re-skim steps Read More »

Hand holding a float tool smoothing plaster on wall

Traditional Plaster Corners Without Metal Bead: A Clean Corner-Float Method

Introduction Traditional plaster corners without metal beads are built by floating plaster to a clean, sharp edge. Key takeaways Prepare raw corner by removing paint, dust, and protrusions for plaster bonding. Establish guides and screeds to create a true 90-degree plaster edge. Apply backing coat evenly before corner float to avoid laitance. Use a controlled

Traditional Plaster Corners Without Metal Bead: A Clean Corner-Float Method Read More »

Hand smoothing lime plaster on wall with trowel

Lime Plaster in Basements: Moisture Testing, Vapor Drive, and Paint Choices

Introduction Lime plaster in basements is a breathable plaster finish that helps manage moisture. It relies on lime’s chemistry to let vapor pass while providing a durable coat. This DIY approach requires careful moisture testing and proper surface prep. Moisture testing, understanding vapor drive, and choosing compatible paints matter for long-term performance. Check product labels,

Lime Plaster in Basements: Moisture Testing, Vapor Drive, and Paint Choices Read More »

Putty knife with dried plaster on wooden surface

Leveling Wavy Lath Before Plastering: Shimming, Tension, and Straightedge Control

Introduction Leveling wavy lath before plastering means making the wall lath flat and true so the plaster can set evenly. Start by mapping high and low spots and use thin shims or temporary battens to bring the lath into line. Always refer to the lath type’s instructions and local rules to choose the right method.

Leveling Wavy Lath Before Plastering: Shimming, Tension, and Straightedge Control Read More »

Man holding plastering hawk with fresh plaster

Sagging Plaster Ceilings: When Washers Help—and When Strapping Is Smarter

Introduction Sagging plaster ceilings can be stabilized temporarily by using washers under fasteners to pull the plaster back up. This is a short-term fix that can buy time while you plan a more permanent repair. Make sure you’re hitting solid framing, not just flaky plaster. Strapping is usually the smarter long-term approach when the ceiling

Sagging Plaster Ceilings: When Washers Help—and When Strapping Is Smarter Read More »

Hand wiping plaster wall with gray cleaning rag

Restoring Plaster After Smoke Damage: Cleaning, Sealing, and When Skims Won’t Bond

Introduction Restoring plaster after smoke damage means cleaning soot from surfaces, sealing with an appropriate primer, and addressing spots where skim coats won’t bond. This is a hands-on job you can tackle with basic tools, but you’ll need to verify suitability with product labels and local rules. Start with a gentle cleaning method that won’t

Restoring Plaster After Smoke Damage: Cleaning, Sealing, and When Skims Won’t Bond Read More »

Hands holding plaster mold and casting on white table

Repairing Plaster Medallions and Ornament: Simple Mold Tricks for Missing Details

Introduction Repairing plaster medallions and ornament means recreating missing decorative detail on a plaster ceiling or wall. It starts with shaping a patch of material to mimic the curve and edge you see around the piece, then pressing it in to blend with the surrounding plaster. Take your cues from the existing profile and work

Repairing Plaster Medallions and Ornament: Simple Mold Tricks for Missing Details Read More »

Hand applying textured plaster to wall with a red trowel

Clay Plaster Basics: Mixing, Application, and Crack Control That’s Realistic

Introduction Clay plaster basics are simple, old-fashioned wall coverings made from clay, sand, and water that you mix and trowel onto a surface. This article gives a practical, hands-on look at mixing, applying, and why cracks happen. You’ll learn how to handle the mix and what to watch for on site. Expect a straightforward, honest

Clay Plaster Basics: Mixing, Application, and Crack Control That’s Realistic Read More »

Close-up of textured white plaster wall surface

Finding Studs Behind Plaster and Lath: Magnets, Probing, and Avoiding Wire Hits

Introduction Finding studs behind plaster and lath means locating the wall framing behind the plaster so you know where to anchor. In practice, DIY folks use magnets to find fasteners and then verify with a probing method to confirm stud depth. This approach helps you avoid guessing and reduces the risk of drilling into wires

Finding Studs Behind Plaster and Lath: Magnets, Probing, and Avoiding Wire Hits Read More »

Newly poured smooth concrete floor inside an unfinished room

Plastering Directly Over Concrete Ceilings: Bonding Bridges, Suction Control, and Crack Isolation

Introduction Plastering directly over concrete ceilings means applying plaster straight onto a bare concrete surface without a separate bonding layer. It’s a DIY-friendly approach when the surface is solid and clean, but it needs careful prep. I’ll walk you through what to expect and how to stay on track. Bonding bridges help the plaster grab

Plastering Directly Over Concrete Ceilings: Bonding Bridges, Suction Control, and Crack Isolation Read More »