Search Results for: plaster crack repair

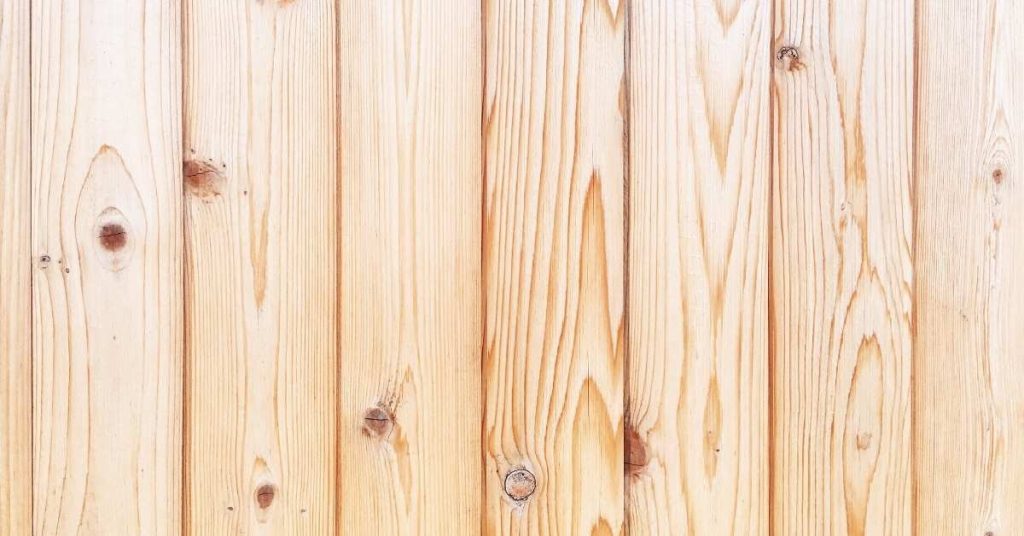
Close-up of pine wood planks with knots and grain patterns

Priming ‘Problem Woods’: Knots, Sap, and Pitch Bleed in Pine and Cedar

Introduction Priming “problem woods” means using the right sealer or primer and prep so knots, sap, and pitch in pine and cedar don’t bleed through your finish. In plain terms: clean, sand, spot-treat bleeding areas, then use a primer compatible with the topcoat and with stain-blocking properties; check the product label and manufacturer’s instructions for […]

Priming ‘Problem Woods’: Knots, Sap, and Pitch Bleed in Pine and Cedar Read More »
Worker smoothing wet plaster on a gray interior wall

How to Create a Zero-Lap-Mark Wall: Section Planning and Keeping a True Wet Edge

Introduction A zero-lap-mark wall is a layout and pour technique that keeps your fresh plaster or skimcoat from drying in visible steps where new material meets old. It means planning your sections and timing so each pass blends into the next while the edge is still workable. This is a hands-on job that needs steady

How to Create a Zero-Lap-Mark Wall: Section Planning and Keeping a True Wet Edge Read More »

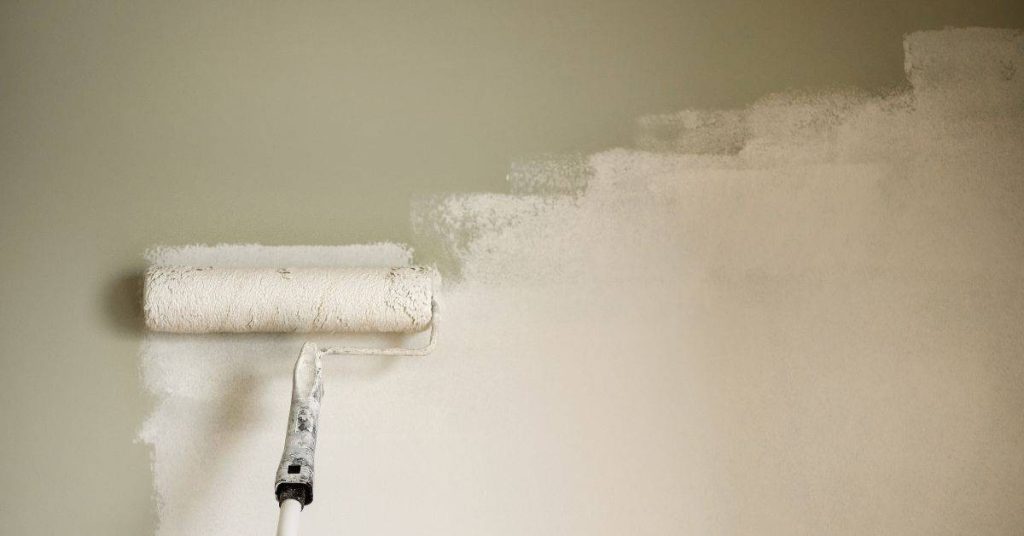
Hand holding paint roller with orange paint above drop cloth

Orange Peel After Rolling: Causes, Fixes, and When Spraying Is Easier

Introduction Orange peel after rolling is a textured, dimpled finish that happens when paint or concrete topping doesn’t level out before it skins over. It’s usually caused by wrong material viscosity, working too slowly, rolling with an unsuitable nap or roller technique, or environmental factors like temperature and humidity. A quick jobsite fix is to

Orange Peel After Rolling: Causes, Fixes, and When Spraying Is Easier Read More »

Person applying light blue paint with brush on wood panel

Painting Over Stained Wood Without Bleed-Through: Sealing and Scuff-Sand Workflow

Introduction Painting over stained wood without bleed-through means sealing the stain so tannins or dye don’t discolor the new paint and then scuff-sanding for adhesion. Do it as a two-step workflow: block the stain with a suitable sealer per the product label, then lightly sand and clean before priming and painting. Keep it practical—test a

Painting Over Stained Wood Without Bleed-Through: Sealing and Scuff-Sand Workflow Read More »

Modern glass sliding door system with metal frames

Converting an Oil-Based System to Waterborne: Step-by-Step Adhesion Protocol

Introduction Converting an oil-based system to waterborne means removing incompatible residues and establishing a surface the new water-based coating can bond to. This is a hands-on process of cleaning, testing, and priming rather than a one-step swap. Check product labels and manufacturer instructions for compatibility and recommended prep methods. Expect to do physical cleaning, solvent

Converting an Oil-Based System to Waterborne: Step-by-Step Adhesion Protocol Read More »

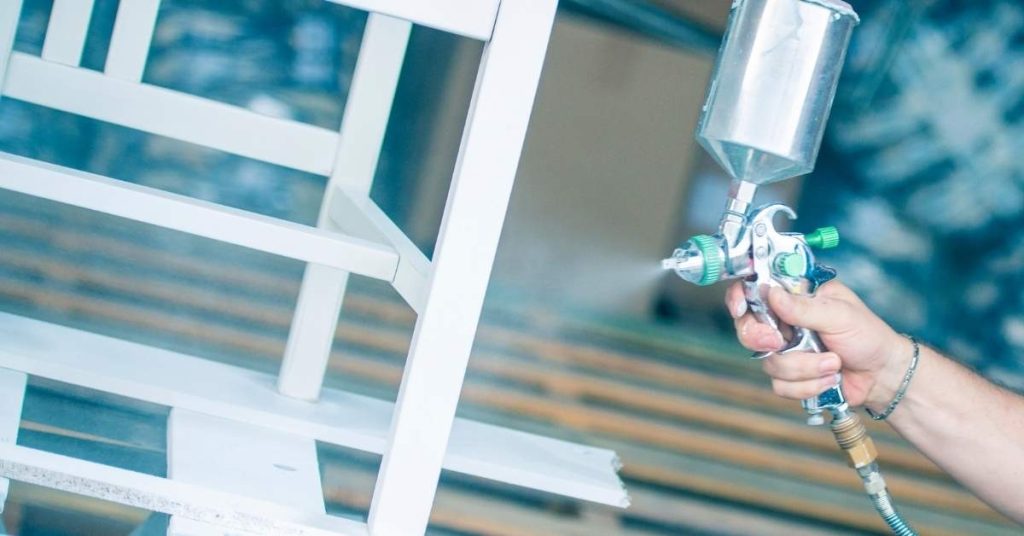
Hand spraying white lacquer on wooden furniture frame

Spray Finishing Cabinets With Waterborne Lacquer: Setup, Dry Times, and Scratch Resistance

Introduction Spray finishing cabinets with waterborne lacquer means using a water-based clear finish atomized through a spray gun to protect and dress cabinet surfaces. It’s a faster-build, lower-odor option than many solvent lacquers, but you should check the product label for recommended spray setup and drying guidance. Expect to work in controlled humidity and temperature

Spray Finishing Cabinets With Waterborne Lacquer: Setup, Dry Times, and Scratch Resistance Read More »

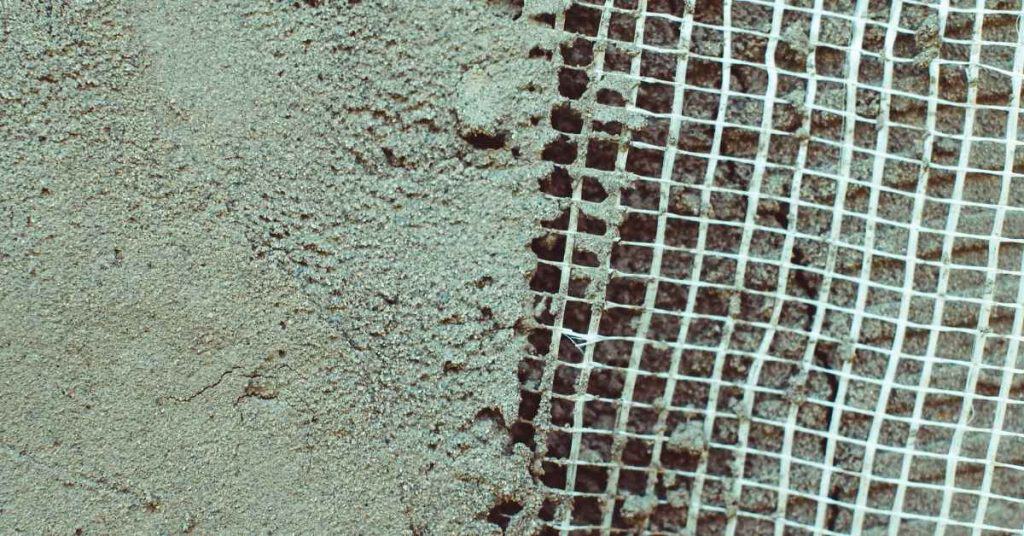
White mesh lath grid adjacent to cement-coated surface.

Replacing Rusted Metal Lath in a Small Area: Patch Boundaries and Fastener Choices

Introduction Replacing rusted metal lath in a small area means cutting out the corroded section, fitting a matching piece of new lath, and fastening it so the patch ties into solid surrounding material. Identify the rotted or rust-stained parts and pick a replacement lath type that matches or is compatible; check product labels or manufacturer

Replacing Rusted Metal Lath in a Small Area: Patch Boundaries and Fastener Choices Read More »

Hand holding a trowel with plaster and spreader

Tadelakt Soap Application: A Step-by-Step Timeline to Maintain Water Resistance Without Streaks

Introduction Applying soap to your Tadelakt surface is a crucial maintenance task, but it’s also time-sensitive. Understanding the timeline of this process ensures you maintain water resistance and avoid streaks effectively. From preparation to application and curing, each step takes a specific amount of time. Let’s break down the Tadelakt soap application process into a

Tadelakt Soap Application: A Step-by-Step Timeline to Maintain Water Resistance Without Streaks Read More »