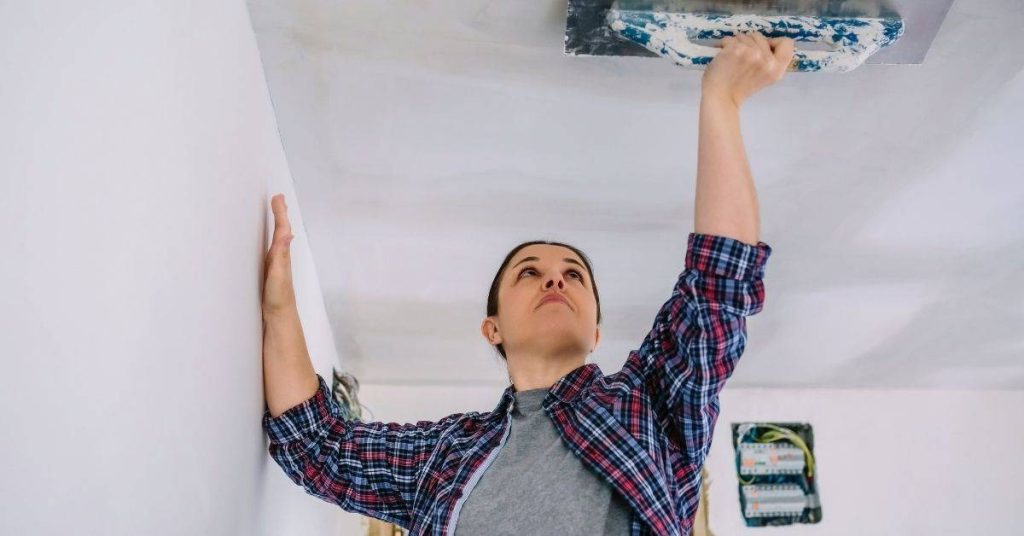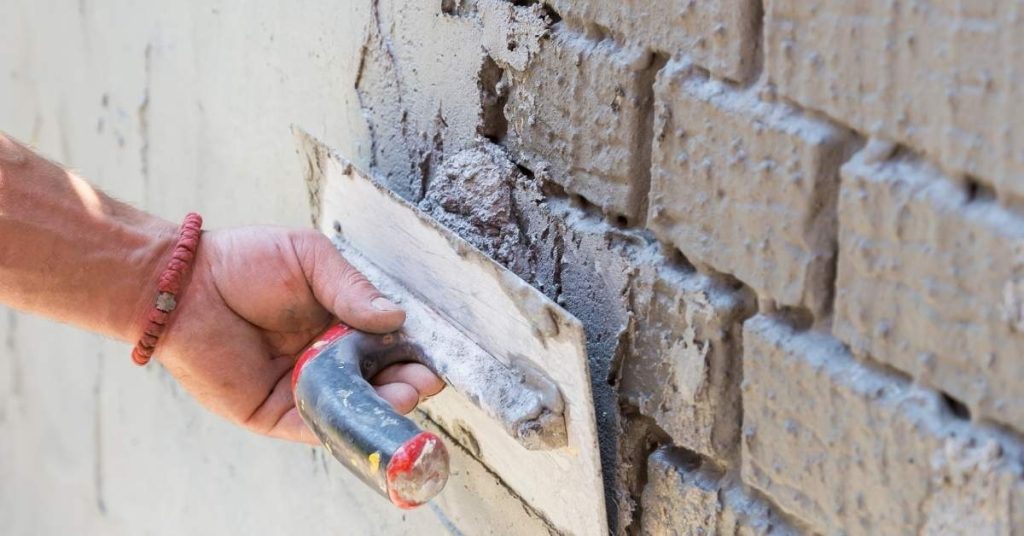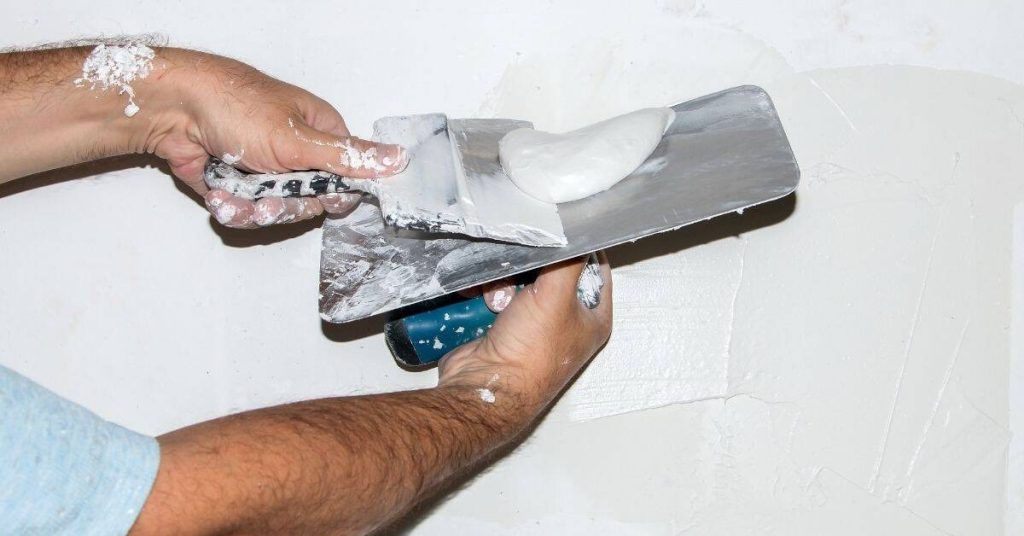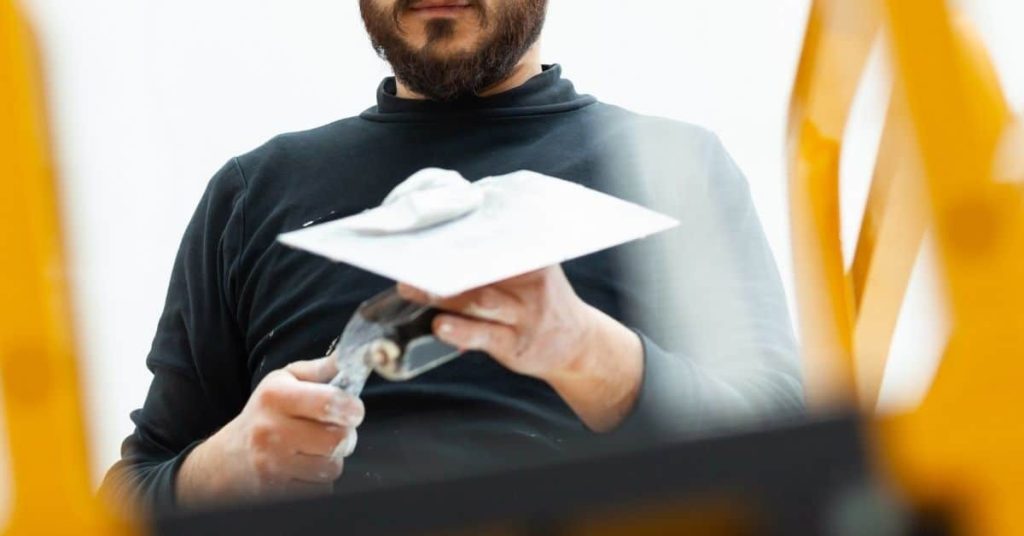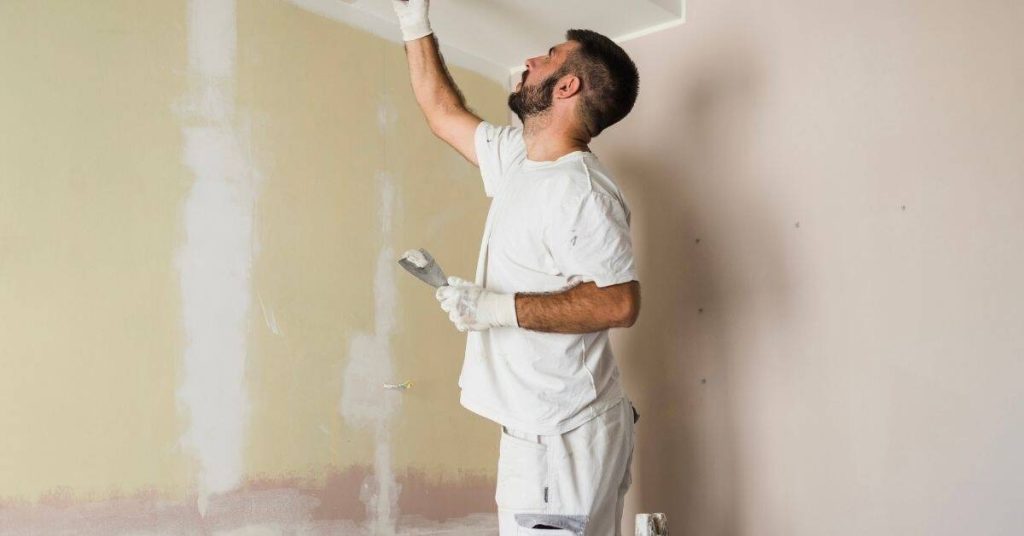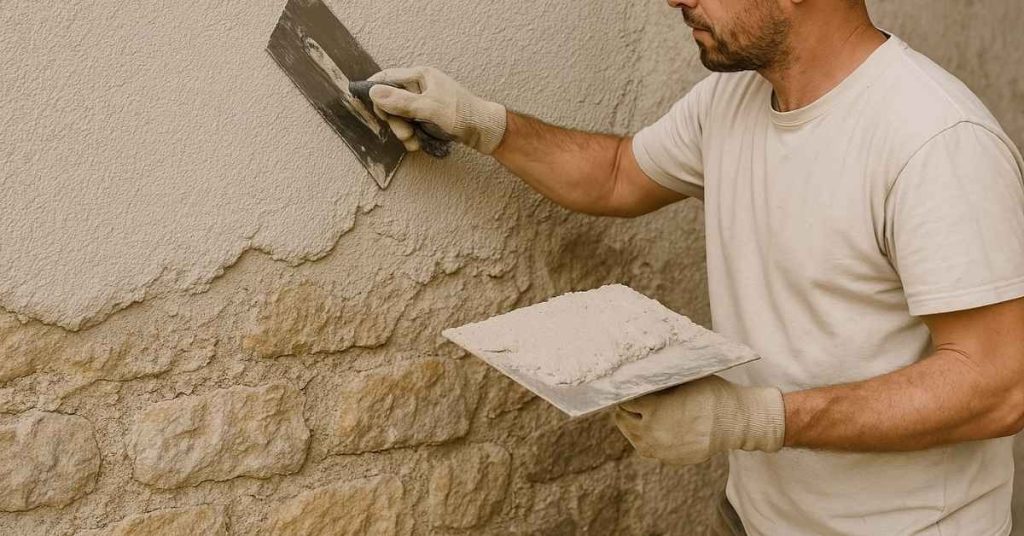
Best trowel angles for beginner plasterers: avoiding gouges and lap marks
Introduction The best trowel angles for beginner plasterers are the angles that keep the blade nearly flat against the surface to reduce gouges. Maintain a steady, light pressure and smooth motion to minimize digging into the plaster. Start with small, even passes and check your work as you go. Different trowel types and edge shapes […]
Best trowel angles for beginner plasterers: avoiding gouges and lap marks Read More »