
Introduction
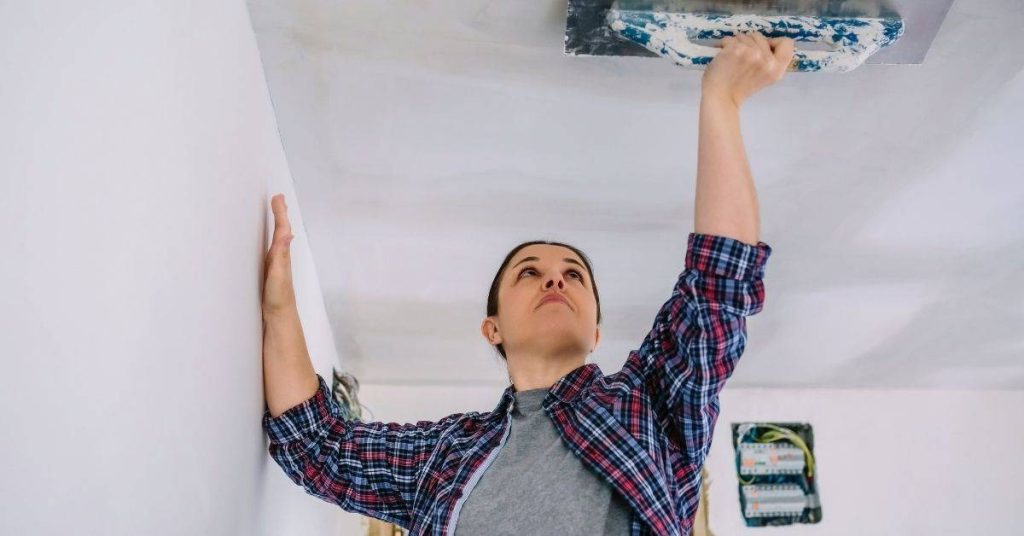
Repairing plaster coves and cornices means restoring damaged decorative plaster trims by patching and reshaping them to match the original profile. It’s a hands-on DIY task that starts with careful assessment, clean work areas, and choosing the right patch materials. Take your time to match texture and edge lines before the material sets.
Plan small repairs first and test the patch material on a hidden area to see if it accepts paint and dries to a similar finish. Follow the manufacturer or product label for mixing, application thickness, and curing time, and check local building rules if needed. Aim for gradual build-up with thin layers to avoid cracking and to preserve the original profile.
Key takeaways
- Assess damage thoroughly before molding or patching to avoid repeat failures.
- Create simple molds from plaster or foam to match profiles accurately.
- Use compatible patch materials that harden within the room’s humidity and temp.
- Drying and curing times depend on product; plan around project schedule.
- Wear a dust mask when sanding; protect surrounding plaster and floors.
- Feather edges and test fit molds before final patch to ensure seamless finish.
Table of Contents
- Introduction
- Key takeaways
- Overview of Plaster Coves and Cornices
- Assessing Damage and Planning the Repair
- Tools and Materials Checklist
- Simple Mold-Making for Profiles
- Patch Materials and Mixes
- Repair Techniques for Different Damage Types
- Finishing, Sanding, and Painting
- Visual Checkpoints and Quality Control
- Conclusion
- FAQ
Overview of Plaster Coves and Cornices
Plaster coves and cornices come in a range of profiles and materials. They may be lightweight gypsum boards, solid plaster, or traditional lime and plaster mixtures. Failures often stem from age, movement, moisture, or improper previous repairs, which can differ by material type.
Understanding the common types and their vulnerabilities helps set realistic repair expectations. DIY repairs are practical for small chips or cracks, while extensive deterioration or structural concerns may require replacement or professional assessment. Check local guidelines and manufacturer instructions when in doubt about what can be restored.
Types and profiles of coves and cornices
Plaster coves and cornices come in various types and profiles. Understanding these differences is crucial for planning your repair approach.
The simple cove has a single, smooth curve from the wall to the ceiling. It’s the easiest to repair.
The ogee profile features two curves, one convex and one concave. It’s slightly more complex but still manageable for DIY repairs.
The egg-and-dart design incorporates small egg shapes and darts, making it more intricate. Repairs may require specialized molds or professional assistance.
Fibrous plaster cornices have a textured surface due to the incorporation of fibers. They can be repaired using specific techniques to maintain their texture.
Common causes of damage
Plaster coves and cornices can fail due to several reasons. Identifying the root cause helps in preventing recurrence and guides your repair process.
Impact damage, such as from furniture or ladders, is a common cause. Inspect for cracks, chips, or missing pieces.
Vibration or settlement of the building can also cause cracks to form. Look for hairline fractures running along the length of the cove or cornice.
Moisture ingress can lead to plaster deterioration. Check for signs of water damage like discoloration, soft spots, or mold growth. If moisture is the root cause, address the underlying water issue before repairing the cove or cornice.
Assessing Damage and Planning the Repair
Begin with a structured inspection to map damage and profile loss. Note the extent of cracking, detachment, or missing portions. Document measurements and take photos to inform a clear repair plan.
Decide the scope based on stability and required skill. Prior to starting, determine whether to proceed as a DIY patch or involve a professional, and verify any guidance from product labels or supplier data sheets. Plan for safety and adequate curing time before final finishing.
Damage assessment checklist
Use this checklist before starting any repair work to accurately scope the damage and plan your approach.
- Material type: Identify if it’s standard plaster, gypsum, or another material. Confirm with a professional if unsure.
- Loose sections: Check for cracks, holes, or sections that move when gently pushed. Repairing these first prevents further damage.
- Substrate condition: Inspect the underlying surface for signs of rot, delamination, or structural movement. If present, stop and consult a structural engineer.
- Hidden damp signs: Look for discoloration, warping, or musty odors behind furniture or under wallpaper. Moisture can weaken the plaster and promote mold growth.
- Mold presence: Check for visible mold spots or black stains. If found, wear protective gear and consider professional help.
- Damage extent: Measure the length of cracks, holes, and loose sections to estimate repair scope. This helps determine if you need molds or patch materials.
- Cornice/cove profile: Document the original design with photos or drawings for accurate replication during repair. Matching profiles ensures a seamless finish.
- Surrounding area: Inspect adjacent walls, ceilings, and floors for signs of damage. This helps identify if there are underlying structural issues.
Quick rule: Always re-inspect after initial repairs to ensure stability before proceeding with further work.
When to call a professional
While many plaster cove and cornice repairs can be done DIY, some situations require expert intervention. Here are signs to look out for:
Structural movement or damage: If you notice cracks that run diagonally, bulging walls, or sagging ceilings, stop immediately and consult a structural engineer. These could indicate serious structural issues.
Large suspended sections: If large parts of the cove or cornice are hanging loose and at risk of falling, do not attempt to repair them yourself. Contact a professional for secure support before proceeding with any work.
Extensive damp or mold: While small areas can be treated DIY, extensive moisture damage or visible mold growth should be assessed by a professional. They have the necessary equipment and training to ensure safety and thorough treatment.
Tools and Materials Checklist
Assemble a basic set of hand tools for shaping, scraping, and feathering edges. Include safety gear such as a dust mask and eye protection, plus appropriate patch materials. Always follow the product instructions and safety guidance for mixing, curing, and application.
Keep non-porous, porous, and film-forming materials separate to avoid compatibility issues. Confirm that chosen materials suit the substrate and profile being repaired by consulting manufacturer instructions or product data sheets. Do not depart from recommended cure times or surface preparation steps.
Tools overview
The right tools ensure a smooth repair process. Here’s what you’ll need:
- Caulking gun: For applying sealants and adhesives. Key spec: Adjustable pressure for even application.
- Plastering trowel: For applying and shaping plaster. Size options available; choose based on job size.
- Flexible scrapers: For removing old material. Useful for both dry and wet scraping.
- Sanders: For smoothing surfaces post-repair. Orbital sanders are versatile; consider renting if needed.
- Utility knives: For cutting materials and trimming edges. Replace blades when dull to maintain clean cuts.
- Safety gear: Protect yourself with dust masks, gloves, and safety glasses. Always prioritize safety.
Materials and bonding agents
Choosing the right materials ensures a strong bond and compatible finish. Consider these options:
- Setting plaster: For creating new coves and cornices. Check for compatibility with existing substrate.
- Gypsum plaster: A versatile option for repairs. Ensure it’s suitable for your specific application.
- Ready-mix patching compound: For filling gaps and holes. Avoid using if incompatible with existing paint.
- Adhesive/bonding agents: For securing molds and repairs. Check label for suitable application temperatures.
- Silicone for molds: For creating new mold profiles. Avoid using expired silicone to prevent weak bonds.
Simple Mold-Making for Profiles
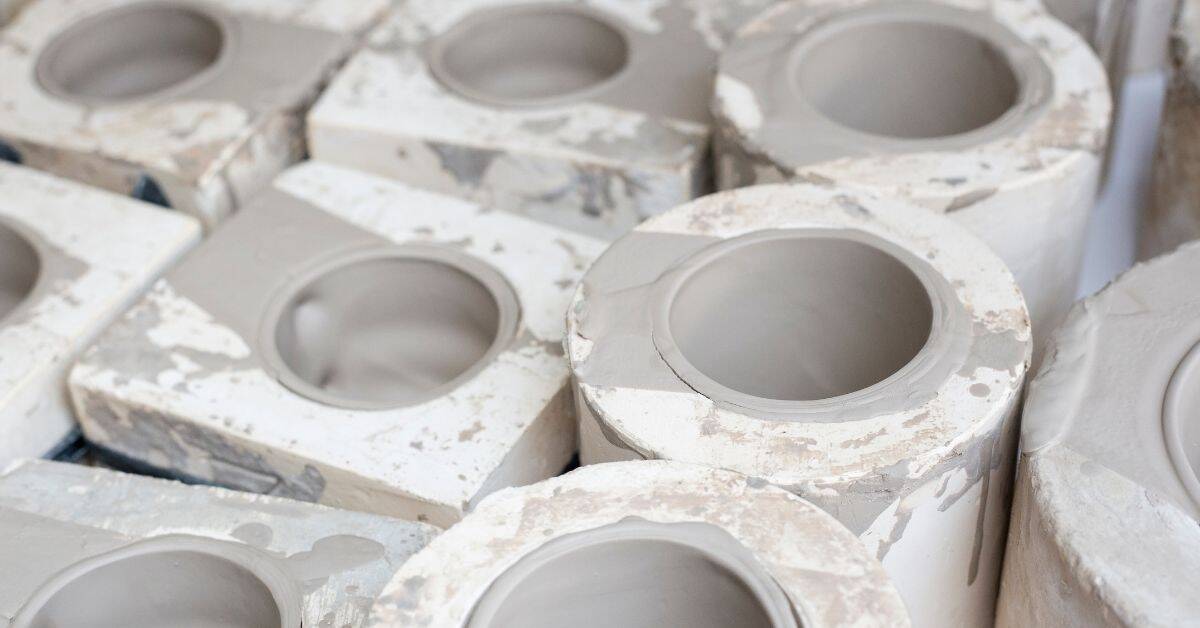
Explore low-cost options for reproducing missing sections with flexible molds. Silicone molds offer detail retention, while latex and foam rubber provide quicker, less durable alternatives. Match the mold choice to the profile size and expected reuse.
Test small samples before full use and follow the product’s cure times and handling guidance. Consider ventilation and safety when working with flexible mold compounds. Verify that the mold release method is compatible with the patch material you plan to use.
Choosing a Mold Material
The choice of flexible mold material significantly impacts the quality and longevity of your reproductions.
- Silicone: Offers excellent detail capture, flexibility, and reusability. Ideal for complex profiles with intricate details. Look for food-grade silicone for safety when used in kitchens or bathrooms. Avoid low-cost silicones that may not capture fine details.
- Latex: Provides good detail reproduction and is less expensive than silicone. Suitable for simple to moderately complex profiles. Check the latex rating; higher ratings offer better detail reproduction. Be aware that latex molds may stain or discolor over time.
- Foam Rubber (Polyurethane): Inexpensive and easy to use, foam rubber is best for simple profiles with minimal details. It’s not as durable as silicone or latex but offers good value for basic repairs. Avoid using it for complex profiles; it may crack or tear during demolding.
Step-by-Step Mold Making
Following this sequence ensures a clean, accurate mold that will produce quality reproductions.
- Prepare the master profile: Ensure the surface is clean and dry. Remove any damaged or loose material. A smooth, intact surface guarantees a good mold.
- Apply release agent: Spray or brush on a thin layer of mold release agent to prevent the mold material from sticking to the master profile. Allow it to dry according to the manufacturer’s instructions.
- Build the mold box: Construct a simple wooden frame around your master profile, leaving enough space for the mold material. Secure it with clamps or screws.
- Pour or brush the mold material: Follow the manufacturer’s instructions for mixing and application. Pour or brush the material evenly over the master profile, ensuring complete coverage. Be careful not to trap air bubbles.
- Cure the mold: Allow the mold material to cure according to the specified time. Maintain a stable temperature during curing to prevent warping or cracking. Support the mold box if necessary to keep it level.
- Demold carefully: Once cured, gently remove the mold from the master profile. If using foam rubber, be careful not to tear the mold. Inspect your mold for any imperfections before use.
Patch Materials and Mixes
Select patch materials by the nature of the substrate and the required strength. Use skim-fill for subtle cracks and transitions, setting plasters for rebuilding sections, and epoxy or acrylic fillers for non-porous surfaces. Always check material compatibility with the existing plaster.
Follow manufacturer instructions for mixing ratios, pot life, and curing. If you cannot find a clear guideline, consult the supplier or refer to the product data sheet for recommended procedures. Do not proceed without confirming suitability for the specific repair scenario.
Matching original material
The success of your repair depends largely on choosing the right patch material that matches the original. Different materials have unique properties that affect bonding, longevity, and appearance.
- Gypsum-based: Use for gypsum coves and cornices. Look for products with similar composition (gypsum plaster or joint compound). Avoid lime- or fibrous-plaster-based materials to prevent weak bonds and cracking.
- Lime-based: Use for lime coves and cornices. Check the product’s lime content and avoid gypsum-based materials to prevent staining and weak bonds.
- Fibrous plaster: Use fibrous plaster patch material for fibrous coves and cornices. Ensure it has a similar fiber content to maintain structural integrity.
Mixing and consistency guidance
The key to a strong, durable patch lies in achieving the correct working consistency. A smooth, lump-free mixture ensures easy applicati