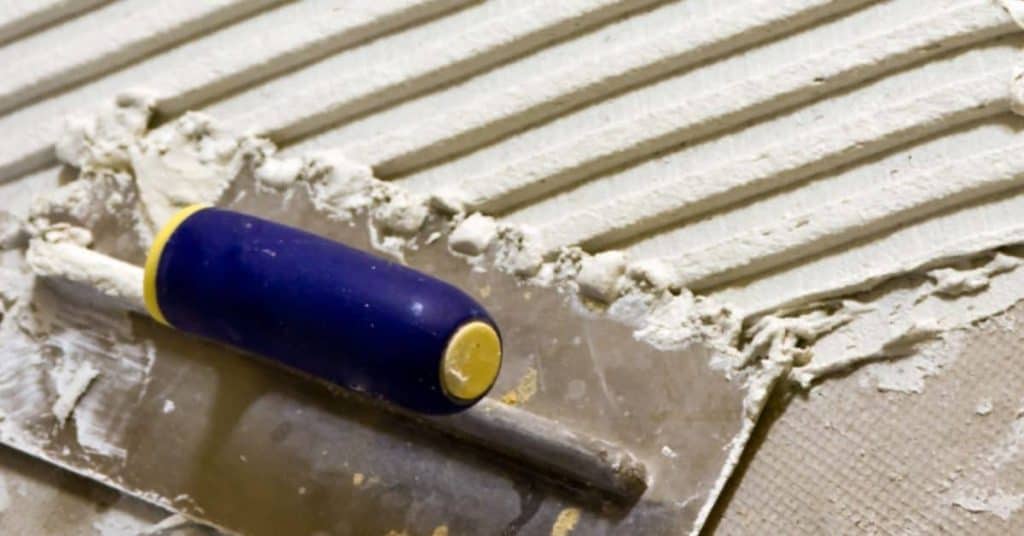
Thinset Consistency Test: How to Mix so It Holds Ridges but Still Wets Out
Introduction The consistency of your thinset mortar is crucial for a successful tile installation. It needs to be thick enough to hold the ridges on your trowel, but still wet out and adhere properly to the surface. In this guide, we’ll walk you through a simple test to ensure your thinset mix is just right […]
Thinset Consistency Test: How to Mix so It Holds Ridges but Still Wets Out Read More »