
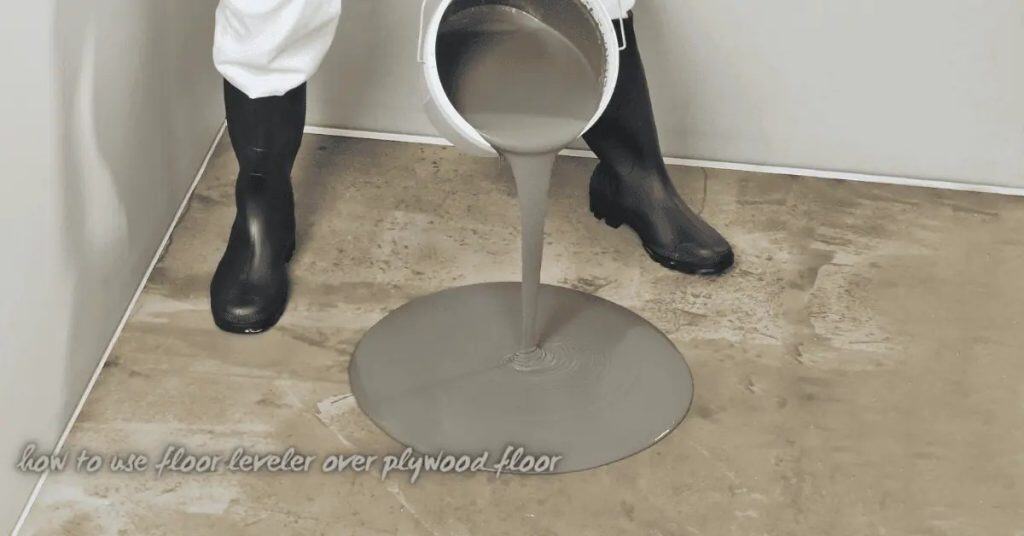
Introduction
A level, laser level, straightedge, screed, or self-leveling underlayment can help produce a floor that meets the final finish requirement. They do different jobs: a measuring tool establishes or transfers a reference and finds variation; a correction material changes the surface. Neither makes weak, wet, contaminated, moving, or unsupported concrete sound.
Start with the final flooring, tile, coating, cabinet, or concrete objective. “Level” and “flat” are not interchangeable. A floor can have an intentional slope and still be flat enough for its finish; it can also be level overall but too wavy for that finish. Measure against the finish manufacturer’s stated method and tolerance rather than using a universal DIY number.
Key takeaways
- Use a laser level, transit, spirit level, or straightedge to measure and map a surface; use grinding, patching, screeding, or an approved underlayment to correct it.
- Mark high and low areas before choosing a correction. One reading or a visual inspection is not a floor map.
- Self-leveling underlayment can correct eligible elevation and flatness deficiencies within its product limits; it cannot repair a defective slab.
- Use the moisture-test method and acceptance limit required by the selected flooring, adhesive, coating, or underlayment system.
- Do not mix or place material unless substrate eligibility, soundness, preparation, moisture compliance, primer, and product limits are documented and confirmed.
Table of Contents
- Introduction
- Key takeaways
- What is a leveling system?
- Common uses of leveling systems in construction projects
- Benefits of using a leveling system
- When a leveling system hides bad preparation
- How to choose the right leveling system for your job
- Proper surface preparation before using a leveling system
- Safety considerations and best practices
- Cost, maintenance, and long-term implications
- Conclusion
- FAQ
What is a leveling system?
“Leveling system” is a broad term, so identify the category before selecting a tool or material.
| Category | Examples | What it does | What it cannot do |
|---|---|---|---|
| Measurement/reference | Spirit level, laser level, rotary laser, transit, straightedge | Indicates relative level, plumb, elevation, slope, alignment, or local flatness | Does not flatten concrete, prove structural soundness, or measure moisture compliance |
| Material correction | Grinding, patching compound, screed, self-leveling underlayment | Removes high spots or fills eligible low areas to change surface elevation or flatness | Does not repair movement, weak concrete, contamination, or unsupported areas |
| Installation adjustment | Shims, wedges, cabinet leveling feet | Holds or fine-tunes an installed component | Does not correct a broad slab defect |
| Tile installation aid | Tile-leveling clips and wedges | Helps hold adjacent tile edges closer while mortar cures | Does not replace a flat substrate, proper mortar coverage, or correct setting technique |
| Form/layout equipment | Transit, rotary laser, stringline, screed rails | Establishes design reference lines and elevations | Does not automatically control placement, consolidation, screeding, or finishing |
A self-leveling laser level projects a horizontal or vertical reference within its stated accuracy when it is within its self-leveling range and has passed the manufacturer’s accuracy check. It is not a perfectly exact plane. DEWALT explains that laser accuracy is expressed as a tolerance at a stated distance; review its laser terminology and accuracy definitions along with the manual for the exact instrument.
Use a spirit level for short checks. Use the finish manufacturer’s specified straightedge or measurement method for local floor flatness. A laser or transit is useful for comparing elevations across a room, slab, or set of forms.
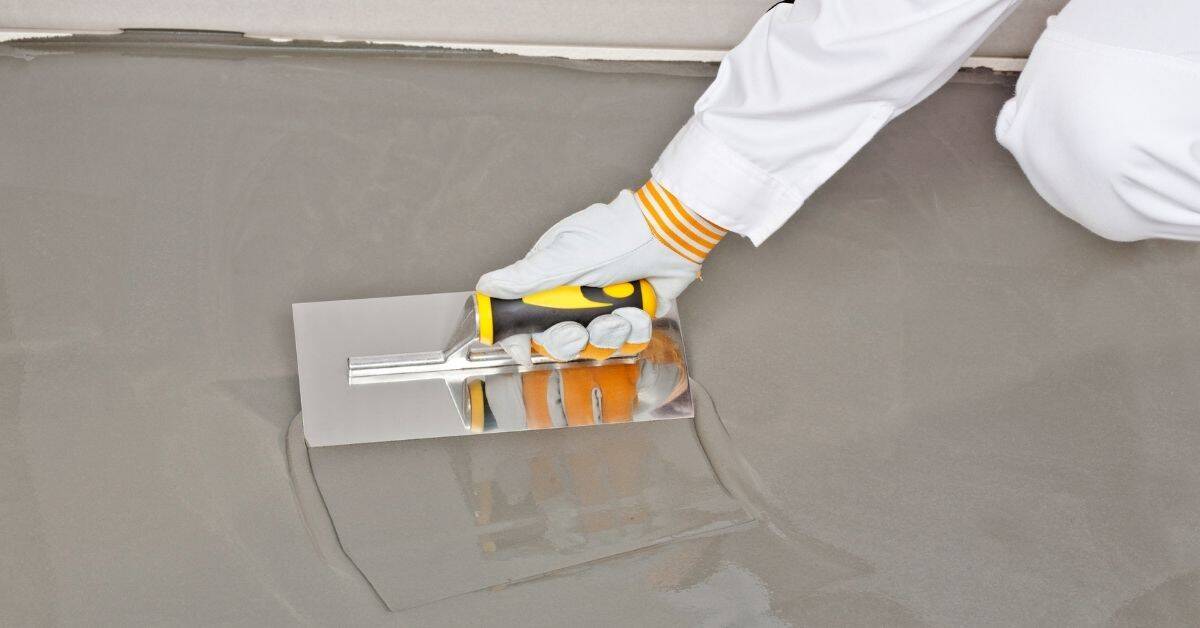
Common uses of leveling systems in construction projects
| Task | Primary tool or system | Practical use | Main limitation |
|---|---|---|---|
| Check slab elevation or designed slope | Rotary laser, transit, or laser level with staff/tape | Compare points to a benchmark and map high and low areas | A reference reading does not establish slab soundness or moisture condition |
| Check local flatness | Long straightedge or screed bar | Find gaps, rocking, and local deviations using the finish manufacturer’s specified method | A short spirit level can miss long-wave floor variation |
| Flatten a floor | Grinding, patching, screeding, or approved underlayment | Correct mapped high and low areas | The substrate must be sound, clean, compatible, and within the product limits |
| Set concrete forms | Transit/rotary laser, stringline, formwork controls | Transfer design elevations and verify form locations | Depth checks, placement, screeding, consolidation, and finishing still control the concrete |
| Align cabinets | Spirit level or laser level, shims, fasteners | Establish a level and plumb cabinet installation line | Shims correct the cabinet installation, not the whole floor |
| Reduce tile lippage | Flat substrate, correct mortar coverage, clips/wedges where appropriate | Hold neighboring tile edges during setting | Clips cannot correct an irregular substrate, warped tile, insufficient mortar, or improper installation |
For floor work, measure first and then choose the correction: grind isolated high spots; patch eligible shallow depressions; use a screed or underlayment only where its product instructions permit the substrate and thickness; and use shims only for isolated installed components. Recheck the finished surface before installing the covering.
Benefits of using a leveling system
The benefit is repeatable information. A stable reference and a marked surface map help you correct the right locations, control material use, and verify the final surface against the finish requirement.
For a concrete pour, a laser level or transit can transfer benchmark elevations to forms and screed controls. It does not automatically control slab thickness, slope, edge alignment, consolidation, or finish quality. Those remain formwork, placement, depth-checking, screeding, and finishing tasks.
When a leveling system hides bad preparation
A smooth new layer can conceal a failing substrate until it debonds, cracks, or develops hollow areas. Do not use a patch or underlayment to bury dusting concrete, laitance, oil, curing compounds, incompatible coatings, loose material, active water, or delamination.
Problems to correct—or stop for—before leveling
- Cracks and joints: Separate stable surface cracks from active, moving, structural, or deteriorated cracks. Do not bury a questionable crack or joint under leveling material.
- Weak or detached concrete: Spalling, hollow-sounding areas, honeycombing, exposed reinforcement, and delamination require investigation and repair, not a cosmetic overlay.
- Contamination: Dust, laitance, oil, sealers, curing compounds, and loose coatings can prevent bond. Remove them by the preparation method required for the selected system.
- Moisture: A generic hygrometer or electronic meter is not automatically an acceptable pass/fail test. Use the substrate-specific test method and acceptance limit required by the flooring, adhesive, coating, or underlayment manufacturer.
- Movement or water: Settlement, deflection, recurring dampness, and active water intrusion must be resolved before surface correction.
For example, ASTM F1869 is a calcium-chloride method that produces a moisture-vapor-emission result at the time of testing and has defined scope limits. It is not interchangeable with every other moisture test. Use it only when the selected system specifies it; see ASTM F1869 and its limitations.

How to choose the right leveling system for your job
Start with the final finish requirement, substrate type, and substrate condition—not with the tool or compound already on hand. Obtain the current instructions for the finish and for every patch, primer, and underlayment under consideration.
Self-leveling underlayment is not a universal fix. ARDEX describes ARDEX V 1300 as a high-flow self-leveling underlayment used to level and smooth substrates before finished flooring. That does not make its requirements universal: permitted and prohibited substrates, mechanical preparation, primer, thickness, water amount, working time, temperature conditions, cure, covering time, moisture limits, joints, cracks, and radiant-heat instructions are product-specific.
Because those values vary by product and can change, this article is a diagnostic and selection guide—not a substitute for a current product data sheet. Do not use generic placement instructions, a guessed water ratio, or a generic cure time for any underlayment.
Dependency-ordered diagnostic procedure
- Define the target. Decide whether the surface must be level, deliberately sloped, flat to a finish tolerance, or only provide a level cabinet reference. Obtain the finish manufacturer’s requirement before measuring.
- Identify the substrate. Record whether it is concrete, gypsum underlayment, wood, coating, tile, or another material. Product eligibility depends on this identification.
- Inspect before correcting. Identify cracks, joints, weak concrete, laitance, dust, oil, coatings, delamination, moisture concerns, penetrations, and radiant-heating locations.
- Check the measuring tool. Use the exact field-accuracy procedure in the tool manufacturer’s manual. A laser’s allowable error is tied to a stated distance and tool model. Check after a drop, suspected damage, extreme temperature exposure, prolonged storage, or questionable results. Spirit levels also require the maker’s inspection method.
- Establish a benchmark and map the floor. Use a laser level or transit for elevations and the finish-specified straightedge method for local flatness. Mark every significant high and low area rather than relying on a single worst reading.
- Choose the correction. Grind isolated high spots; patch eligible small depressions; use a screed or underlayment only for broader areas