Search Results for: match texture plaster

Person painting wood siding with white primer brush

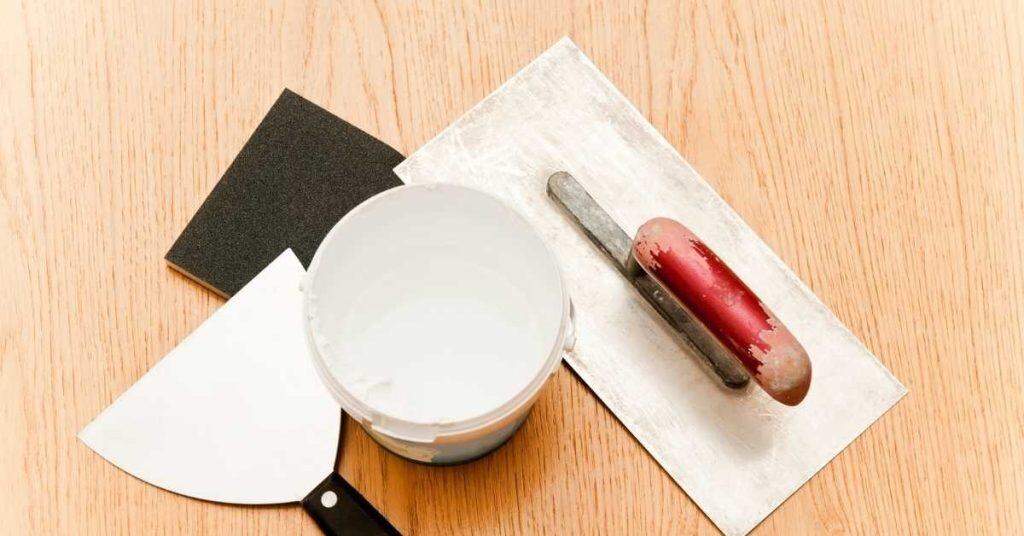
Primer Compatibility Chart: Water-Based vs. Oil-Based vs. Shellac (What Can Go Over What)

Introduction Primer compatibility means choosing the right primer for the surface and topcoat so the finish adheres and lasts. Different primers are designed to bond to different surfaces and to seal, block stains, or prevent bleed-through. Always check the label for what the primer can be applied over and what the topcoat can be used […]

Primer Compatibility Chart: Water-Based vs. Oil-Based vs. Shellac (What Can Go Over What) Read More »

Vinyl corner bead strip with perforations beside orange safety mesh.

Corner Bead Choices: Metal vs. Vinyl vs. Paper-Faced (When Each One Wins)

Introduction Corner bead choices are metal, vinyl, or paper-faced trims used to form and protect drywall corners. Metal beads are sturdy, vinyl beads stay flexible, and paper-faced beads rely on drywall paper and mud to hold shape. This article keeps the talk practical for DIY installs. To pick one, consider where the corner will see

Corner Bead Choices: Metal vs. Vinyl vs. Paper-Faced (When Each One Wins) Read More »

Plastering tools including float, putty knife, sanding sponge and bucket

DIY Level-5 Finish in Small Rooms: Skim Tools, Lighting Checks, and When to Stop

Introduction A DIY Level-5 finish is a near-perfect, impeccably smooth and flat wall or ceiling surface achieved with careful skim coats. This article walks you through skim tools, lighting checks, and the moment to stop before chasing perfection, in small rooms. Use the right skim blade or trowel, keep tools clean, and test with steady

DIY Level-5 Finish in Small Rooms: Skim Tools, Lighting Checks, and When to Stop Read More »

Person applying plaster to drywall seam with putty knife

Fixing ‘Picture Framing’ on Drywall: Why Edges Show Through and How to Reset the Surface

Introduction Picture framing on drywall is when the edge of a wall surface shows a frame-like line where joints or tape peek through. That happens after you paint or texture and the details of the tape or joint compound show along the edge. Fixing it means rebuilding a clean, smooth edge before you repaint. First,

Fixing ‘Picture Framing’ on Drywall: Why Edges Show Through and How to Reset the Surface Read More »

Stucco wall with a long patch near basement window

Fixing Hollow-Sounding Stucco: When to Patch vs When to Rebuild

Introduction Hollow-sounding stucco means the outer layer isn’t firmly attached to the wall and loose areas rattle. For small, localized hollows, you can patch; for wide or underlying damage, you’ll likely need to rebuild the affected area. This is a hands-on decision that depends on what’s beneath the surface and how stable the substrate feels.

Fixing Hollow-Sounding Stucco: When to Patch vs When to Rebuild Read More »

Brick chimney with smoke emitting against blue sky

Chimney Stucco Failures: Heat, Cracks, and Repair Choices

Introduction Chimney stucco failures are cracks and deterioration in the exterior plaster caused by heat exposure, moisture, and movement. These issues show up as hairline cracks, spalling, or texture changes that let water in. Addressing them early keeps water out and protects the brick or block behind the finish. To start, inspect for cracks that

Chimney Stucco Failures: Heat, Cracks, and Repair Choices Read More »

Close-up of moss growing on deteriorating concrete edge

Feather-Edge Concrete Repairs: When They Fail and Better Build-Up Methods

Introduction Feather-edge concrete repairs are a method to rebuild a thin, tapered edge on damaged concrete so it blends with the surrounding slab. This approach is hands-on and relies on proper surface prep, bonding, and gradual build-up rather than full removal. If the edge is chipped but the rest of the slab is sound, a

Feather-Edge Concrete Repairs: When They Fail and Better Build-Up Methods Read More »

Hand painting white window sill with brush near open window

Neater Painting Tips: Cleaner Lines, Less Tape, Better Cut-In

Introduction Neater Painting Tips means getting cleaner lines with less tape and sharper cut-ins. Start with a clean, dry surface and proper tool selection, like a stiff bristle brush or angled sash brush for precise edges. Practice slow, stable strokes and keep a small, controlled paint bead along the boundary to reduce bleed. For cut-ins,

Neater Painting Tips: Cleaner Lines, Less Tape, Better Cut-In Read More »