Search Results for: floor sand paper

Man applying plaster patch to ceiling near vent

Patching Plaster Around Vents: Crisp edges and clean transitions

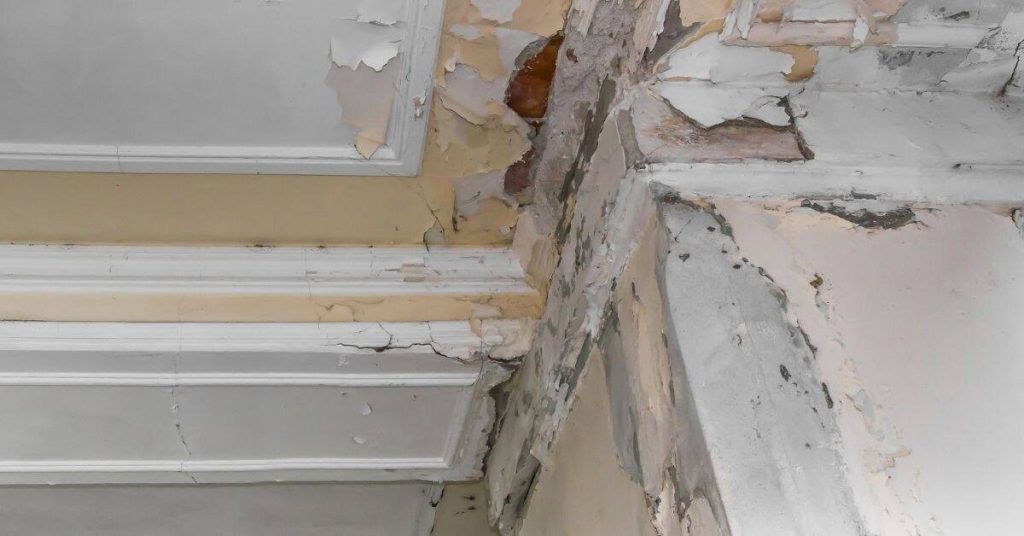
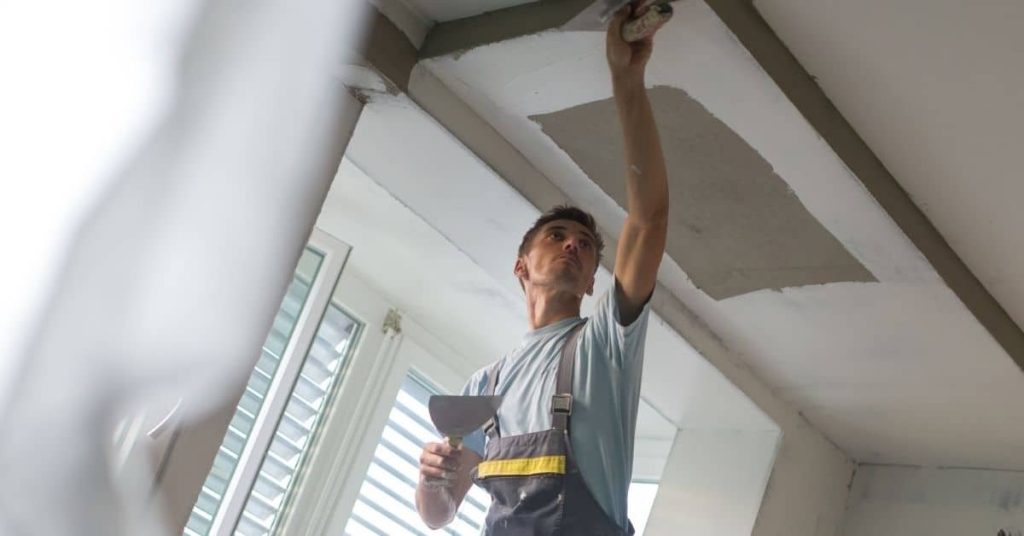
Introduction Patching plaster around vents is fixing gaps where the vent touches the wall so edges stay crisp. You’ll clean and feather the plaster, then seal the joint so it blends with the surrounding wall. Work carefully where the vent meets the plaster to avoid cracks. Start by removing loose material, dampening the area, and […]

Patching Plaster Around Vents: Crisp edges and clean transitions Read More »

Close-up of cracked and peeling plaster ceiling with crown molding

Water-Damaged Plaster: What to remove, what to dry, and what to rebuild

Introduction Water-damaged plaster needs to be removed, dried, and rebuilt in a practical, step-by-step way. You’ll determine what to remove, what to dry, and what to replace based on how far the damage has spread. This article keeps the tone hands-on and avoids fluffy theory. Start by inspecting the area to judge how much material

Water-Damaged Plaster: What to remove, what to dry, and what to rebuild Read More »

Smooth white plastered ceiling with single hanging light bulb

Blistering Plaster Finish Coats: Causes and a cleaner re-skim approach

Introduction Blistering plaster finish coats are finish layers that lift or bubble because moisture or poor adhesion gets trapped under the surface. In DIY work, heat, humidity, or applying a coat too thick can start blisters. A cleaner re-skim approach means removing the loose skin and reflowing the coat while following the product’s instructions. Begin

Blistering Plaster Finish Coats: Causes and a cleaner re-skim approach Read More »

Hand applying plaster to brick wall with trowel

Sealing Lime Plaster: Protection options that still let walls breathe

Introduction Sealing lime plaster means applying a breathable coating that protects the wall without stopping moisture. Choose sealers or finishes that are specifically marked breathable and lime-plaster compatible. Test a small patch first and check the product label for indications of breathability and surface compatibility. Prepare and clean the wall, then apply in thin, even

Sealing Lime Plaster: Protection options that still let walls breathe Read More »

closeup of hollow clay bricks showing texture and edges

Repairing Roman Clay Scratches: Fixes that don’t leave shiny spots

Introduction Repairing Roman clay scratches means restoring the smooth, even look of the surface without creating new shiny spots. The goal is a natural finish that blends with the surrounding texture and tone. Start by evaluating the scratch, then choose a patching method that won’t leave a glossy patch and test it on a hidden

Repairing Roman Clay Scratches: Fixes that don’t leave shiny spots Read More »

Worker smoothing plaster on wall with trowel

Tadelakt Maintenance: Keeping water resistance without constant rework

Introduction Tadelakt maintenance is the ongoing care of a lime plaster finish to preserve water resistance. It relies on keeping the surface clean, timely repairs, and periodic re-waxing or sealing as needed. If you notice water infiltration or dull spots, check the product labels and follow the manufacturer guidance. In practice, you can spot-treat small

Tadelakt Maintenance: Keeping water resistance without constant rework Read More »