Search Results for: finishing

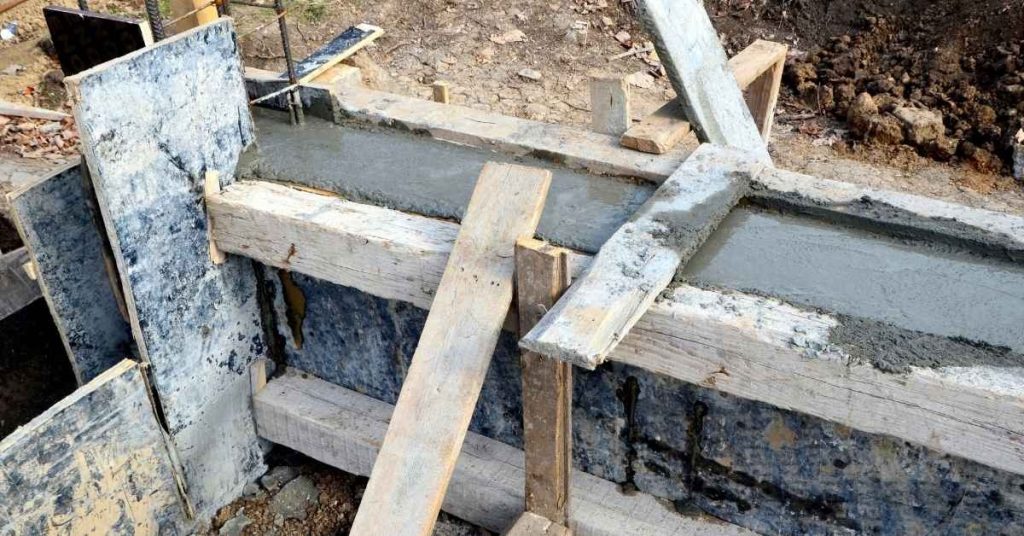
Wooden concrete forms filled with fresh concrete at construction site

Vibration for Small Forms: How to Reduce Bugholes Without Washing Cement Paste to the Face

Introduction Vibration for small forms reduces bugholes by helping the cement paste settle and lock to the form surface without washing off the surface layer. Bugholes stem from air pockets and laitance left on the surface, and proper vibration can minimize them if you don’t overwork the mix. Use a light, targeted approach to keep […]
Vibration for Small Forms: How to Reduce Bugholes Without Washing Cement Paste to the Face Read More »

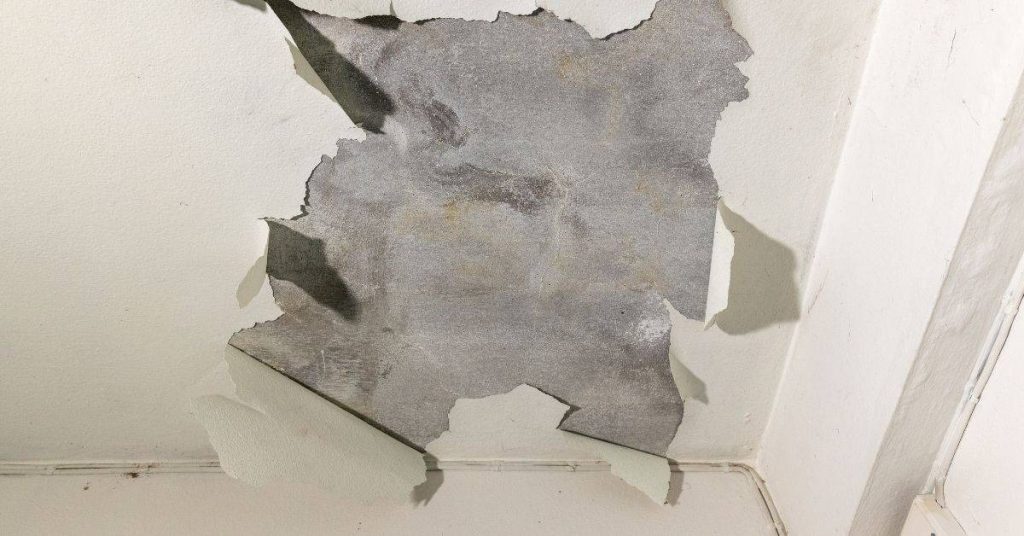
Ceiling paint peeling off revealing concrete beneath

Keeping Concrete From Drying Too Fast in Wind: DIY Windbreaks and Fogging Tricks

Introduction Wind speeds up evaporation and can cause concrete to dry too fast during curing. That’s why you’ll want simple windbreaks and moisture keeping practices on every pour. A DIY windbreak can be plywood sheets, scrap lumber, or tarps staked to create a sheltered strip around the work. Fogging or light misting helps keep surface

Keeping Concrete From Drying Too Fast in Wind: DIY Windbreaks and Fogging Tricks Read More »

Pouring dry concrete mix into a bucket

Concrete Mixing in 5-Gallon Buckets: Repeatable Ratios for Small Projects

Introduction Concrete mixing in 5-gallon buckets is the practice of combining cement, aggregate, and water in small, repeatable ratios for quick, local work. This guide keeps things hands-on, using simple steps you can follow without heavy gear. You’ll see practical references to patterns like Ashlar Notched Slate and American Flagstone as familiar ends for small

Concrete Mixing in 5-Gallon Buckets: Repeatable Ratios for Small Projects Read More »

Glossy reflections on a dark epoxy-coated floor surface

Spot-Sealing Stains: How to Avoid ‘Shiny Islands’ on Matte Sealers

Introduction Spot-sealing stains are the shiny patches that can appear on a matte sealer after applying it. They usually form where the stain or moisture drew the sealer unevenly. In this guide we’ll keep things practical and show how to prevent those islands from showing up. To avoid them, work in small, controlled areas and

Spot-Sealing Stains: How to Avoid ‘Shiny Islands’ on Matte Sealers Read More »

Hands wearing gloves smoothing gray epoxy on floor with trowel

DIY Epoxy Patch on a Garage Floor: Feathering Edges and Matching Gloss Without a Halo

Introduction An epoxy patch is a DIY repair that fills a damaged garage floor and blends it into the surrounding concrete. You’ll feather the edges so the repair tapers into the floor, and aim for a consistent sheen to avoid a noticeable halo. Check manufacturer instructions for cure times, prep steps, and recommended products. This

DIY Epoxy Patch on a Garage Floor: Feathering Edges and Matching Gloss Without a Halo Read More »

Man kneeling fixing a toilet with tools nearby

Fixing ‘Hot Tire Pickup’ Without Recoating Everything: Cleaning and Spot Repair Options

Introduction Hot tire pickup is tire marks on a cured floor coating that you can treat with cleaning and spot repair instead of recoating. This approach focuses on removing the stain and restoring gloss in the affected area. It avoids the hassle and cost of a full recoat, but you still need to follow safe,

Fixing ‘Hot Tire Pickup’ Without Recoating Everything: Cleaning and Spot Repair Options Read More »

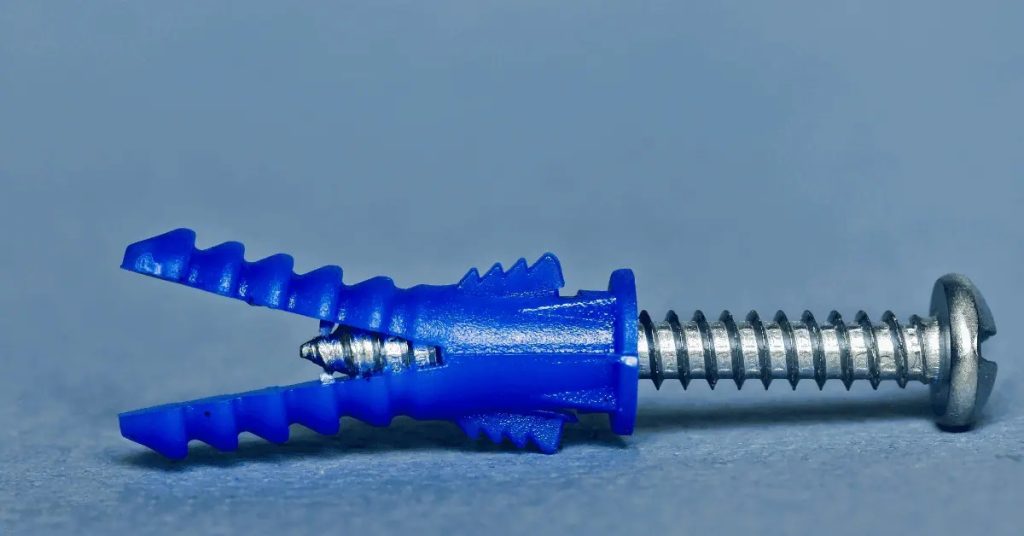
Blue plastic drywall anchor with metal screw on gray surface

Epoxy Anchor Failure Modes: Dirty Holes, Wet Holes, and Wrong Cure Temperature

Introduction Epoxy anchor failure happens when the hole is dirty, wet, or the cure temperature is off. In real job sites, debris, moisture, or the wrong curing conditions keep the epoxy from bonding to the concrete. That shows up as low pullout, hairline cracks, or anchors that spin. Always clean the hole, dry it, and

Epoxy Anchor Failure Modes: Dirty Holes, Wet Holes, and Wrong Cure Temperature Read More »

Hand wearing white glove installing brown plastic anchor on foam board

Installing a New Vent Through Stucco: Sleeves, Slope, and Sealant Geometry

Introduction Installing a new vent through stucco means creating a weather-tight opening in stucco siding to run a vent sleeve and sealant geometry. This keeps airflow functional while protecting the wall from water penetration. You’ll want to plan the sleeve, slope, and seal around the opening so the vent directs moisture away from the home.

Installing a New Vent Through Stucco: Sleeves, Slope, and Sealant Geometry Read More »