Search Results for: finishing

Concrete countertop with sink cutout and dark metal faucet

DIY Concrete Countertops with Superplasticizer: Mixing, Placement, and Finishing

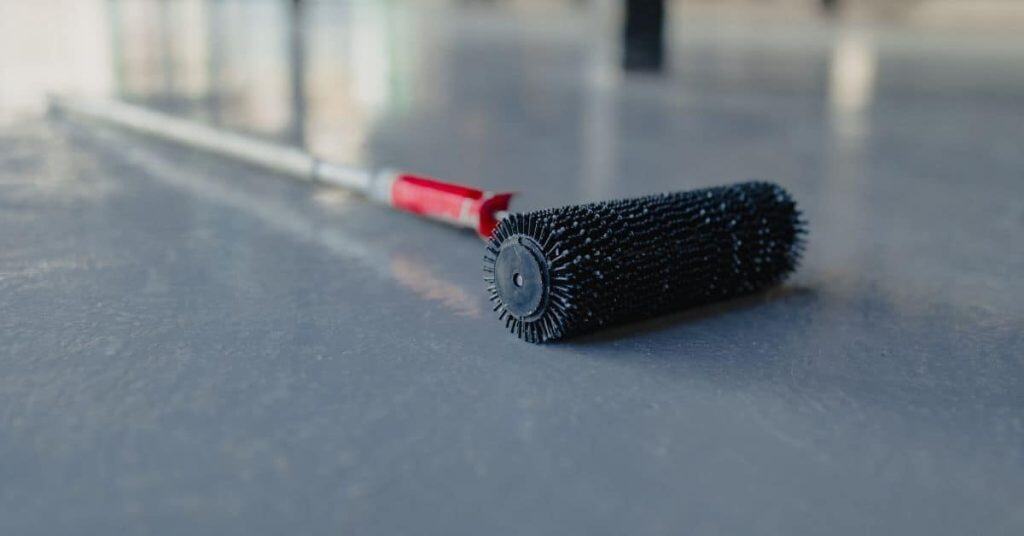
Introduction DIY concrete countertops with superplasticizer are hand-poured countertop slabs that use a superplasticizer to improve flow and reduce slump. This article covers mixing, placement, and finishing in plain, hands-on terms. You’ll learn what to check on the product label, how to prep forms, and how to avoid common mistakes. Mixing, placing, and finishing require […]

DIY Concrete Countertops with Superplasticizer: Mixing, Placement, and Finishing Read More »

Close-up of rough concrete surface with blurred background lights

Concrete Surface Blisters: Finishing Causes and How to Prevent Them

Introduction Concrete surface blisters are raised pockets on the finish caused by trapped air or moisture beneath the surface. They usually form when the surface dries too quickly or moisture moves upward as the concrete sets. Causes include finishing while the surface is still soft, excessive water in the mix, or rapid evaporation from sun,

Concrete Surface Blisters: Finishing Causes and How to Prevent Them Read More »

Hand spraying white lacquer on wooden furniture frame

Spray Finishing Cabinets With Waterborne Lacquer: Setup, Dry Times, and Scratch Resistance

Introduction Spray finishing cabinets with waterborne lacquer means using a water-based clear finish atomized through a spray gun to protect and dress cabinet surfaces. It’s a faster-build, lower-odor option than many solvent lacquers, but you should check the product label for recommended spray setup and drying guidance. Expect to work in controlled humidity and temperature

Spray Finishing Cabinets With Waterborne Lacquer: Setup, Dry Times, and Scratch Resistance Read More »

Brush applying white finish to wooden cabinet panels

Spray Finishing Cabinets With Waterborne Lacquer: A Step-by-Step Timeline

Introduction Embarking on a cabinet spray finishing project with waterborne lacquer? Understanding the timeline is crucial to ensure you allocate enough time and resources for each step. From surface preparation to final cure, let’s break down the process into manageable stages. Whether you’re a seasoned DIYer or a first-timer, this detailed timeline will help you

Spray Finishing Cabinets With Waterborne Lacquer: A Step-by-Step Timeline Read More »

Man applying joint compound to drywall ceiling corners

Finishing Drywall Around Recessed Lights: Avoiding Rings, Cracks, and Shadowing

Introduction Finishing drywall around recessed lights means taping, mudding, and sanding careful edges so the lights sit cleanly in the ceiling. The goal is to avoid visible rings, hairline cracks, and shadow lines when the light is on. Check the fixture details and follow any manufacturer or local guidance rather than guessing. Feather the mud

Finishing Drywall Around Recessed Lights: Avoiding Rings, Cracks, and Shadowing Read More »

Blue ladder in room with patched and primed drywall walls

Setting-Type Mud vs. All-Purpose: Where Each Belongs in Repairs and Finishing

Introduction Setting-type mud is a drywall compound that dries harder for joints, while all-purpose mud is a versatile, faster-setting option for general repairs. In repairs and finishing, use setting-type where you need a strong, clean joint and sanding resistance; use all-purpose for quick fills and smooth coats. Think about the project timeline and surface when

Setting-Type Mud vs. All-Purpose: Where Each Belongs in Repairs and Finishing Read More »

Unpainted drywall sheets with taped and mudded joints on ceiling and walls

Drywall Finishing in Cold Weather: Heater Placement, Dry Times, and Crack Prevention

Introduction Drywall finishing in cold weather means keeping mud workable and joints from cracking by managing heat and drying times. Aim for a steady, moderate temperature in the room and avoid drafts that slow drying. Check the mud you’re using for cold-weather guidance and follow the manufacturer’s instructions for working times. Position heaters to keep

Drywall Finishing in Cold Weather: Heater Placement, Dry Times, and Crack Prevention Read More »

spiked roller lying on smooth epoxy resin floor

Use Epoxy Resin Like a Pro: Mixing, Pouring, Bubbles, and Finishing

Introduction Epoxy resin is a two-part system that you mix and pour to create a hard, glossy surface. This guide walks you through mixing, pouring, and finishing like a pro, with practical, DIY-friendly steps. Keep it simple, check the product label and follow manufacturer instructions for safe use. Air bubbles come from rushing mixing, too-fast

Use Epoxy Resin Like a Pro: Mixing, Pouring, Bubbles, and Finishing Read More »

Man applying joint compound to drywall ceiling

Working with Drywall: Layout, Cutting, Fastening, and Finishing Tips

Introduction Drywall work is the hands-on process of laying out panels, cutting to fit, screwing them in, and smoothing the joints. You’ll want clean lines, solid fasteners, and a plan for seams before you start hanging sheets. Keep your tools ready and work methodically from room to room to avoid rework. Pay attention to butt

Working with Drywall: Layout, Cutting, Fastening, and Finishing Tips Read More »