Search Results for: finishing

Vinyl corner bead strip with perforations beside orange safety mesh.

Corner Bead Choices: Metal vs. Vinyl vs. Paper-Faced (When Each One Wins)

Introduction Corner bead choices are metal, vinyl, or paper-faced trims used to form and protect drywall corners. Metal beads are sturdy, vinyl beads stay flexible, and paper-faced beads rely on drywall paper and mud to hold shape. This article keeps the talk practical for DIY installs. To pick one, consider where the corner will see […]

Corner Bead Choices: Metal vs. Vinyl vs. Paper-Faced (When Each One Wins) Read More »
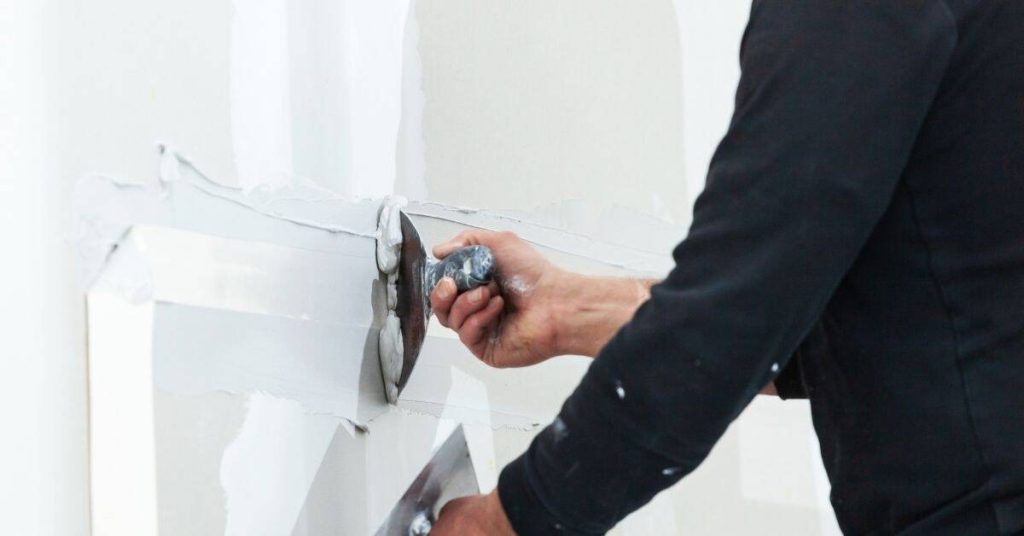
Person applying plaster to drywall seam with putty knife

Fixing ‘Picture Framing’ on Drywall: Why Edges Show Through and How to Reset the Surface

Introduction Picture framing on drywall is when the edge of a wall surface shows a frame-like line where joints or tape peek through. That happens after you paint or texture and the details of the tape or joint compound show along the edge. Fixing it means rebuilding a clean, smooth edge before you repaint. First,

Fixing ‘Picture Framing’ on Drywall: Why Edges Show Through and How to Reset the Surface Read More »

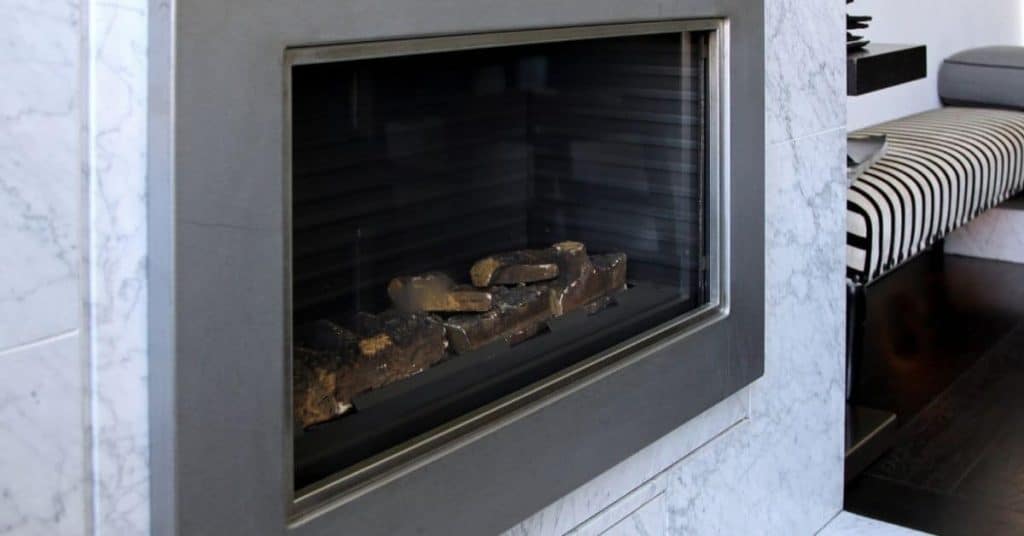
Modern gas fireplace with marble surround and striped bench nearby

How to Paint After Small Fire/Smoke Damage: Soot Removal, Odor Sealing, and Recoat Timing

Introduction This guide explains how to repaint after small fire and smoke damage. First, assess visible soot and smoke residue and clean the affected surfaces well. Use the right cleaners, wipe without rubbing, and remove loose debris before sealing. Odor sealing is used to lock in smells before a new coat. Check the product label

How to Paint After Small Fire/Smoke Damage: Soot Removal, Odor Sealing, and Recoat Timing Read More »

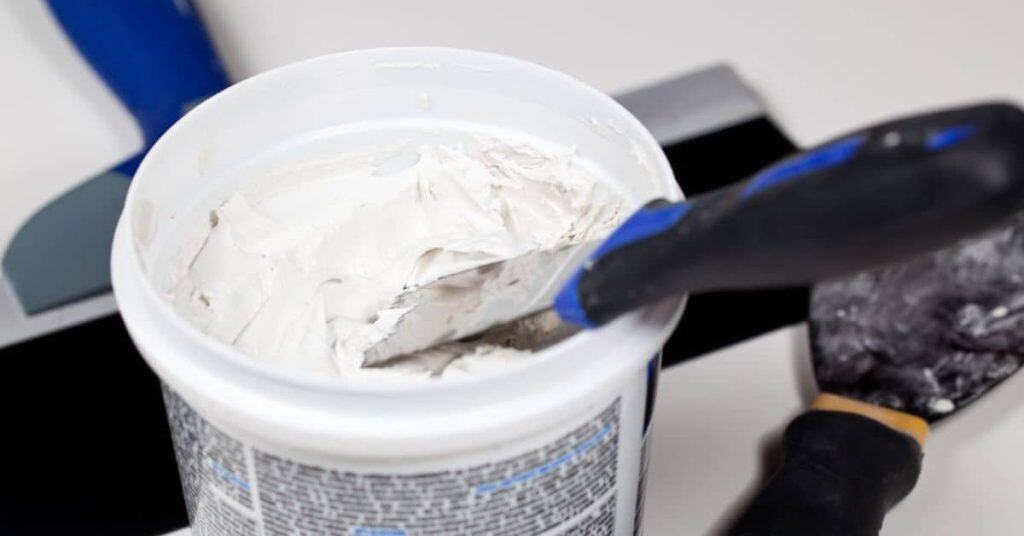
White spackle putty in tub with putty knife

How to Fix ‘Crawling’ Paint on Previously Waxed Surfaces (Decontamination Steps)

Introduction Crawling paint on previously waxed surfaces is paint that beads and drags, failing to adhere because a wax film repels the coating. This usually shows up where wax or cleaners were used before painting. You’ll fix it by cleaning, removing the wax, and preparing the surface for a fresh coat. Decontamination means removing the

How to Fix ‘Crawling’ Paint on Previously Waxed Surfaces (Decontamination Steps) Read More »

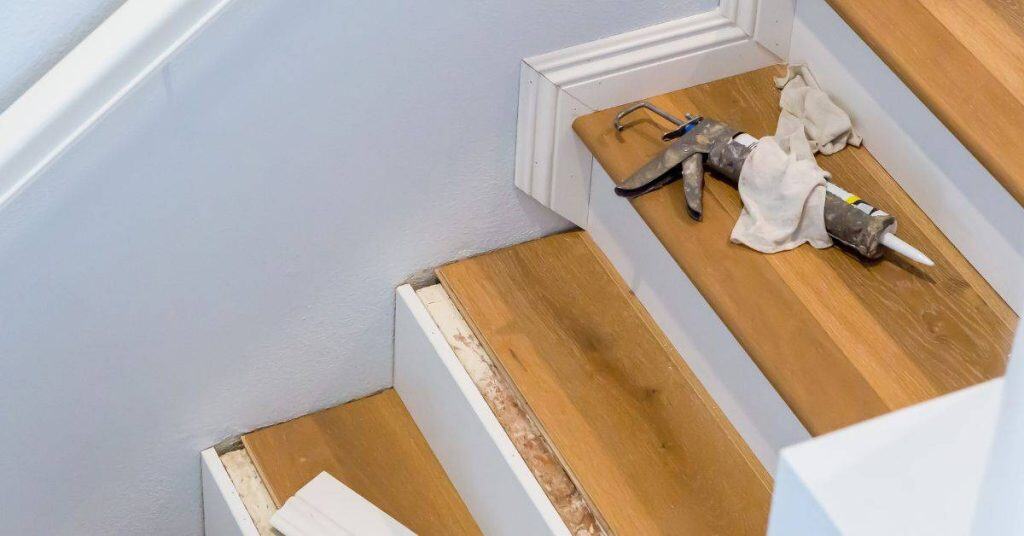
wood stairs with white trim and caulking gun on step

How to Paint Over Old Oil-Based Trim With Water-Based Paint (No Mystery Peeling)

Introduction Painting over oil-based trim with water-based paint is possible with the right prep. It means you’ll remove grime, scuff the surface, and use a compatible primer before applying the water-based finish. This article walks you through a practical, step-by-step approach you can do with basic tools. First, clean the trim and roughen the surface

How to Paint Over Old Oil-Based Trim With Water-Based Paint (No Mystery Peeling) Read More »

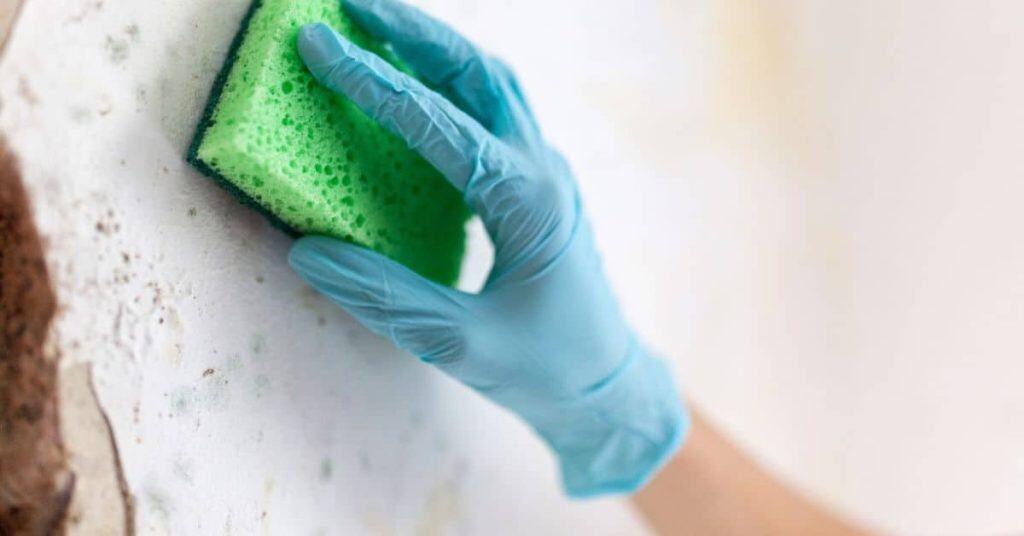
Hand wearing blue glove scrubbing stucco wall with green sponge

Repainting Old Stucco: Cleaning, Priming, and Coatings That Don’t Peel

Introduction Repainting old stucco means preparing the surface, then applying primer and coatings that resist peeling. It’s a hands-on process you can do in stages, not a one-shot job. Focus on cleanliness, a good seal, and choosing products labeled for stucco and exterior use. Start with a thorough cleaning, fix obvious cracks, and verify the

Repainting Old Stucco: Cleaning, Priming, and Coatings That Don’t Peel Read More »

Stucco wall with a long patch near basement window

Fixing Hollow-Sounding Stucco: When to Patch vs When to Rebuild

Introduction Hollow-sounding stucco means the outer layer isn’t firmly attached to the wall and loose areas rattle. For small, localized hollows, you can patch; for wide or underlying damage, you’ll likely need to rebuild the affected area. This is a hands-on decision that depends on what’s beneath the surface and how stable the substrate feels.

Fixing Hollow-Sounding Stucco: When to Patch vs When to Rebuild Read More »

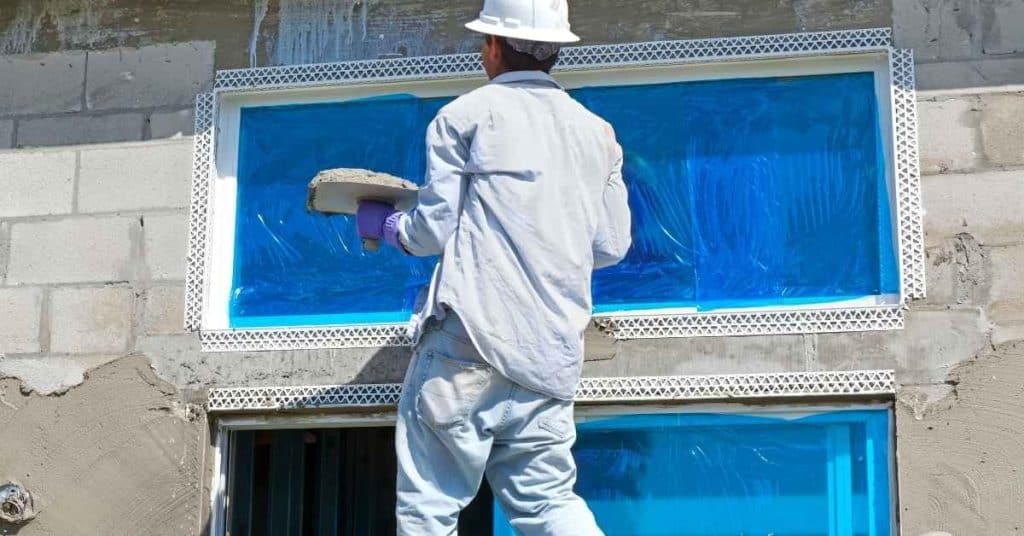
Worker applying stucco around window frames on building exterior

Caulking Stucco to Window Joints: Where to Seal and Where to Leave Drainage

Introduction Caulking stucco to window joints means sealing the gaps where the stucco meets the window frame to keep water out and air in check. It’s a hands-on job that protects the wall and helps prevent leaks. You’ll want to know where not to seal so drainage isn’t blocked and you don’t trap moisture. Start

Caulking Stucco to Window Joints: Where to Seal and Where to Leave Drainage Read More »