Search Results for: efflorescence

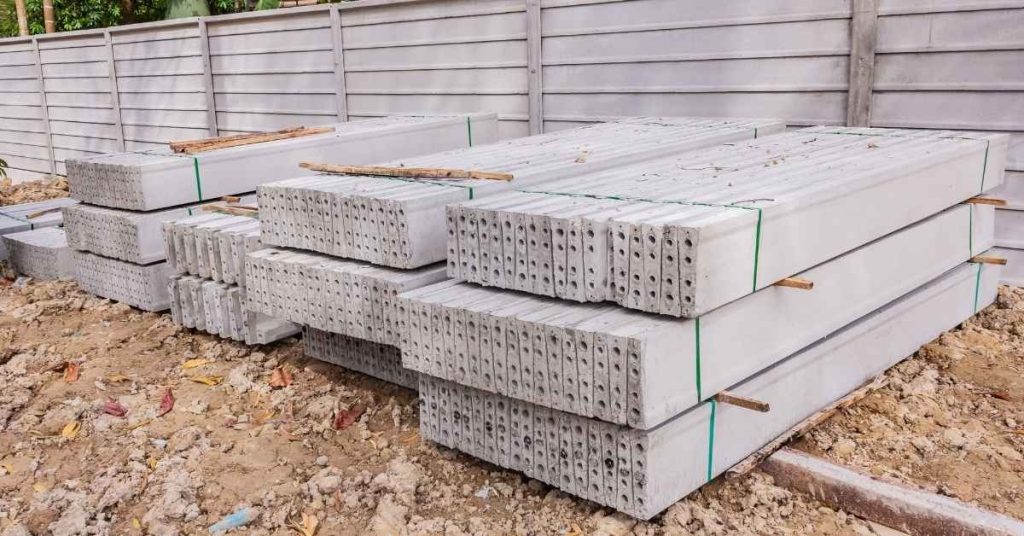
Stacked precast concrete hollow core slabs on dirt ground

Stucco at Concrete Slabs: Proper Gap, Sealant Joint, and How to Fix a Tight Termination

Introduction Stucco at concrete slabs means leaving a controlled gap and sealing it so the finish can move without cracking at the slab edge. This protects the stucco from moisture wicking and movement from the slab; check product instructions and local rules for the gap size and backing material. A proper joint combines a backing […]

Stucco at Concrete Slabs: Proper Gap, Sealant Joint, and How to Fix a Tight Termination Read More »

Hand applying stucco on brick wall with trowel

Stucco Termination at Brick or Stone: Transition Details That Don’t Crack or Trap Water

Introduction Stucco termination at brick or stone is the method of finishing and sealing the edge where stucco meets masonry so water is kept out and movement doesn’t crack the finish. Do the job with a clear gap for flashing, a solid backstop, and a termination trim that lets water drain; check product labels and

Stucco Termination at Brick or Stone: Transition Details That Don’t Crack or Trap Water Read More »

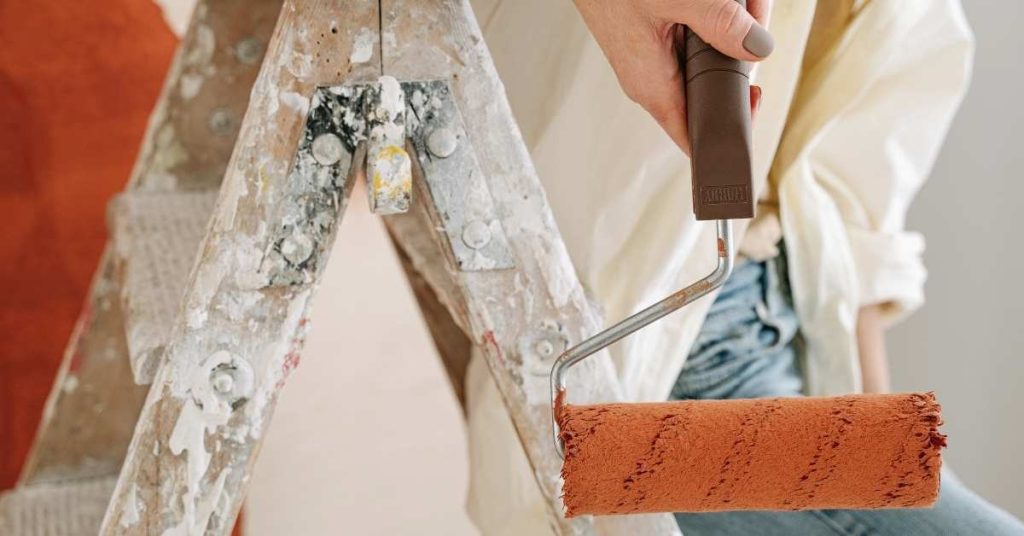
Hand holding paint roller with rusty orange paint near old paint-splattered ladder

Clay Plaster Pigments: Color Mixing, Mottling Control, and How to Test Panels

Introduction Clay plaster pigments are natural earths and oxides mixed into clay-rich binders to tint finishes, and color control comes down to careful mixing, testing, and understanding how clay and additives shift hue and value. For DIY panels, make small test boards, try layered thin coats, and note drying color versus wet—check product labels and

Clay Plaster Pigments: Color Mixing, Mottling Control, and How to Test Panels Read More »

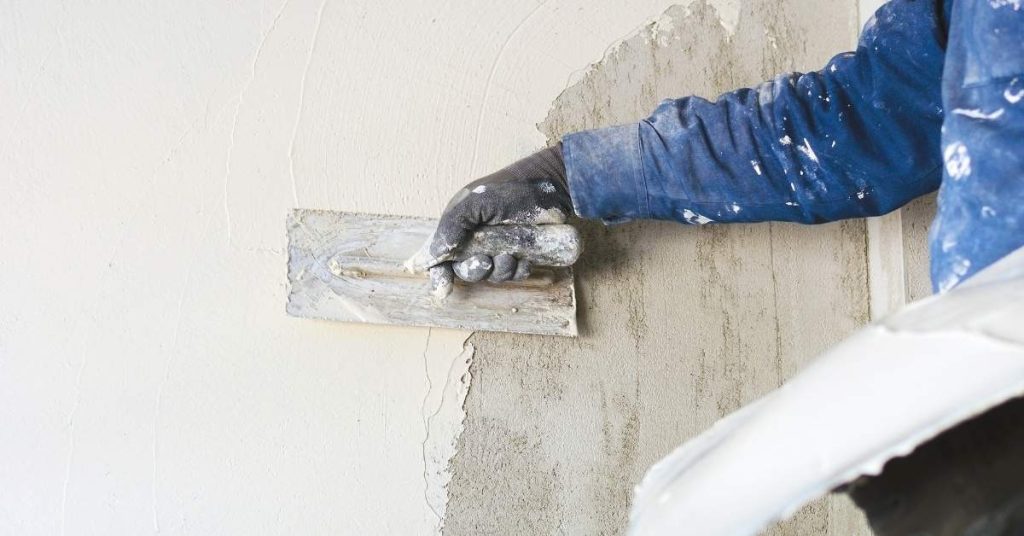
Worker smoothing plaster on a wall wearing blue uniform and helmet

Clay Plaster in Bathrooms: Where It Works, Where It Fails, and Safe Sealing Options

Introduction Clay plaster in bathrooms is an earthen wall finish that can work well in low-splash, well-ventilated areas but is not inherently waterproof. It handles humidity better than some gypsum finishes and gives a warm, tactile surface, though you need to check product instructions and local building rules before using it near showers or tubs.

Clay Plaster in Bathrooms: Where It Works, Where It Fails, and Safe Sealing Options Read More »

Gray Venetian plaster wall texture with subtle irregular patterns

Plaster in Kitchens: Grease Contamination Tests and Primer Choices Before Painting

Introduction Plaster in kitchens means checking for grease contamination and choosing the right primer before you paint to ensure the finish sticks and cleans up later. I’ll walk you through quick, practical grease tests you can do with household items and what to look for so you know when surface conditioning is needed. This is

Plaster in Kitchens: Grease Contamination Tests and Primer Choices Before Painting Read More »

Hand applying plaster to wall with trowel tool

Plaster Delamination ‘Bubbles’: Cutback Rules and How to Reattach Without Big Tear-Out

Introduction Plaster delamination “bubbles” are areas where the top plaster coat has lost adhesion to the substrate and forms a raised blister that can pop or tear back. This usually means moisture, weak bonding, or movement has separated layers; check the surface and product instructions to confirm causes before you act. In many cases you

Plaster Delamination ‘Bubbles’: Cutback Rules and How to Reattach Without Big Tear-Out Read More »

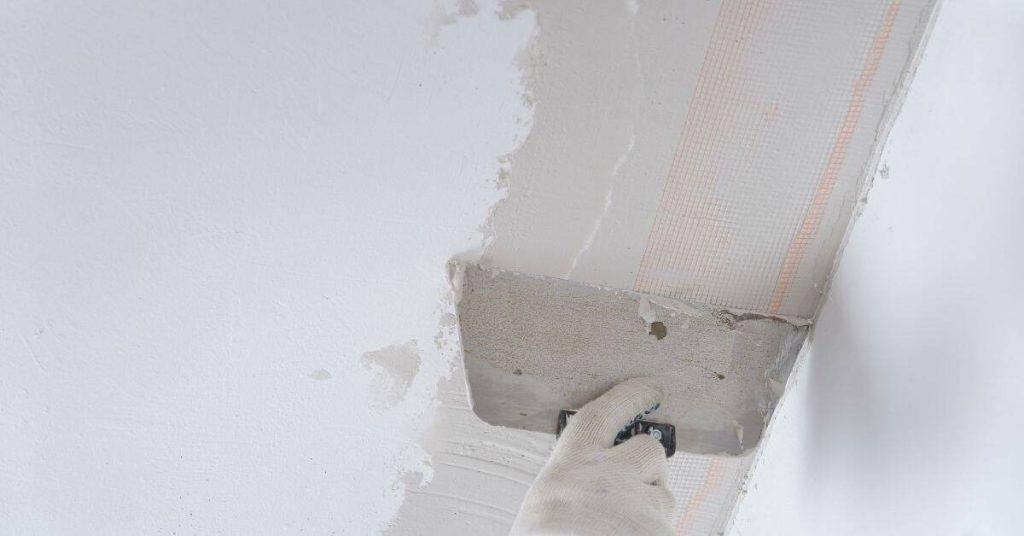
Hand applying plaster to ceiling corner with trowel

Plastering Over Painted Masonry: Decontamination Steps That Improve Bond

Introduction Plastering over painted masonry can be a challenge due to the existing paint layer. To ensure a strong bond and prevent peeling, decontamination is crucial. The process involves removing contaminants that could compromise adhesion. By following these steps, you’ll improve the bond between your new plaster and the painted surface. Key takeaways Assess feasibility

Plastering Over Painted Masonry: Decontamination Steps That Improve Bond Read More »

Worker applying plaster with trowel over cement board

Plaster Over Cement Board: Bonding Agents and Scratch Patterns That Hold

Introduction Plaster over cement board means using the right bond coat and a keyed scratch surface so the plaster mechanically and chemically adheres to the board. In plain jobsite terms: use a compatible bonding agent or cement-based scratch coat, make a consistent scratch pattern so the plaster keys, and follow product label instructions for mixing

Plaster Over Cement Board: Bonding Agents and Scratch Patterns That Hold Read More »

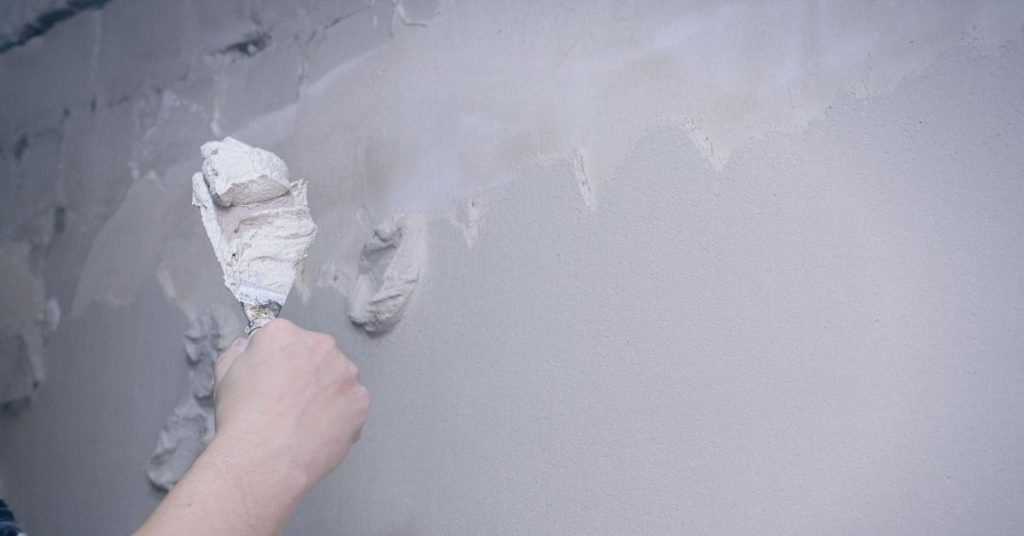
Hand applying plaster to wall with trowel

Veneer Plaster Repairs: Feathering, Timing, and Avoiding Hollow Spots

Introduction Veneer plaster repairs are the process of fixing damaged plaster by feathering new material into the old so the wall looks continuous and solid. This means assessing whether the existing veneer is well-bonded, cleaning and wetting the surface, and choosing a compatible patching mix and bonding method. I’ll focus on practical steps you can

Veneer Plaster Repairs: Feathering, Timing, and Avoiding Hollow Spots Read More »

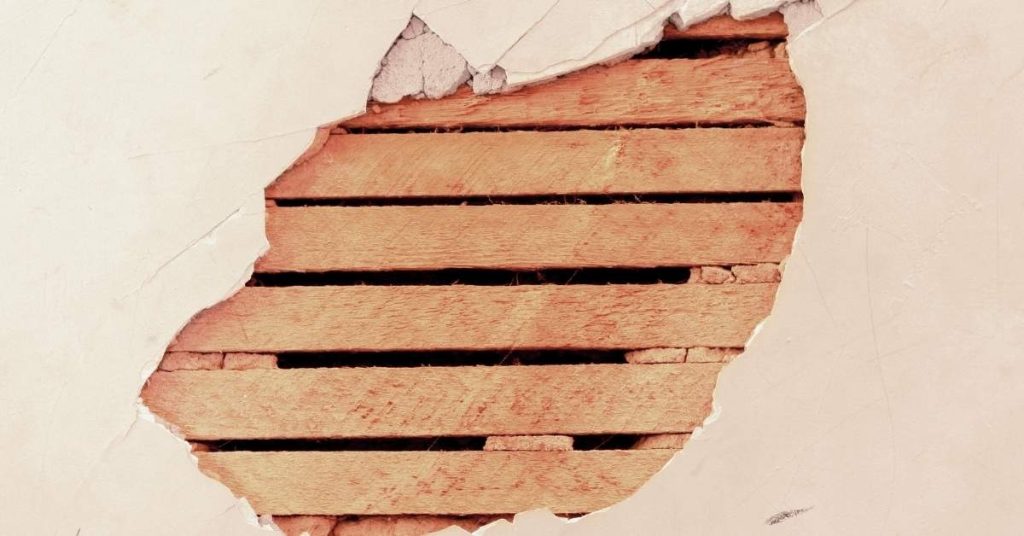
Wooden lath exposed through broken plaster wall

Plaster Key Failure on Wood Lath: Diagnosing, Re-Keying, and When to Add Mesh

Introduction Plaster key failure on wood lath happens when the plaster pulls away from or loses grip on the lath, leaving loose or hollow areas that will crack or fall out. This write-up shows practical ways to diagnose where keys failed, how to re-key small patches, and when adding mesh or repairing lath is the

Plaster Key Failure on Wood Lath: Diagnosing, Re-Keying, and When to Add Mesh Read More »