Search Results for: efflorescence

Broken plaster revealing wooden lath behind wall

Loose Lath Under Plaster: Refasten vs Replace (a Practical Decision Guide)

Introduction Refastening loose lath is usually the simplest first step to fix plaster that’s pulling away. If the lath is rotten or severely warped, replacement might be the safer option. Check for signs of damp, rot, and whether the plaster remains solid. Decide between refastening and replacing by inspecting the lath condition and the soundness […]

Loose Lath Under Plaster: Refasten vs Replace (a Practical Decision Guide) Read More »
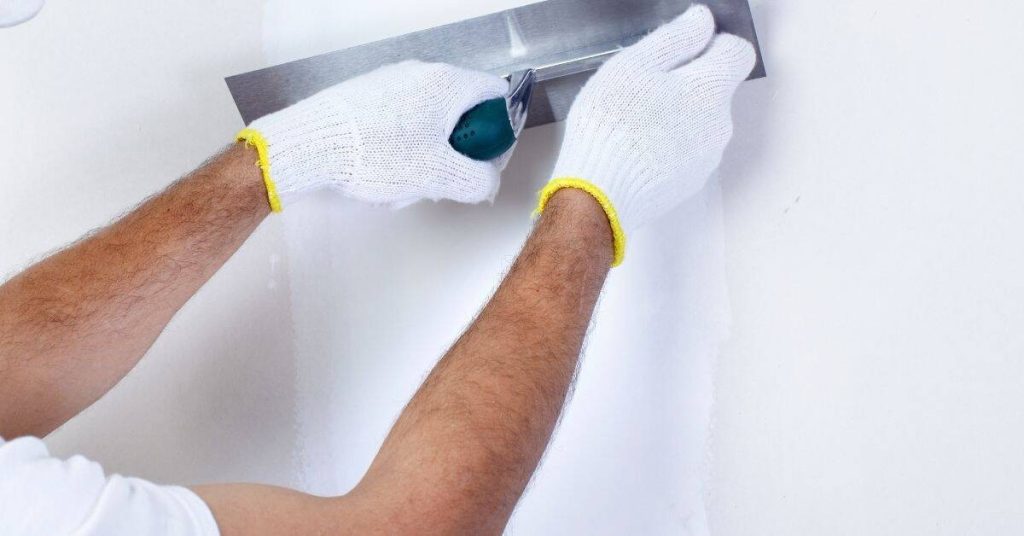
Person applying fresh plaster to wall with trowel and hawk

When Plaster Cracks Matter: Cosmetic Lines vs Movement Red Flags

Introduction Cosmetic cracks are fine, non-structural lines that don’t indicate movement. Movement-related cracks show ongoing change in the wall and may signal settlement or moisture problems. In DIY terms, sturdy plaster can crack from drying or shrinkage, but bigger concerns require closer checks for movement. Visual signs to watch include hairline cracks that stay the

When Plaster Cracks Matter: Cosmetic Lines vs Movement Red Flags Read More »

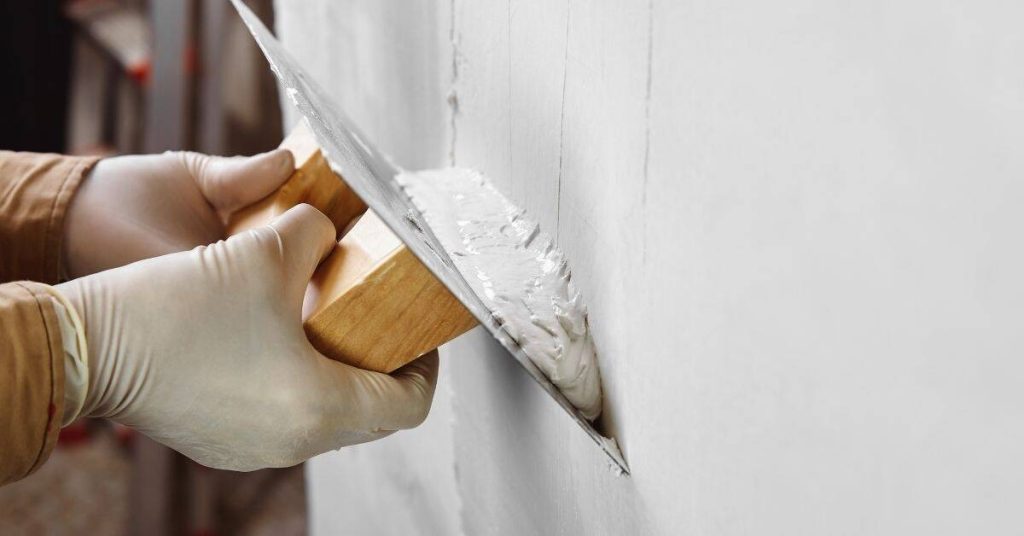
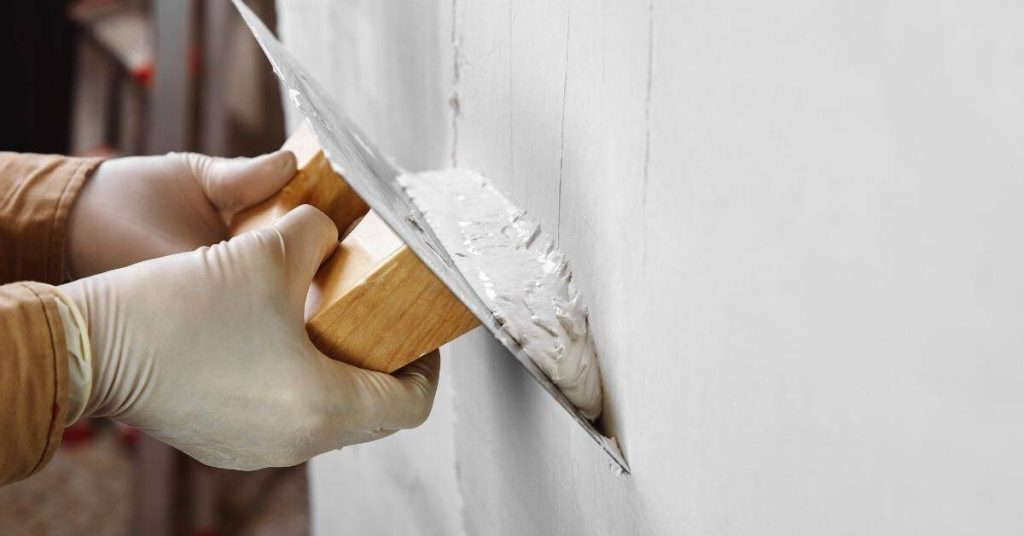
Hands wearing gloves applying plaster with a trowel on wall

Interior Limewash on Plaster: Prep, Multi-Coat Technique, and Blotch Fixes

Introduction Interior limewash on plaster is a breathable, traditional finish applied in thin coats to even color and texture. Prep steps include cleaning the wall, dampening the surface, repairing cracks, and applying a compatible breathable primer. Always check the primer and limewash compatibility on the product label or with the manufacturer instructions. Apply multiple thin

Interior Limewash on Plaster: Prep, Multi-Coat Technique, and Blotch Fixes Read More »

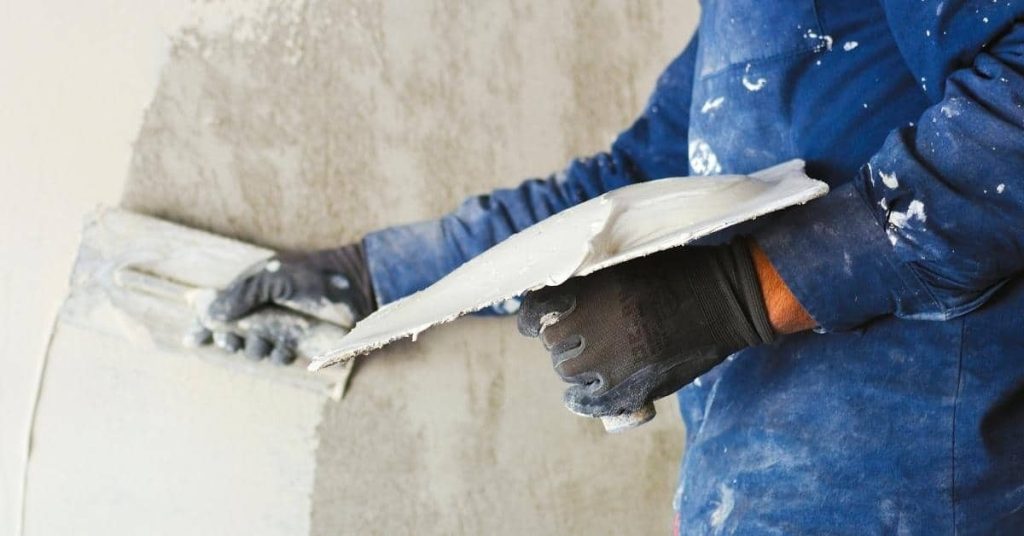
Worker applying fresh stucco with trowel to wall surface

Soft Stucco Diagnosis: Probe Tests to Separate Erosion from Lath Failure

Introduction Soft stucco indicates exterior plaster that feels soft or hollow, signaling potential erosion or lath failure. You’ll see blistering, crumbling edges, or patches where the wall sounds hollow when tapped. This intro helps you spot trouble before you rip into major repairs. Probe tests involve gently tapping or lifting at suspect spots to feel

Soft Stucco Diagnosis: Probe Tests to Separate Erosion from Lath Failure Read More »

Person applying stucco to wall with trowel

Stucco Window Sills Done Right: Slope, End Dams, and Rot Prevention

Introduction This is about making stucco window sills that shed water properly and resist rot. You’ll focus on the right slope, install end dams, and plan for long-lasting rot prevention. Tackle it like a practical DIY project with common tools and careful flashing. Choose materials and details that stand up to moisture, and verify with

Stucco Window Sills Done Right: Slope, End Dams, and Rot Prevention Read More »

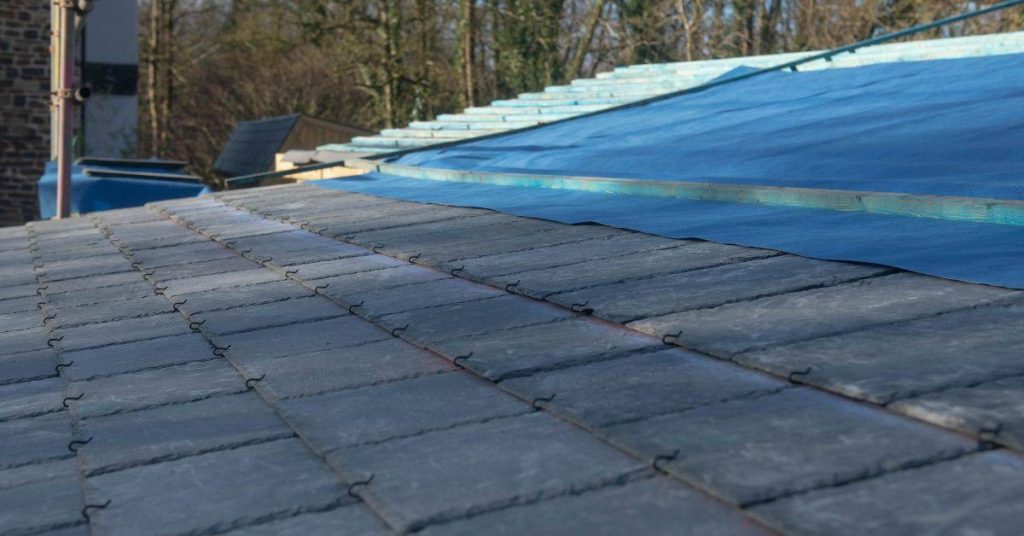
Slate roof tiles partially installed with underlayment visible

Stucco Meets Roof: Step Flashing, Sealant Placement, and Drainage Gaps

Introduction Step flashing, sealant placement, and drainage gaps are the practical techniques used at the stucco-roof intersection to prevent leaks. In plain talk, they’re the fail-safes you create where the wall meets the roof to keep water out. Follow local practice and the manufacturer instructions for flashing, sealant, and any required gaps, and check product

Stucco Meets Roof: Step Flashing, Sealant Placement, and Drainage Gaps Read More »

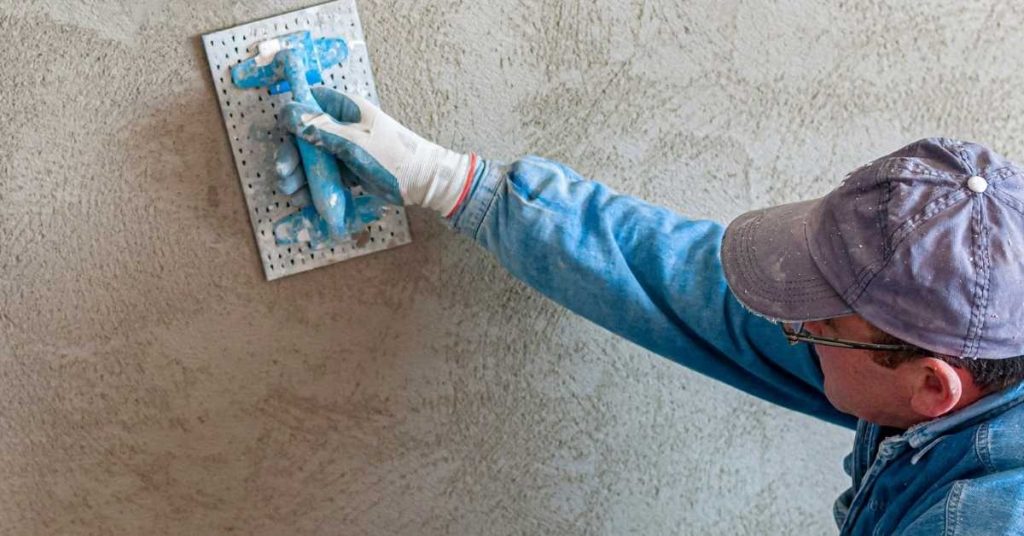
Worker applying stucco texture with a blue float tool

Sand Float Stucco Texture Matching: Tool Angles, Timing, and Avoiding Shine

Introduction A sand float stucco texture is a lightly rough, matte finish achieved by floating mortar with a sanded tool to create texture. This article covers practical techniques and the feel of the finish when you’re applying it on a DIY project. It stays away from glossy shine and aims for a consistent, hand‑worked look.

Sand Float Stucco Texture Matching: Tool Angles, Timing, and Avoiding Shine Read More »