Search Results for: drill bit for concrete

Person smoothing white plaster on wall with metal trowel

Rebuilding Lost Plaster Keys: Targeted Repairs Without Full Demolition

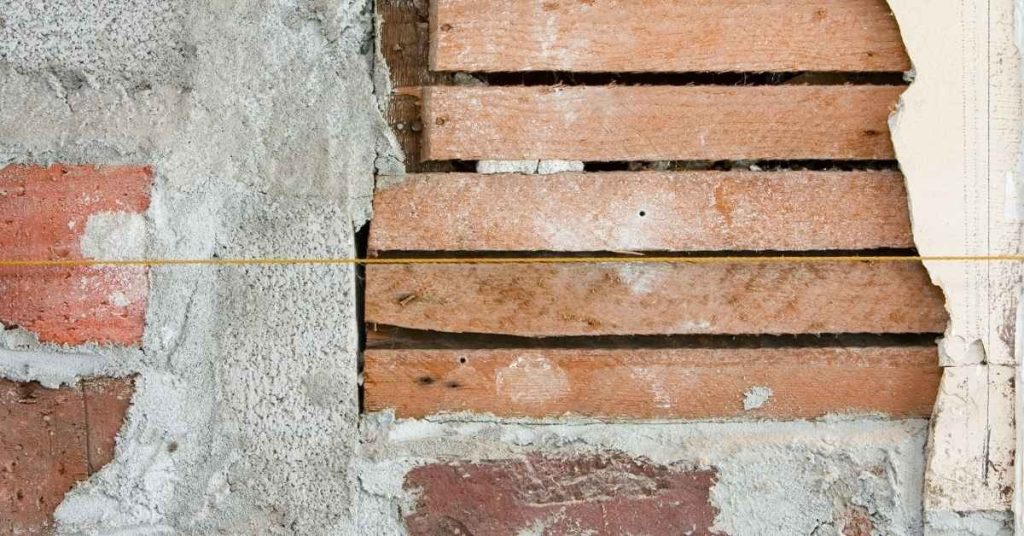
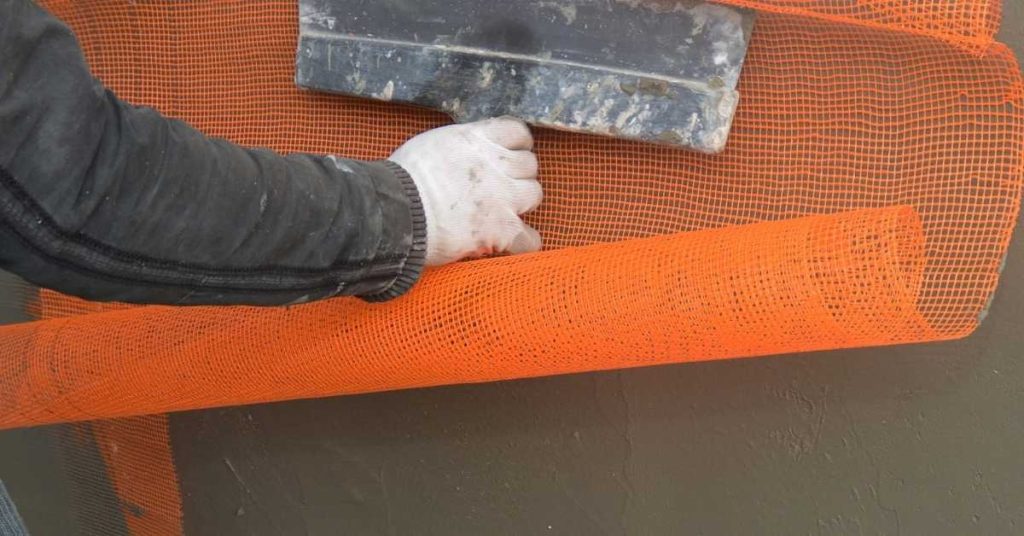
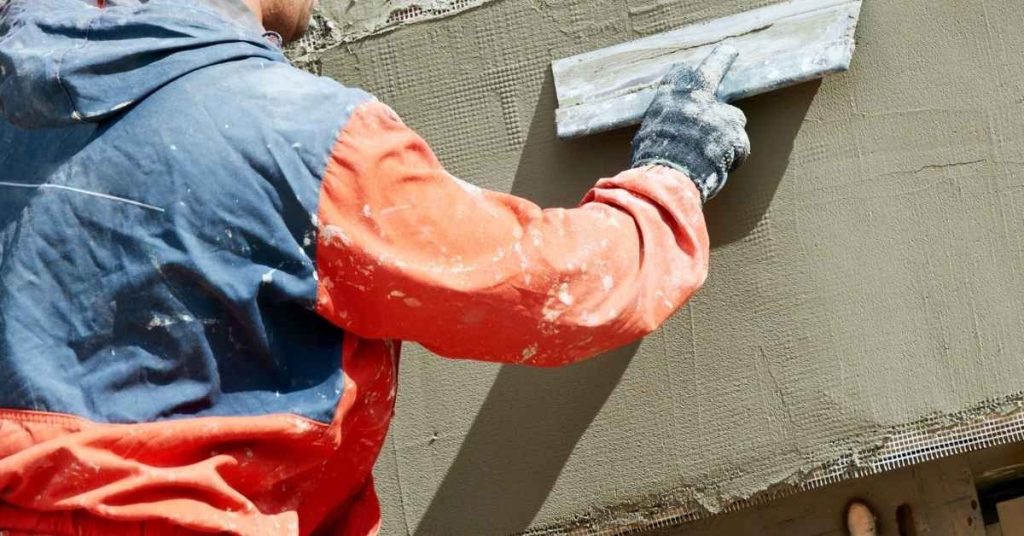
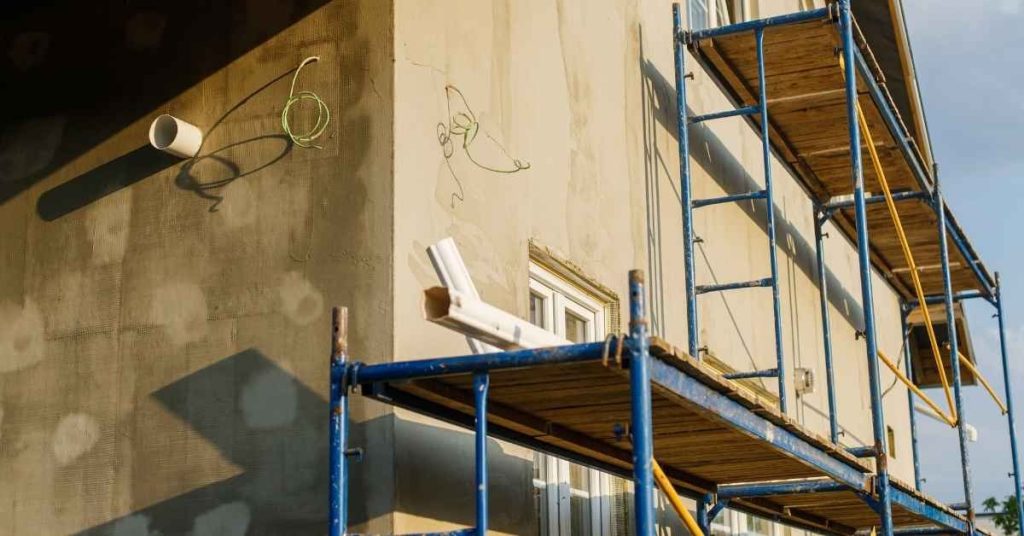
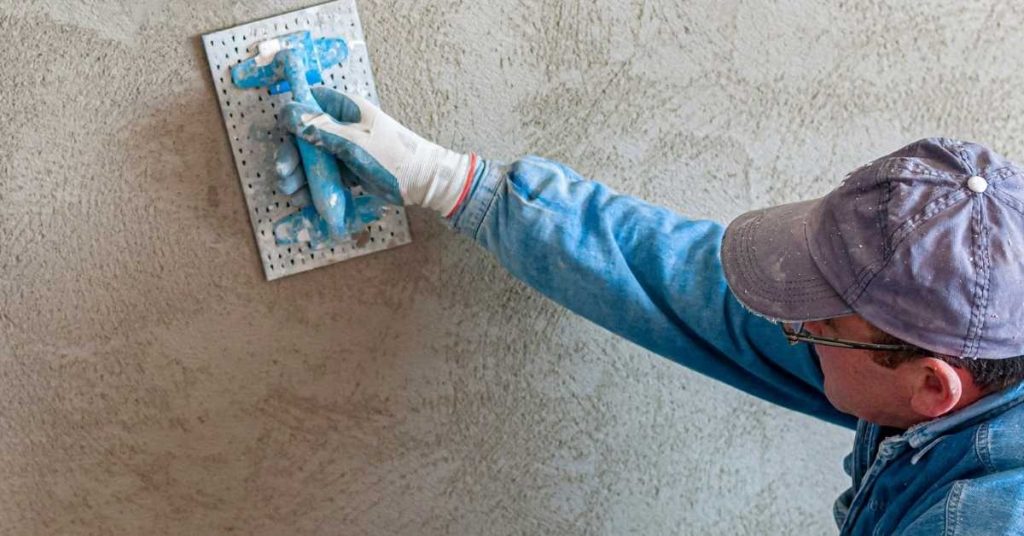
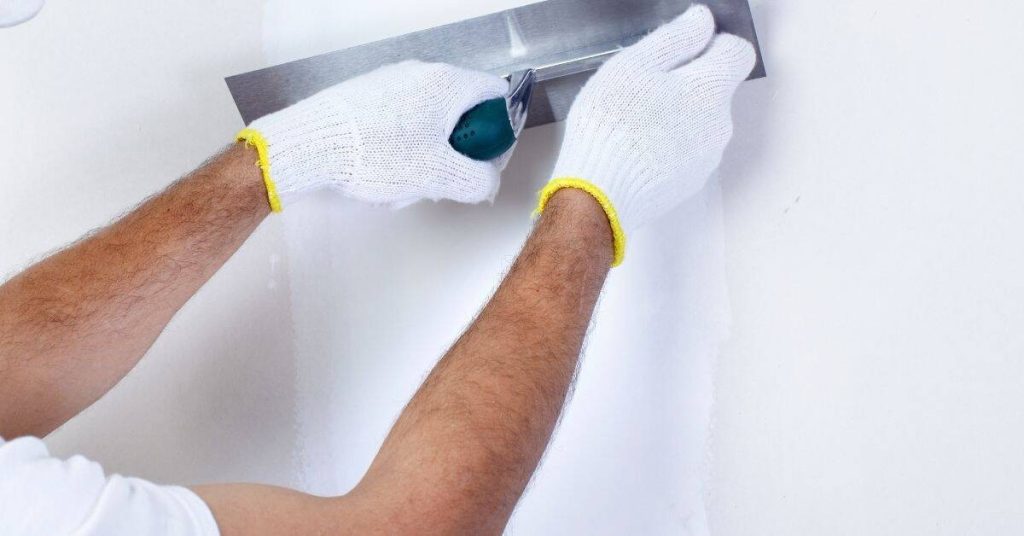
Introduction Rebuilding lost plaster keys means restoring the grip between plaster and lath so loose or cracked plaster stays put again. It’s a targeted repair that avoids tearing out a whole wall when only the edge bond is failing. Think of it as re-securing the surface so it can be patched cleanly. Start with basic […]

Rebuilding Lost Plaster Keys: Targeted Repairs Without Full Demolition Read More »

Exposed wooden lath under cracked plaster wall section

Rusting Stucco Lath in a Patch: Safe Cutback Limits and Better Refastening

Introduction Rusting stucco lath in a patch means the metal lath under the plaster has corroded and loosened, reducing support for the patch. That corrosion can cause the patch to crack or fall away if not addressed. Start by pulling back loose plaster and securing any loose lath pieces, then replace or tie back missing

Rusting Stucco Lath in a Patch: Safe Cutback Limits and Better Refastening Read More »

Worker applying fresh stucco with trowel to wall surface

Soft Stucco Diagnosis: Probe Tests to Separate Erosion from Lath Failure

Introduction Soft stucco indicates exterior plaster that feels soft or hollow, signaling potential erosion or lath failure. You’ll see blistering, crumbling edges, or patches where the wall sounds hollow when tapped. This intro helps you spot trouble before you rip into major repairs. Probe tests involve gently tapping or lifting at suspect spots to feel

Soft Stucco Diagnosis: Probe Tests to Separate Erosion from Lath Failure Read More »

Person applying orange fiberglass mesh onto wet stucco surface

Cracks Over Framing in Stucco: Reinforcement Mesh Patterns That Actually Hold

Introduction Reinforcement mesh helps prevent cracks where stucco meets framing. Different mesh patterns distribute movement across a crack and across corners, so choose one that fits your wall and framing. Always check manufacturer and local guidance for mesh type, installation height, and any soak-in or primer requirements. For a DIY install, plan your mesh pattern

Cracks Over Framing in Stucco: Reinforcement Mesh Patterns That Actually Hold Read More »

Person applying stucco to wall with trowel

Stucco Window Sills Done Right: Slope, End Dams, and Rot Prevention

Introduction This is about making stucco window sills that shed water properly and resist rot. You’ll focus on the right slope, install end dams, and plan for long-lasting rot prevention. Tackle it like a practical DIY project with common tools and careful flashing. Choose materials and details that stand up to moisture, and verify with

Stucco Window Sills Done Right: Slope, End Dams, and Rot Prevention Read More »

Exterior building wall with scaffolding and stucco application in progress

Stucco Lath Fasteners That Last: Corrosion, Length, and Avoiding Loose Walls

Introduction Stucco lath fasteners are the hardware that attach exterior stucco lath to the framing and keep the wall solid. They come in several styles for different substrates, so you should pick ones that fit your lath and backing material. Check the label or manufacturer guidance to ensure corrosion resistance and proper compatibility with your

Stucco Lath Fasteners That Last: Corrosion, Length, and Avoiding Loose Walls Read More »

Worker applying stucco texture with a blue float tool

Sand Float Stucco Texture Matching: Tool Angles, Timing, and Avoiding Shine

Introduction A sand float stucco texture is a lightly rough, matte finish achieved by floating mortar with a sanded tool to create texture. This article covers practical techniques and the feel of the finish when you’re applying it on a DIY project. It stays away from glossy shine and aims for a consistent, hand‑worked look.

Sand Float Stucco Texture Matching: Tool Angles, Timing, and Avoiding Shine Read More »

Pressure washing exposed aggregate concrete surface

Exposed Aggregate Repair Patches: Blending Stone Size and Washing Timing to Match

Introduction Exposed aggregate repair patches involve matching the look of the existing surface by using stone-size blends and controlled washing timing. This article gives a practical, hands-on view for DIYers on how to prep, bond, and patch exposed aggregate without a full resurfacer. We’ll cover how to choose the right aggregate size, how to wash

Exposed Aggregate Repair Patches: Blending Stone Size and Washing Timing to Match Read More »

Hand spraying sealer with spray gun in outdoor setting

Sealer Haze Only in Spots: Moisture Pockets vs Application Thickness and How to Fix

Introduction Sealer haze in spots is caused by moisture pockets or too-thick coats leaving a cloudy film on the surface. It’s a surface symptom you can fix with proper prep and careful re-application. Look for uneven sheen, milky areas, or spots that never fully dry after the sealer sets. To fix, identify where moisture pockets

Sealer Haze Only in Spots: Moisture Pockets vs Application Thickness and How to Fix Read More »