Search Results for: curing

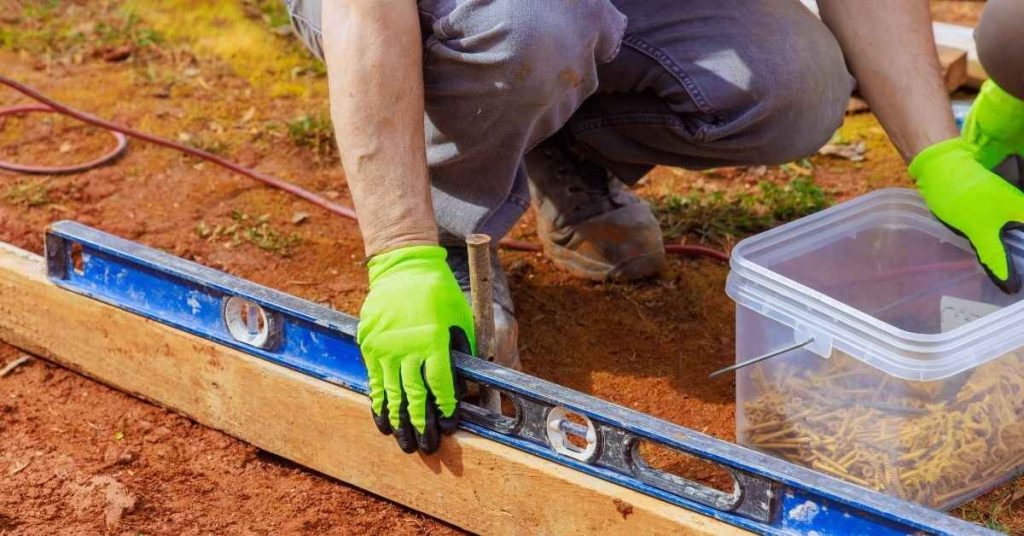
Person using level tool on wooden form outdoors

Anti-Washout Admixtures for Underwater or Wet-Form Repairs: Niche, but Useful

Introduction Anti-washout admixtures are additives that help concrete stay in place underwater or in wet forms. They slow water loss and improve cohesion so the mix doesn’t segregate. Use only as directed on the product label and by local rules. Pick a product that is rated for underwater or wet-form use, and read the label […]

Anti-Washout Admixtures for Underwater or Wet-Form Repairs: Niche, but Useful Read More »

Blue painted wooden doors with visible horizontal paint streaks

Why Paint Gets Sticky Behind Doors: Soft Films, Plasticizers, and Blocking Prevention

Introduction Sticky paint behind doors is when the film stays soft and tacky after it dries. That softness can come from plasticizers in the paint and a finish that cures slowly in tight spaces. Heat, humidity, and being pressed between door frames can make the film stay sticky longer. To prevent or fix it, read

Why Paint Gets Sticky Behind Doors: Soft Films, Plasticizers, and Blocking Prevention Read More »

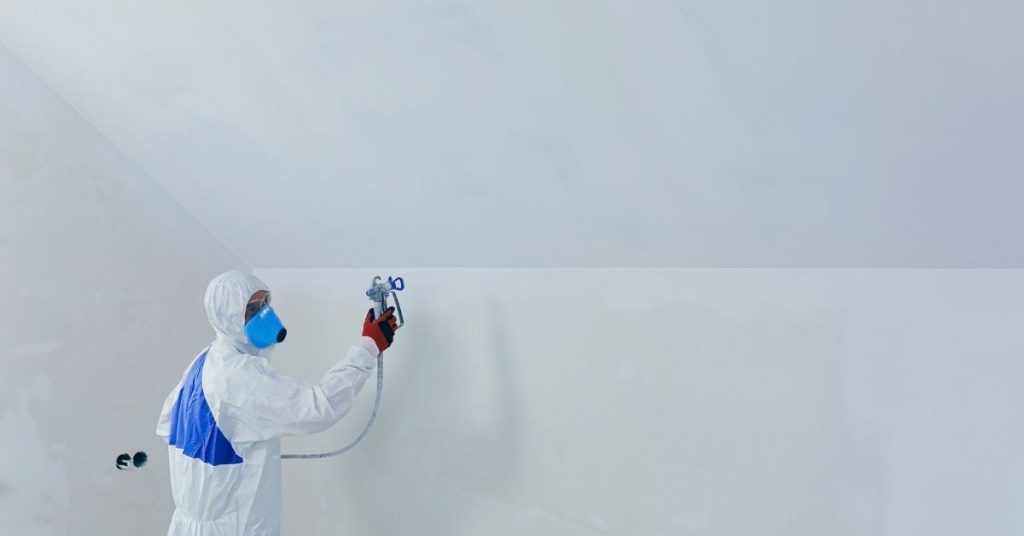
Worker spraying white paint on an indoor wall wearing protective gear

Painting Before Rain: Minimum Dry Times by Paint Type and How to Avoid Wash-Off

Introduction Painting before rain means choosing the paint and applying it so it dries before expected rain, following the type’s minimum dry time. Dry times vary by paint type and conditions, so always read the label for the minimum Dry Time. Weather, humidity, and surface prep affect it. To avoid wash-off, apply only when you

Painting Before Rain: Minimum Dry Times by Paint Type and How to Avoid Wash-Off Read More »

Man in blue overalls painting a plain interior wall

Painting Over Paint That Never Fully Cured: Why It Wrinkles and How to Reset the Surface

Introduction Wrinkling happens when a paint layer hasn’t fully cured, so a new coat can’t lay flat. That soft film traps solvents and moisture, causing bubbles and wrinkles as you apply fresh paint. Work with the surface you have, not against it, and you’ll improve the look. To reset the surface, start by cleaning and

Painting Over Paint That Never Fully Cured: Why It Wrinkles and How to Reset the Surface Read More »

Hand spraying sealer with spray gun in outdoor setting

Sealer Haze Only in Spots: Moisture Pockets vs Application Thickness and How to Fix

Introduction Sealer haze in spots is caused by moisture pockets or too-thick coats leaving a cloudy film on the surface. It’s a surface symptom you can fix with proper prep and careful re-application. Look for uneven sheen, milky areas, or spots that never fully dry after the sealer sets. To fix, identify where moisture pockets

Sealer Haze Only in Spots: Moisture Pockets vs Application Thickness and How to Fix Read More »

Rough grey concrete wall with varied texture

Strip vs Grind a Failed Sealer: Choosing the Safer Method for Your Concrete Texture

Introduction Stripping removes the sealer with chemicals or rollers, while grinding buffs away the old coating with a machine to reveal a new surface. The safer choice usually depends on the sealer type and how badly the texture is damaged. For most DIYers, start with a careful test area and a gentler approach to evaluate

Strip vs Grind a Failed Sealer: Choosing the Safer Method for Your Concrete Texture Read More »

Concrete building with vertical and horizontal structural elements

How to Patch Vertical Concrete Without Sag: Mix Stiffness, Bonding, and Lift Thickness

Introduction Patch vertical concrete without sag by using a stiff, workable mix that stays put once placed. Choose a mix with good bonding and low slump, and apply in quick, controlled strokes. Always check product labels and local guidelines to confirm compatible bonding agents and lift thickness. Keep the surface clean and dampened as needed,

How to Patch Vertical Concrete Without Sag: Mix Stiffness, Bonding, and Lift Thickness Read More »

Yellow construction helmet tape measure pencils on architectural plans

Replacing Failed Expansion Joint Filler: Removal, Priming, and Resealing Workflow

Introduction Replacing failed expansion joint filler means removing the old filler, prepping the joint, and applying new material to restore sealing and movement space. The workflow typically covers removal, priming, and resealing, using basic hand tools, caulk guns, and compatible filler products. Always check product labels, manufacturer instructions, and local code or permit rules to

Replacing Failed Expansion Joint Filler: Removal, Priming, and Resealing Workflow Read More »

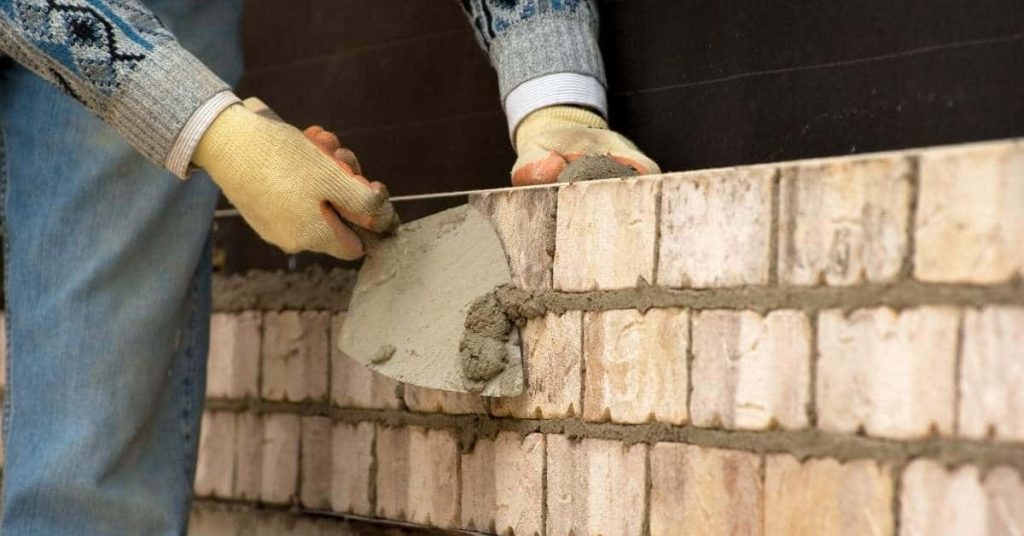
Hands applying mortar to brick wall with trowel

Self-Consolidating Mortar for Small Repairs: Mimic SCC Behavior Without Renting a Pump

Introduction Self-consolidating mortar is a flowable mix that fills small voids and cracks without the need for vibration. For DIY repairs, it behaves like a high-flow grout that can level and settle in tight spaces, mimicking SCC behavior without renting a pump. Always check the product label and manufacturer instructions to confirm compatibility with your

Self-Consolidating Mortar for Small Repairs: Mimic SCC Behavior Without Renting a Pump Read More »

Close-up of beige horizontal lap fiber-cement siding

Painting Fiber-Cement Siding: Primers, Cut Edges, and Why Factory Finishes Still Fail

Introduction Painting fiber-cement siding means choosing compatible primers, sealing exposed cut edges, and recognizing that factory finishes can still peel or wear. This is a practical, hands-on guide you can follow without fancy tools or theory. Check manufacturer instructions and local rules for product compatibility and weather windows. Start by inspecting boards for damage, then

Painting Fiber-Cement Siding: Primers, Cut Edges, and Why Factory Finishes Still Fail Read More »