Search Results for: control joint

Close-up of textured white plaster surface

Bonding agents explained: PVA vs acrylic vs plaster weld and where each fails

Introduction Bonding agents like PVA, acrylic, and plaster weld are surface glues that improve adhesion between materials. This article explains how each one works, where it tends to perform best, and the common limits you’ll run into on-site. You’ll learn practical tips for surfaces and prep so the agent can grip and cure reliably. PVA […]

Bonding agents explained: PVA vs acrylic vs plaster weld and where each fails Read More »
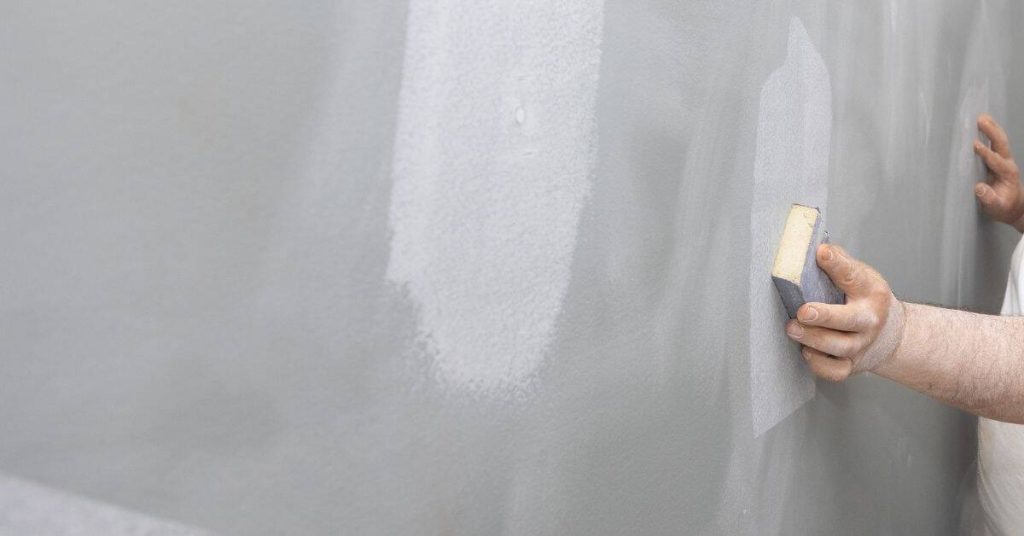
Hand applying sponge to textured plaster wall

Blending textures on old plaster walls: sand grading tricks and sponge timing

Introduction Blending textures on old plaster walls means smoothing uneven surfaces by using sand grading and sponge timing to achieve a cohesive finish. This article focuses on practical, hands-on steps you can follow in a DIY setting. You’ll balance texture retention with a softer final look while it remains within safe expectations for plaster repair.

Blending textures on old plaster walls: sand grading tricks and sponge timing Read More »

Stucco exterior walls with tile roof under blue sky

Stucco around electrical service: clearances, sealing, and safe mounting methods

Introduction Stucco around electrical service means installing stucco while maintaining safe clearances, sealing around components, and mounting boxes and fixtures correctly. Plan the work to keep access to service fittings and enclosures, and verify what the manufacturer and local rules require. Always check guidance from the hardware or electrical guidance for your area and follow

Stucco around electrical service: clearances, sealing, and safe mounting methods Read More »

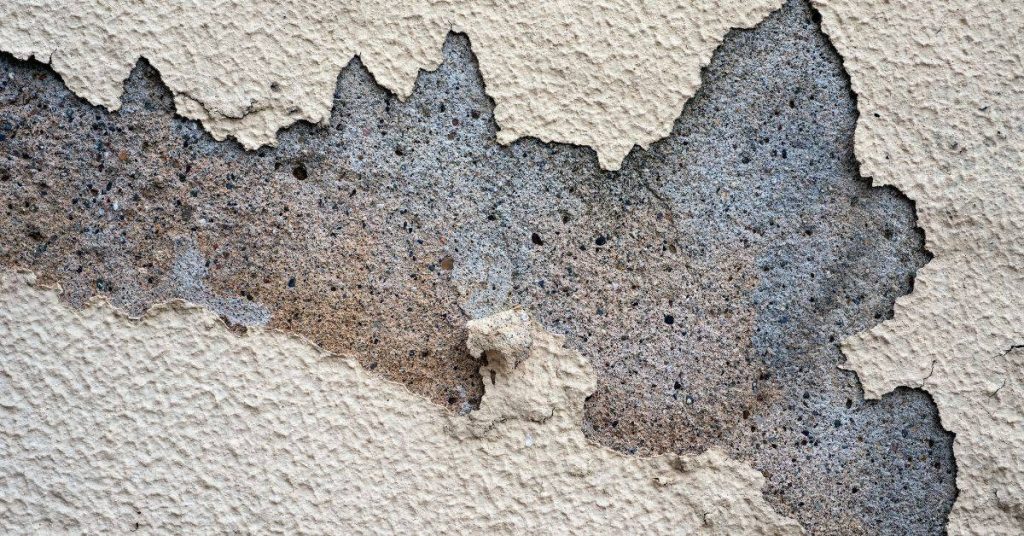
Peeling beige stucco revealing rough concrete underneath

Freeze-thaw damage on stucco base coats: recognizing it early and rebuilding the right way

Introduction Freeze-thaw damage occurs when trapped moisture in stucco base coats freezes and expands, causing cracking and delamination. It can weaken the surface and open pathways for water to enter surrounding layers. Damage often starts on the exterior and can spread if not addressed with proper repairs. Common signs include hairline cracks, chipped or powdery

Freeze-thaw damage on stucco base coats: recognizing it early and rebuilding the right way Read More »

Exterior stucco wall with scaffolding set up for repair

Patching stucco after plumbing repairs: backing methods that prevent a soft spot

Introduction Backing methods for patching stucco after plumbing repairs provide support under the patch to keep it solid. They help prevent sagging or settling as the repair dries and cures. Choose a backing that fits behind the stucco and works with the existing wall. Place the backing so it sits behind the new stucco and

Patching stucco after plumbing repairs: backing methods that prevent a soft spot Read More »

Close-up of stucco edge with foam insulation and sealant

Bottom edge stucco moisture wicking: diagnosing capillary rise and fixing the drainage plane

Introduction Bottom-edge stucco moisture wicking occurs when capillary rise pulls moisture from the foundation into the lower stucco courses. This guide helps you spot the signs and understand why the drainage plane matters. Look for damp patches, staining, softening, or peeling where the stucco meets the foundation, and check for poor drainage or blocked weep

Bottom edge stucco moisture wicking: diagnosing capillary rise and fixing the drainage plane Read More »

Two-story stucco house exterior with windows and garage door

Stucco termite inspection gaps: keeping clearances without leaving raw edges

Introduction Stucco Gap Inspection and Repair To minimize termite access, keep gaps around stucco clear while preventing exposed raw edges. Inspect edges, corners, and joints where stucco meets other materials regularly. Focus on these areas: Stucco-to-stucco joints Stucco-to-frame connections Stucco-to-foundation interfaces Upon discovering gaps, repair them neatly using suitable flashing or backer materials and compatible

Stucco termite inspection gaps: keeping clearances without leaving raw edges Read More »

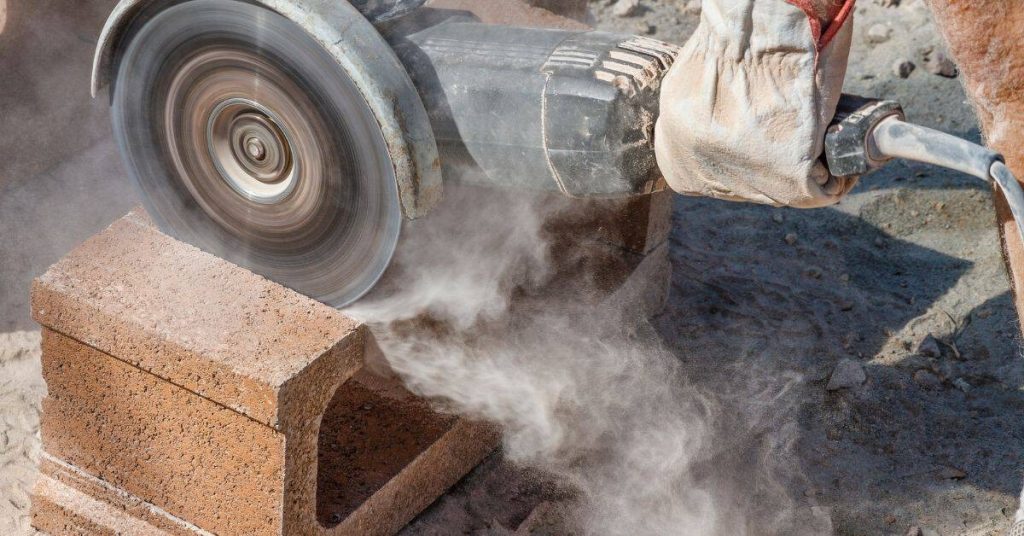
Person cutting cinder block with angle grinder outdoors

Re-sealing old stucco window edges: cutting out bad caulk and reinstalling proper backing

Introduction This is the process of removing deteriorated caulk around a stucco window and replacing it with proper backing and sealant. You will inspect the edge, cut out the old caulk, and prepare the gap for new material. The goal is a clean joint that stops water intrusion and allows for flexible, long-lasting sealing. Next,

Re-sealing old stucco window edges: cutting out bad caulk and reinstalling proper backing Read More »

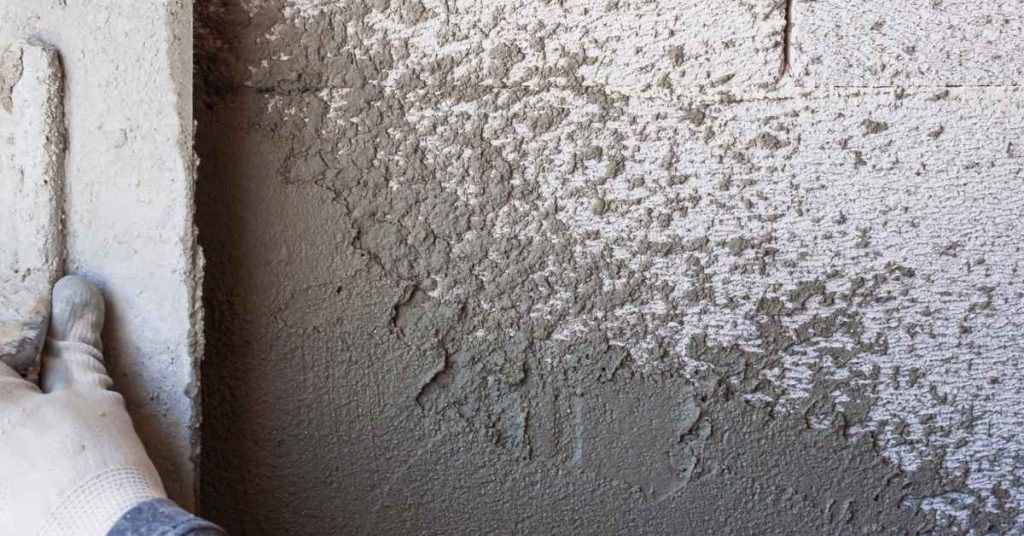
Gloved hand applying stucco scratch coat on lath

Stucco scratch coat keying: getting bite on lath without overworking the mix

Introduction Keying the scratch coat means creating a rough, gripping surface on the lath so the plaster adheres without excessive manipulation. It gives the base a bite that helps the next layer hold. Start with thorough surface preparation: clean and dampen the lath so dust is removed and the surface isn’t drawing moisture too quickly.

Stucco scratch coat keying: getting bite on lath without overworking the mix Read More »

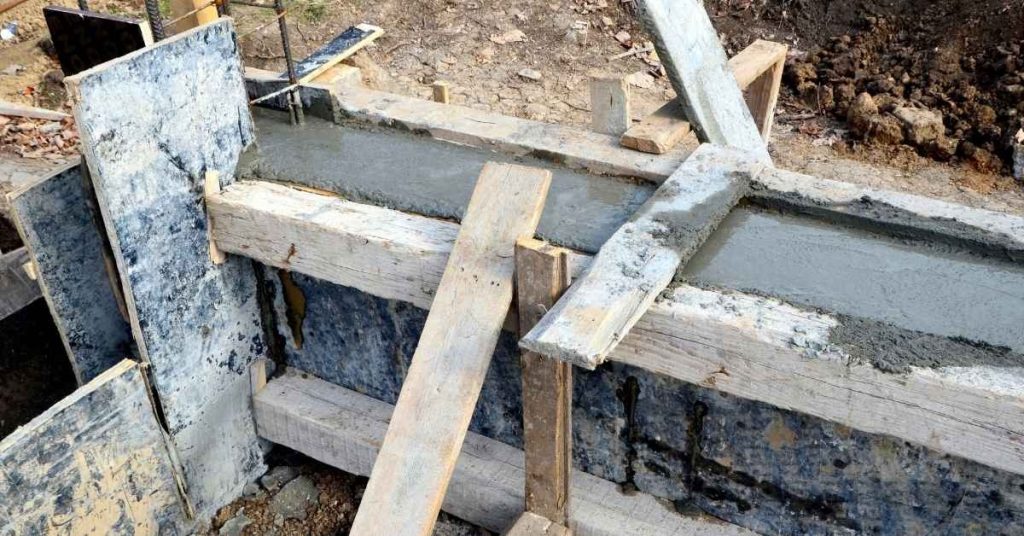
Wooden concrete forms filled with wet concrete at construction site

Setting concrete forms dead straight: stringline tricks and corner squareness checks

Introduction Setting concrete forms dead straight means aligning the formwork so the edges stay true and parallel, using stringlines and corner checks. Start with a clear plan for measuring and placing the forms, and keep a simple layout to guide edges, corners, and cleats. Check squareness at key points with a stringline, a level, and

Setting concrete forms dead straight: stringline tricks and corner squareness checks Read More »