
Introduction
Working with concrete means mixing cement-based material and placing it to form a solid, lasting surface. Do it with a simple plan, the right tools, and clean, weather-friendly timing. Keep expectations realistic and be ready to adjust as you go.
These pro tips cover the practical steps you’ll actually take on site and the obvious stop points to check before moving on. Focus on prepping, combining, pouring, shaping, and curing, while respecting safety and the work you set out to do. Always double check product labels, manufacturer instructions, and local rules for any limits or requirements.
Key takeaways
- Plan permits early and verify local rules before any concrete work begins.
- Assemble tools and materials checklist to prevent trips and delays on site.
- Build proper forms and support while pouring to avoid movement.
- Mix and transport concrete carefully; keep slump and water balance within limits.
- Follow finishing timing and methods to prevent dusting, cracking, or scaling.
- Wear PPE and regulate curing area against wind, sun, and temperature swings.
Table of Contents
- Introduction
- Key takeaways
- Planning the Project & Permits
- Tools and Materials Checklist
- Site Prep and Formwork
- Mixing, Transporting, and Pouring
- Finishing Techniques and Timing
- Curing, Protection, and Weather Considerations
- Troubleshooting Common Problems
- Safety, Legal Risks, and When to Hire a Pro
- Conclusion
- FAQ
Planning the Project & Permits
Define the project scope and set clear structural expectations. Consider how the design will perform and what constraints might affect feasibility. Think through site access, drainage, and load considerations as you map out the work.
Decide whether the task can be DIY or needs a pro by checking local permit requirements and regulatory rules. When in doubt, verify specifications with the building department, label guidance, or manufacturer instructions before you start. Use these checks to determine if professional involvement is required.
Determine scope and structural needs
First, measure the area you’ll be concreting. This is your slab’s footprint.
Next, decide on thickness. Most slabs are 4-6 inches thick. For driveways or heavy traffic areas, consider 8 inches.
Reinforcement is needed for slabs over 5 feet in any direction, or where there’s heavy loading. Use rebar, fiber mesh, or both.
If you’re unsure about structural needs, consult a structural engineer. It’s better to be safe than sorry.
Check permits and local codes
Concrete work often requires permits. Check with your local building department.
Projects that usually need permits include: new slabs, additions to existing structures, or when changing the grade of land.
Prepare these documents for permitting: detailed drawings showing dimensions, locations, and thickness; a plot plan showing setbacks; and any required fees.
Inspections are also part of the process. They ensure your work meets code. Schedule them before covering up or finalizing your concrete work.
Tools and Materials Checklist
List the essential tools, PPE, and materials you’ll need for the project. Prioritize reliability and ease of use, especially for critical tasks like forming and finishing. Include a plan for on-site organization to keep the workflow smooth.
Note rental options and budget-friendly substitutions when appropriate. Always verify product labels for compatibility with your mix, substrate, and climate. If unsure, consult manufacturer instructions or supplier guidance before purchasing.
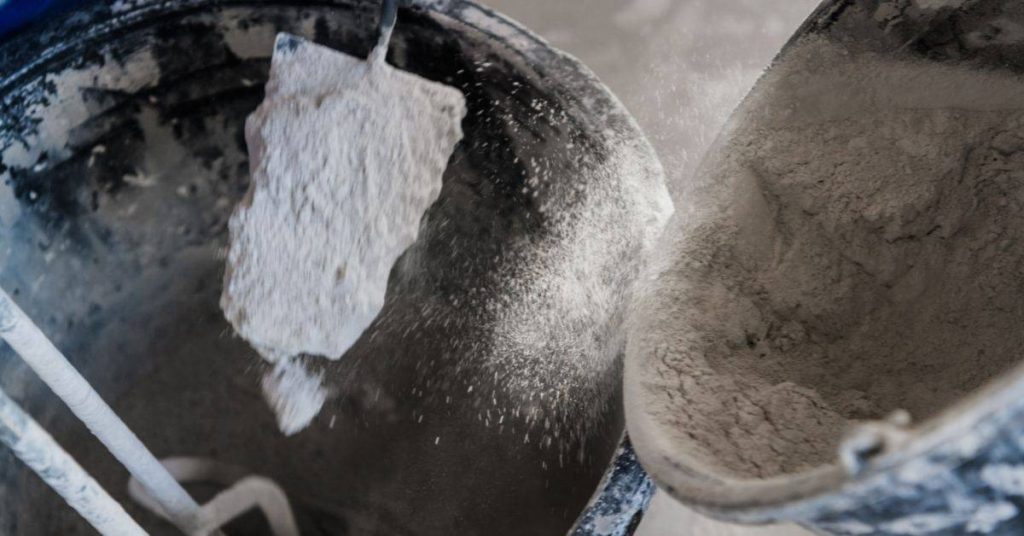
Mixing materials and admixtures
Before you start mixing, make sure you have all the right materials. This checklist helps ensure your concrete sets properly and has the desired workability.
- Cement: Type I or II for most projects. Check packaging for type.
- Aggregates: Use clean, well-graded sand and gravel. Check moisture content to avoid weak mix.
- Water: Clean, drinkable water. Avoid using salty or polluted water.
- Admixtures: Add for faster/harder set, air entrainment, or water reduction. Read product labels for proper dosages.
- Fiber reinforcement: Optional, but helps control cracking. Check compatibility with other materials.
- Mix ratio: Aim for 1:2:4 (cement:sand:gravel) by volume or follow local recommendations.
- Slump test: Perform to check workability. Target 3-5 inches for most pours.
- Temperature: Ideal mixing temp is 70°F (21°C). Adjust water amount if too cold/hot.
Quick rule: Always follow product labels and perform slump tests to ensure a strong, workable mix.
Tools, rentals, and PPE
Gather the right tools and safety gear before starting your pour. This checklist ensures you’re prepared for every stage of the job.
- Shovel: For mixing and moving concrete. Get a sturdy one with a sharp edge.
- Wheelbarrow: Essential for transporting mixed concrete. Rent if needed.
- Concrete mixer (rental): Use for large pours to ensure consistent mix.
- Trowel and float: For finishing and leveling surfaces. Get a straight-tipped trowel for edges.
- Level and screed: Ensure your slab is flat and even. Rent if needed.
- Forms (rental): Use to contain concrete and create desired shape. Check for leaks before pouring.
- Safety glasses: Protect eyes from debris during mixing and pouring.
- Gloves: Wear to protect hands from cement burns and sharp edges.
- Steel-toed boots: Essential for protecting feet on site.
- Hard hat: Required when working under overhead hazards like scaffolding or formwork.
Quick rule: Always prioritize safety gear and consider renting tools for larger projects to save money.
Site Prep and Formwork
Focus on grading and subbase preparation to create a stable, flat foundation. Ensure proper slope and drainage paths so water moves away from the pour area. Plan form layout with precise dimensions and square corners from the start.
Use bracing and supports to hold forms rigid during the pour. Check that forms are level and aligned before pouring begins, and recheck as site conditions change. Rely on manufacturer or form system instructions for any special setup notes.
Subbase and Drainage Prep
Before pouring concrete, prepare a solid subbase. Compact the existing soil using a plate compactor to prevent settling.
Base material should be clean, angular stone or gravel with a minimum 4-inch depth. This allows for proper drainage and stability.
Ensure your slope is away from structures for runoff. A 1/8 inch per foot slope works well. Inspect the base before pouring to ensure it’s level, smooth, and free of debris.
Building and Bracing Forms
Start by lining up your formwork accurately using a laser level or string line. Ensure corners are square for precise dimensions.
Use stakes to secure the forms in place, driving them deep enough to withstand concrete pressure. Braces should be placed every 2-3 feet along the forms, angled at a 45-degree angle for stability.
Before pouring, check alignment. Use a level to ensure forms are plumb and level. Adjust as needed before proceeding with placement.
Mixing, Transporting, and Pouring
Evaluate whether to use a mix from a truck or to batch on site, depending on access and volume. Consider the sequence that keeps the pour continuous and minimize holds. Match mixing method to the project size and time window you have.
Be mindful of handling time limits and placement logistics to keep the concrete workable. Verify any timing or temperature guidance from the mix supplier or plant instructions before starting. Plan for contingencies if delays arise.
Batch mixing ratios and slump considerations
The key to a strong, workable concrete mix lies in the right water-to-cement ratio. Too little water makes it hard to place; too much weakens its strength.
Ideal ratio: 0.5 parts water to 1 part cement. For example, for every 60 lbs of cement, use 30 lbs of water.
The slump test checks workability. Dip a cone into the mix, fill it, then lift it off. The slump (height the concrete settles) should be 4-8 inches for most jobs.
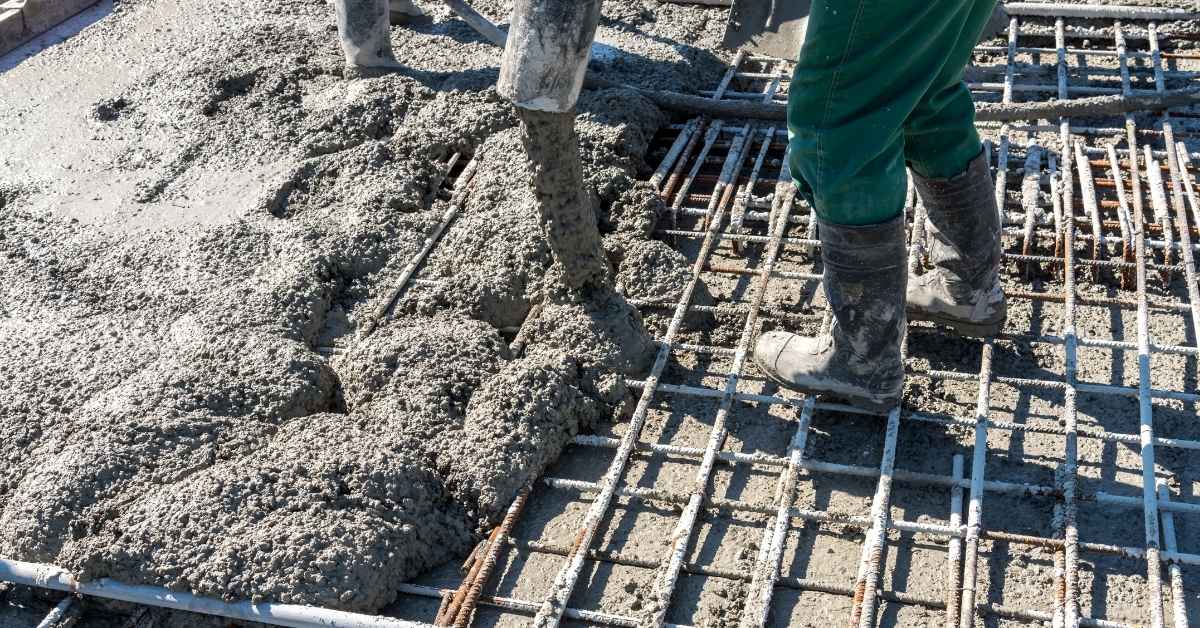
Pour sequence and team roles
Plan your pour in sections, working from one end of the slab or wall to the other. This minimizes rebar exposure and keeps concrete fresh.
Team roles:
- One person operates the pump or wheelbarrow.
- Two people place and finish the concrete (bull float, edger).
- One person vibrates the slab to remove air pockets.
Stop points: Pause if the pace is too fast, weather turns bad, or equipment breaks. It’s better to stop and restart than rush and mess up the pour.
Finishing Techniques and Timing
Follow proper timing for screeding, floating, edging, and troweling to shape the surface and control texture. Align the finish with the intended use and appearance goals of the surface. Coordinate each step so the next stage happens while the concrete is still workable.
Understand how different finishing methods affect durability and aesthetics, and adjust technique accordingly. Always refer to product instructions for any method-specific notes. If in doubt, confirm recommendations with the label or manufacturer guidance.
Visual checkpoints for proper finish
Use this checklist to determine when your concrete is ready for the next finishing step. Timing is crucial for a durable, attractive result.
- Bleed water: When it stops rising to the surface (1-2 hours after pouring).
- Sheen change: From glossy to matte (around 30 minutes after bleeding stops).
- Initial set: Concrete holds its shape when gently pressed (1-4 hours post-sheening).
- Surface moisture: Dries out slightly, no longer feels wet but isn’t powdery yet.
- Edges and corners: Check for proper curing; they set faster due to less insulation.
- Cracks or voids: Fill any visible gaps before moving on (within 1 hour of initial set).
- Temperature: Concrete should be within the recommended range (50-90°F, 10-32°C) for your mix.
- Curing time: Wait at least 24 hours before heavy traffic or loading to allow for proper curing.
Quick rule: Don’t rush through steps. Each one builds on the last, ensuring a solid finish.
Decorative options and control joints
Control joints help manage cracking by directing it along planned lines. Decorative elements can be added for aesthetic appeal.
Control joints: Cut into the surface at specific intervals (every 2-5 feet) to encourage predictable cracking as concrete shrinks during curing. Timing is critical – cut within 1 hour of initial set, before the first cracks appear naturally.
Decorative options can be incorporated for a unique look:
- Stamping: Imprint patterns into wet concrete using specialized mats (within 30 minutes after bleeding stops).
- Coloring: Add integral color to the mix or apply liquid releases and stains before stamping (within 1 hour of initial set).
- Exposed aggregate: Remove surface layer to expose stones, using a power washer or brush-off tool (after initial set but before final troweling).
Each decorative option requires specific timing and technique. Research or consult with a professional if unsure.
Curing, Protection, and Weather Considerations
Detail effective curing strategies and protective measures to retain moisture and strength gain. Use coverings or curing aids appropriate for the project conditions. Plan for ongoing protection against agitation and damage during early set.
Make practical adjustments or postponements for hot, cold, or wet conditions. Check recommended curing times and temperature ranges on product labels or manufacturer instructions before proceeding. When conditions are unfavorable, consult local guidance to determine safe alternatives.
Curing methods and timelines
Concrete needs moisture to cure properly. Here’s how:
Wet curing: Keep concrete damp for first 7 days. Use sprinklers, wet burlap, or plastic sheets.
Curing compounds: Apply liquid membrane after initial set. Protects from moisture loss and early damage.
Coverings: Insulate with straw, hay, or other materials to maintain heat and moisture.
Cold, hot, and wet weather stop points
Weather affects concrete. Here’s when to pause or protect:
Cold: Below 50°F (10°C), curing slows. Consider heating forms or applying accelerators.
Hot: Above 90°F (32°C), water evaporates fast. Use coverings, wet burlap, or cure with ice.
Wet: Rain can wash away cement. Cover with plastic sheets until dry.
Troubleshooting Common Problems
Diagnose typical defects such as cracking, scaling, or segregation and look for root causes in mix, placement, and curing. Observe substrate preparation and form stability as you inspect the surface. Document symptoms to guide repairs you can perform safely.
Present practical prevention steps and repair options suitable for DIYers, with clear scope limits. Verify repair products’ instructions for use and compatibility, and follow label directions. If repair risks exceed your experience, seek professional advice before proceeding.
Fixes for surface blemishes and scaling
First, assess the severity of your concrete’s surface issues. Minor blemishes can often be patched, while severe scaling may require resurfacing.
Patching: For minor problems, clean the area with a wire brush, then apply a patching compound. Follow the manufacturer’s instructions for mixing and application.
Resurfacing: Severe scaling needs resurfacing. Remove loose material, prepare the surface by sandblasting or acid etching, and apply a new layer of concrete mixed with a bonding agent.
Always ensure your repairs are properly cured to prevent further issues.
Addressing structural cracks and honeycombing
Cracks and honeycombing can indicate both cosmetic and structural issues. Here’s how to tell the difference:
Cosmetic: Hairline cracks or minor honeycombing are usually just surface problems. Fill these with a concrete crack filler, following the manufacturer’s instructions.
Structural: Wide cracks (over 1/8 inch) or significant honeycombing could signal underlying issues. If you see these signs, stop work immediately and consult a professional. Structural problems require expert evaluation and repair to prevent further damage.
Remember, it’s always better to be safe than sorry when dealing with structural integrity.
Safety, Legal Risks, and When to Hire a Pro
Summarize essential safety protocols and environmental controls to protect workers and property. Emphasize personal protective equipment and proper handling of materials. Keep work zones organized to reduce risk of accidents.
Identify clear decision points where a homeowner should stop and hire a qualified contractor. Cross-check local rules, permit requirements, and insurance considerations when evaluating next steps. Use these checks to determine the safest path forward.
Jobsite safety and environmental precautions
Safety on your jobsite starts with the right Personal Protective Equipment (PPE). That’s a hard hat, safety glasses, work boots, and gloves. Don’t forget ear protection if you’re using power tools.
Chemical handling is crucial. Keep your concrete mix ingredients separated until use. After pouring, clean up spills immediately to prevent chemical runoff into the soil or waterways.
Contain dust from mixing and pouring with a wet/dry vacuum or misting system. This keeps you safe from silica dust inhalation and prevents environmental contamination. Always dispose of chemicals and waste materials according to local regulations.
Red flags that require an expert
If your pour is larger than 50 square feet or continuous, like a driveway or patio, consider hiring a pro. They have the experience and tools to handle big jobs safely.
Load-bearing failures are serious business. If you’re pouring a slab that will support walls or other structures, don’t risk it. Hire an engineer or architect to assess your design and a professional concrete contractor for the pour.
Unstable soils can cause major issues down the road. If your site has soft spots, slopes, or signs of erosion, get a geotechnical report before you start digging. A pro can help stabilize the soil if needed.
Conclusion
Solid concrete work pays off in safety, durability, and a good look. Start with planning and strict safety—do it right or pay later with cracks, leaks, or a mess you can’t fix.
Check cash-ready steps in order: confirm permits if needed, square and secure the forms, count your square footage for materials, check the forecast, gather tools and PPE, mix to the right ratio, transport promptly with a steady pace, pour in level, screed smoothly, and finish while the surface is workable, then cover or mist for proper curing and protection.
Avoid common traps: pour too fast or too high, skip proper curing, or neglect weather and protection, which leads to damaging movements or surface flaws; follow a simple safety rule—protect hands, eyes, and feet, and never work alone under a load or near unsettled forms. If you’re unsure about the load, the formwork, or the site conditions, don’t push ahead alone—consult a pro when the project crosses structural limits or involves permits, large slabs, or complex forms.
When in doubt, plan to hire a pro for the critical steps, and stay focused on the basics: prepare, protect, and pace the work. Stay disciplined, stay safe, and you’ll see a solid result you can rely on for years.
FAQ
How do I know when to stop adding water to a concrete mix?
Always follow the product label and manufacturer instructions. If the mix looks too wet or runny, stop adding water and check the slump for the specified range on the datasheet. Do not add water after the mix has started setting.
What should I do if I see cracking after form removal?
Small surface cracks can happen, but big cracks mean something went off. Check for proper curing and joint placement, and re-seal with compatible materials. If cracks are wider than a hairline or keep appearing, get a pro to assess the structural part.
How can I protect fresh concrete from rain in the first day or so?
Cover it with a stable shelter or tarp if rain is expected. Remove standing water promptly and avoid direct, heavy wind for long periods. Check manufacturer guidance for expected curing protection and adjust as needed.
What are common finishing mistakes that hurt strength or durability?
Avoid overworking the surface and too-early troweling. Don’t skip proper screeding and boils or leave the surface open to dusting. Follow the recommended timing for edging, troweling, and joint control as per the product instructions.