
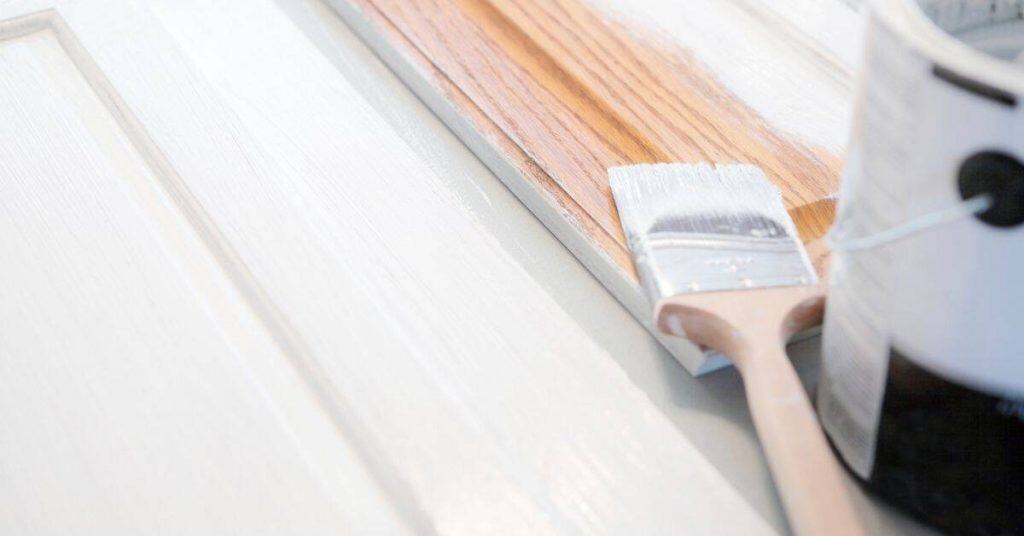
Introduction
Clean edges where paint meets wood means getting a sharp, crisp line where paint stops at the wood without bleed.
Causes can include imperfect masking, rough wood surfaces, or a slip in brush and roller control. Taking a little time to prep and test helps you see where trouble starts before you coat.
To test paint quality around edges, run a quick edge pass on scrap or inconspicuous spots and check for feathering. Fixes include clean masking, sealing rough edges, and using technique like slow cuts along the edge with minimal overlap. Gather the right tools and materials, and follow manufacturer instructions and local rules for the best clean results.
Key takeaways
- Proper surface prep eliminates ragged edges by sanding and cleaning wood adjoining paint.
- Test adhesion at wood-join lines to catch peeling before full coat.
- Use painter’s tape and masking materials aligned with grain for sharp edges.
- Apply thin, even coats and feather edges to minimize bleed into wood.
- Replace worn tape, remove while tacky to avoid lift and pull.
- Ventilate work area and wear PPE to avoid solvent exposure.
Table of Contents
- Introduction
- Key takeaways
- Why Edges Go Ragged — Common Causes
- Preparing Wood and Surrounding Surfaces for Crisp Edges
- Testing Adhesion and Edge Quality Before Full Application
- Tape Types and Masking Materials — Selection and Use
- Application Techniques for Clean, Crisp Lines
- Fixing Ragged, Bleeding, or Lifted Edges
- Tools, Materials Checklist, and Budget Considerations
- Safety, Environmental, and Regulatory Precautions
- Conclusion
- FAQ
Why Edges Go Ragged — Common Causes
Edges fail at the paint-wood junction for several practical reasons. Common modes include poor adhesion, edge lifting, feathering, and bubbling, each with real-world examples you can spot on site. Material mismatch, temperature swings, and substrate porosity all play a part in whether a line stays crisp or drifts.
Adhesion mechanics hinge on surface energy, sanding grit, and primer choices, all of which affect bite at the edge. Moisture behavior in wood drives swelling and shrinkage that pushes paint toward the seam. Surface contaminants like oils, waxes, and old coatings impede bonding and invite edge issues. Timing between coats and primer compatibility also influence whether the edge delaminates or holds fast.
Surface contamination and finish incompatibility
The edge where paint meets wood is a critical junction. Any contaminants here can cause poor adhesion, leading to peeling, lifting, or even bleeding of the new paint.
Oils from hands, old finishes, wax, or incompatible primers/paints are common culprits. These leave a barrier that prevents new paint from bonding properly.
Solution: Ensure surfaces are clean and free of contaminants before painting. Use appropriate solvents to remove old finishes, waxes, or grease. Choose compatible primers and paints for best results.
Physical and environmental factors
Humidity, temperature changes, wood movement, and UV exposure can wreak havoc on paint edges. They cause cracking, lifting, and fuzzy edges over time.
Relative Humidity: High RH causes wood to absorb moisture, swelling the fibers and pushing off the paint. Low RH does the opposite, shrinking the wood and pulling at the paint edge.
Temperature: Extreme heat or cold can affect paint flexibility, leading to cracking or lifting. UV exposure breaks down paint bonds over time, causing edges to deteriorate.
Solution: Maintain consistent temperature and RH levels during painting and drying. Use paints with good UV protection for exterior work.
Application errors and tooling mistakes
Proper application technique is crucial for clean edges. Here are common pitfalls to avoid:
- Overloading the brush: Too much paint on the brush leads to drips, runs, and uneven lines at the edge.
- Incorrect angle: Painting at the wrong angle can cause edges to lift or feather. Aim for a 45-degree angle to the surface.
- Overworking edges: Excessive brushing can disturb the paint film, causing it to lift or create fuzzy edges.
- Wrong tape removal: Removing painter’s tape before the paint is fully dry can cause lifting and uneven lines. Wait until the paint is completely dry, then remove at a 45-degree angle.
- Using cheap or worn-out tools: Low-quality brushes or ones in poor condition can leave bristles behind, causing imperfections at the edge.

Preparing Wood and Surrounding Surfaces for Crisp Edges
The edge goal is a precise, durable line where paint meets wood, and prep decisions drive that outcome. Bleed, feathering, and edge lift are the main failure modes to prevent, and each is addressed by careful prep. Inspect the substrate and choose steps that promote edge bite and edge definition.
Cleaning removes dust, oils, and waxes, and drying ensures the surface is stable before further work. Feather existing finishes with appropriate sanding, using scrapers to flatten high spots without gouging. Plan primer or sealer use, and schedule sanding between coats to maximize edge sharpness without sealing the line prematurely.
Cleaning, Degreasing, and Sanding Techniques
Start by removing surface contaminants with a mild detergent. Use a soft brush or cloth to scrub gently, avoiding any harsh scrubbing that could damage the wood.
Degrease if needed using a degreaser specifically designed for wood. This helps remove any remaining oils or waxes that could hinder paint adhesion.
Sanding is crucial for feathering existing finishes and promoting edge bite. Use 120-grit sandpaper for most woods, but adjust as needed based on the finish’s current condition. Sand lightly along the grain, being careful not to gouge or over-sand.
Wipe off any dust with a damp cloth and let it dry completely before proceeding. Moisture can affect adhesion and edge sharpness.
Primers, Sealers, and Compatibility Checks
Using a primer or sealer depends on your topcoat and the wood’s condition. For oil-based topcoats, an oil-based primer is usually best. For water-based topcoats, use an acrylic primer.
Shellac can be used as a sealer to prevent tannin bleed but should be compatible with your topcoat. Always perform a compatibility test on a scrap piece of wood before applying.
Apply the primer or sealer according to the manufacturer’s instructions, using a brush or sprayer for even coverage. Lightly sand after it dries to remove any raised grain and promote edge definition.
Remember, primers and sealers should not be used as a substitute for proper surface preparation. They’re tools to enhance your final result, not solve underlying issues.
Masking and Edge Protection Best Practices
Use high-quality painter’s tape for crisp edges. Apply it firmly but carefully to avoid pulling off any finish or damaging the wood.
For liquid mask, apply with a small brush, following the manufacturer’s instructions. It provides a smooth edge but requires careful application and removal.
Back-cutting involves cutting along the edge with a sharp knife before painting. This helps prevent paint from seeping under the tape. However, it requires skill to avoid damaging the wood or creating an uneven line.
Perform a dry run on scrap material or an inconspicuous area first. This allows you to test your masking technique and make adjustments before applying paint to the final surface.
Testing Adhesion and Edge Quality Before Full Application
Set clear objectives to predict how edges will perform where paint meets wood, before committing to full coverage. Use affordable tests that mimic real edge conditions and reveal potential problems early. Document results to guide the rest of the job.
Incorporate adhesion pulls, tape tests, and small mock-ups on scrap wood showing the actual edge crispness and transition between colors. Define pass/fail criteria based on observed failure modes and measurable outcomes, then adjust prep or products accordingly. Maintain consistency by using identical wood, moisture content, and surface prep across tests.
Tape adhesion test and cross-hatch method
Before you commit to painting, do a quick tape pull test. It’s cheap, easy, and tells you if your paint will stick or peel.
Here’s how:
- Apply primer and let it dry as per the manufacturer’s instructions.
- Cut a piece of painter’s tape (about 1-2 inches wide) and press it firmly onto the primed surface, along an edge.
- Let it sit for about 30 minutes to an hour. This gives the primer time to start bonding with the wood.
- Pull off the tape at a sharp angle – around 45 degrees. If the paint peels off or lifts, you’ve got poor adhesion. That’s a fail. Reprime and try again.
For a more thorough check, do a cross-hatch test. It’s like the tape pull but with cuts made in the primer before applying the tape:
- Using a utility knife or a special scoring tool, cut through the dried primer into the wood, making small Xs about 1/8 inch apart.
- Apply and remove the tape as before. If more than 65% of the paint lifts off, that’s another fail. Reprime and try again.
Small-area mock-ups and accelerated tests
Before you paint the whole room, do a test run in an inconspicuous spot. This way, you can see how your edge will look under real conditions.
Here’s how to set up a small mock-up:
- Choose a hidden area – like behind a door or under a cabinet.
- Prepare the surface just like you would for the whole project. Clean, sand, prime, and let it dry.
- Paint your test edge using the same technique and tools you’ll use on the real thing. Let it dry according to the manufacturer’s instructions.
To speed up testing, you can simulate different conditions:
- For heat, place a heat lamp or hair dryer near the test area for a few hours each day.
- For humidity, put a bowl of water in a sealed plastic bag and leave it near the test area overnight. Repeat daily.
Check your mock-up regularly. If you see lifting, fraying, or other issues, adjust your prep, primer, or paint before tackling the whole project.
When to call a lab or pro for stubborn adhesion issues
If you’ve tried everything and your edges still won’t behave, it might be time to call in the pros. Here’s when:
- Your primer and paint are incompatible. Maybe they’re from different manufacturers or have conflicting ingredients.
- There’s a structural issue with your wood. Like, it’s too green (not dry enough) or has a hidden defect.
When you call, have these details ready:
- The exact species and age of the wood.
- The primer and paint brands and types.
- A description of your prep process – cleaning, sanding, etc.
- Photos of the problem area. Close-ups are best.
The lab or pro can run tests to identify any chemical incompatibilities or other issues you might have missed.
Tape Types and Masking Materials — Selection and Use
Explain tape varieties by adhesion strength and surface compatibility, noting foam-backed and rag-backed options. Compare low-, medium-, and high-adhesion tapes and where each works best on wood and painted surfaces. Include how edge tapes and liquid masks fit into sharp-line projects.
Check surface readiness before masking: clean, dry wood, degrease glossy areas, and test bleed on inconspicuous spots. Plan edge layout around joints and bevels, and apply tape with firm, even pressure. Remove tape at the right time and use safe techniques to avoid tearing or lifting the edge.
Choosing the right tape for wood and finish
The first step to crisp edges is choosing the right painter’s tape. It’s all about surface texture, fresh paint, and delicate finishes.
Low-adhesion tape is best for smooth surfaces like freshly sanded wood or glossy paints. It won’t pull off your finish when removed.
Medium- to high-adhesion tapes are great for textured surfaces, like weathered wood, or when you need extra hold on vertical lines. But be careful not to let them sit too long, or they might pull off your paint.
Foam-backed tape is perfect for delicate surfaces as it creates a soft barrier against the edge. Rag-backed tape