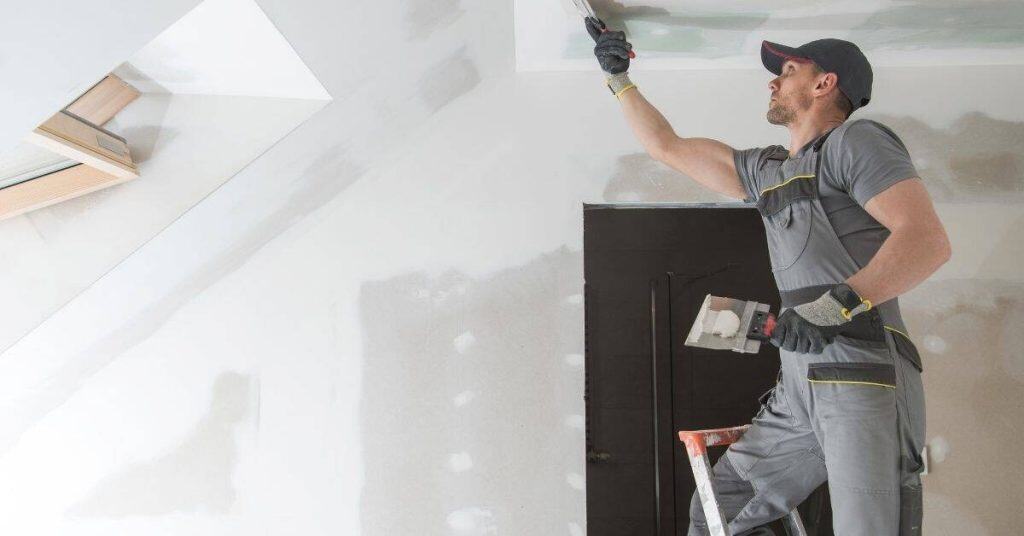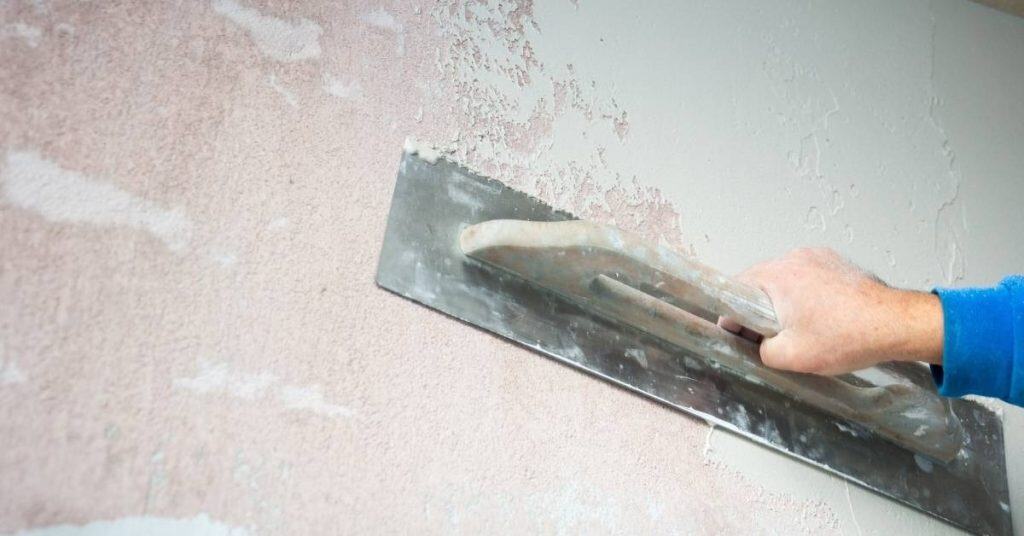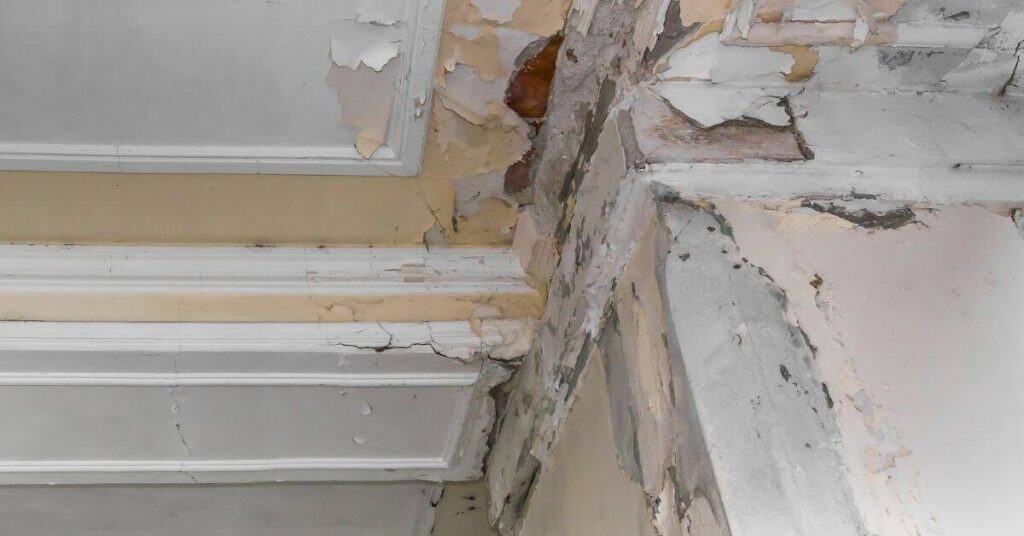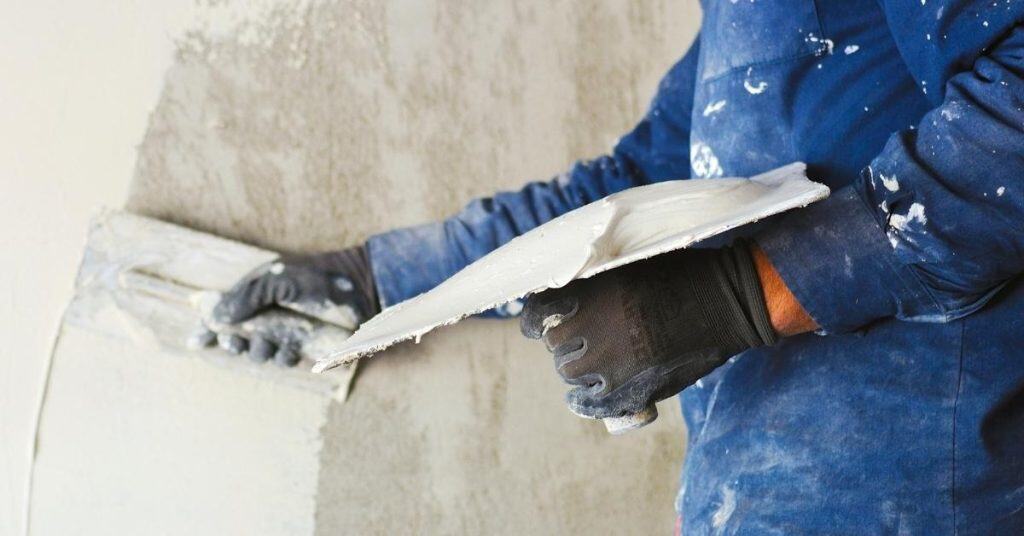
Primers for Plaster Before Paint: What Stops Suction and Gives Uniform Sheen
Introduction Primers for plaster before paint are coatings that seal the surface and even out suction so paint goes on smoothly. In plain words, you dampen any dry areas, fill small flaws, and create a uniform base. Choose a primer labeled for plaster and follow the label for surface prep and drying times. Prepare the […]
Primers for Plaster Before Paint: What Stops Suction and Gives Uniform Sheen Read More »