Unpainted drywall sheets with taped and mudded joints on ceiling and walls

Drywall Finishing in Cold Weather: Heater Placement, Dry Times, and Crack Prevention

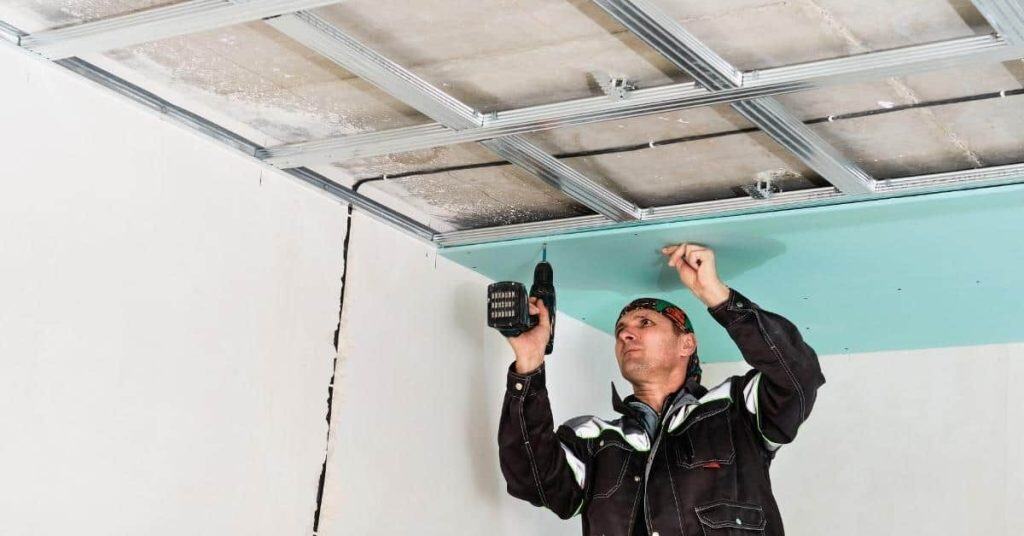
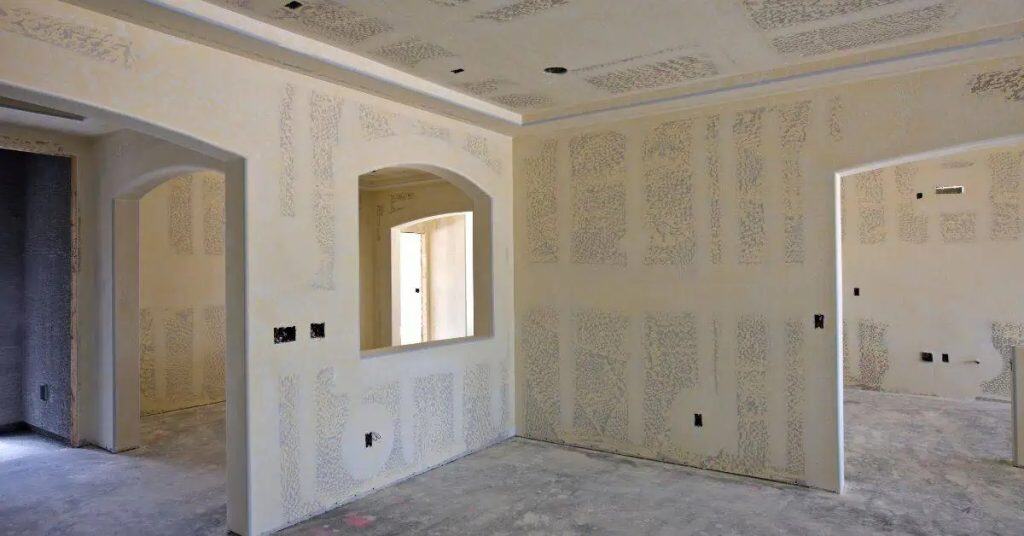
Introduction Drywall finishing in cold weather means keeping mud workable and joints from cracking by managing heat and drying times. Aim for a steady, moderate temperature in the room and avoid drafts that slow drying. Check the mud you’re using for cold-weather guidance and follow the manufacturer’s instructions for working times. Position heaters to keep […]

Drywall Finishing in Cold Weather: Heater Placement, Dry Times, and Crack Prevention Read More »

Electrical tools on top of blueprint diagrams on wooden surface

Electrical Box Extenders and Drywall Thickness: Getting Device Flush Without Cracked Mud Rings

Introduction Electrical box extenders adjust the depth of a box so the device sits flush with drywall. Key takeaways Match drywall thickness with extender depth to keep devices flush. Measure drywall and box depth accurately before selecting any extender. Choose extender type by box style, mud thickness, and finish height. Follow manufacturer instructions and local

Electrical Box Extenders and Drywall Thickness: Getting Device Flush Without Cracked Mud Rings Read More »

Man installing drywall panels on ceiling metal framework

Drywall Over Plaster Walls: When Furring Strips Beat Adhesives (and how to avoid hollow spots)

Introduction Furring strips create a new, flat surface for hanging drywall over plaster. This method helps prevent hollow spots by giving you solid backing and a frame to fasten into. Check your local rules and manufacturer guidelines for spacing and fastener choices. Plan your layout, level the strips, and avoid compressing the plaster when you

Drywall Over Plaster Walls: When Furring Strips Beat Adhesives (and how to avoid hollow spots) Read More »

Drywall panels with taped and mudded seams in unfinished room

Drywall Repair After Wallpaper Removal: Fixing Torn Paper Without Bubbles

Introduction Drywall repair after wallpaper removal means fixing the torn or peeled gypsum board surface so it sits flat and ready for paint. You’ll likely need to patch the torn areas, skim the joints, and feather the edges so the wall looks seamless. This is a hands-on job you can do without specialized tools beyond

Drywall Repair After Wallpaper Removal: Fixing Torn Paper Without Bubbles Read More »

Interior room with drywall patches and joint compound

How to Patch Drywall After Removing Tile Backsplash (Old Mastic, Tears, and Skim Strategy)

Introduction Patching drywall after removing a tile backsplash involves repairing damaged drywall, smoothing feathered seams, and re-skimming the surface so it’s ready to paint. You’ll want to address old mastic footprints, tears, and any ridges or gouges left behind. Check for water stains or loose paint and plan repairs accordingly before you proceed. Start by

How to Patch Drywall After Removing Tile Backsplash (Old Mastic, Tears, and Skim Strategy) Read More »

Hand holding caulking gun applying white caulk to surface

Air-Sealing at Drywall Perimeters: Caulk vs. Gasket vs. Spray Foam (What to Use Where)

Introduction Air-sealing at drywall perimeters means closing gaps around the edges of drywall to stop drafts and air leaks. It focuses on where drywall meets studs, ceilings, and other assemblies. You’ll choose materials based on where the gap is and what can be painted or finished to match. Caulk is good for small, fixed gaps

Air-Sealing at Drywall Perimeters: Caulk vs. Gasket vs. Spray Foam (What to Use Where) Read More »

Hand holding drill making hole in brick wall

DIY Soundproof Wall Build-Up: Resilient Channel, Clips, and What Actually Moves the Needle

Introduction Soundproof wall build-up is a layered wall setup that uses decoupling methods to reduce sound transfer. In this approach, resilient channels and clips create a separated path so vibrations don’t slam directly into the stud cavity. I’ll break down what you can realistically achieve with common DIY materials and how to check labels and

DIY Soundproof Wall Build-Up: Resilient Channel, Clips, and What Actually Moves the Needle Read More »

Person applying drywall joint compound near window

Drywall Around New Windows: How to Build Returns That Stay Straight and Crack-Free

Introduction Returns around a window are the built drywall edges that keep the opening straight and crack‑free. This article explains how to shape and install them in a DIY‑friendly way. You’ll get a straightforward, hands-on approach that doesn’t rely on theory. You’ll want to start by dry‑fitting the window reveal and deciding where the drywall

Drywall Around New Windows: How to Build Returns That Stay Straight and Crack-Free Read More »

Interior walls with unfinished drywall and visible joint compound

How to Finish Drywall Over OSB/Sheathing Interior Walls (Adhesion and Joint Strategy)

Introduction Finishing drywall over OSB means applying drywall to bare OSB sheathing with proper bonding, taping, and joint methods. Before you start, confirm the OSB is clean, dry, and reasonably flat and plan how you’ll attach the drywall. This approach centers on solid adhesion and clean joints without compromising the panel. Use the methods and

How to Finish Drywall Over OSB/Sheathing Interior Walls (Adhesion and Joint Strategy) Read More »

White gutter and downspout on beige house corner under blue sky

Inside Corner Cracks That Keep Returning: Movement Causes and Reinforcement Options

Introduction Inside corner cracks that keep returning are signs of ongoing movement at wall corners. These cracks usually form where framing shifts, settles, or surfaces rub as seasons change. In DIY terms, you’re seeing a repeating tug that small repairs alone won’t stop. Reinforcement options depend on the cause and finish material, and you’ll want

Inside Corner Cracks That Keep Returning: Movement Causes and Reinforcement Options Read More »