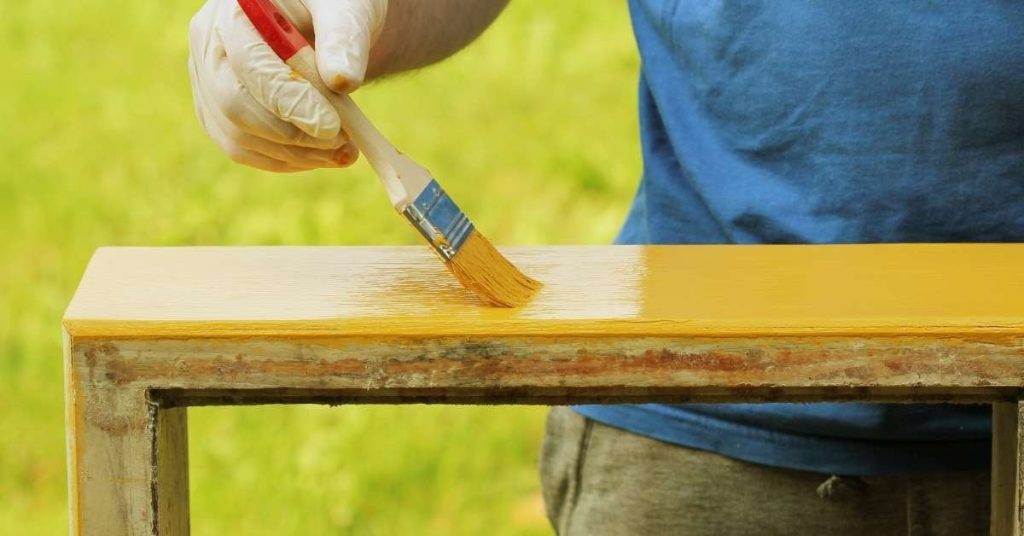
How to Paint Over Waxed Furniture: Decontamination and Bond Tests
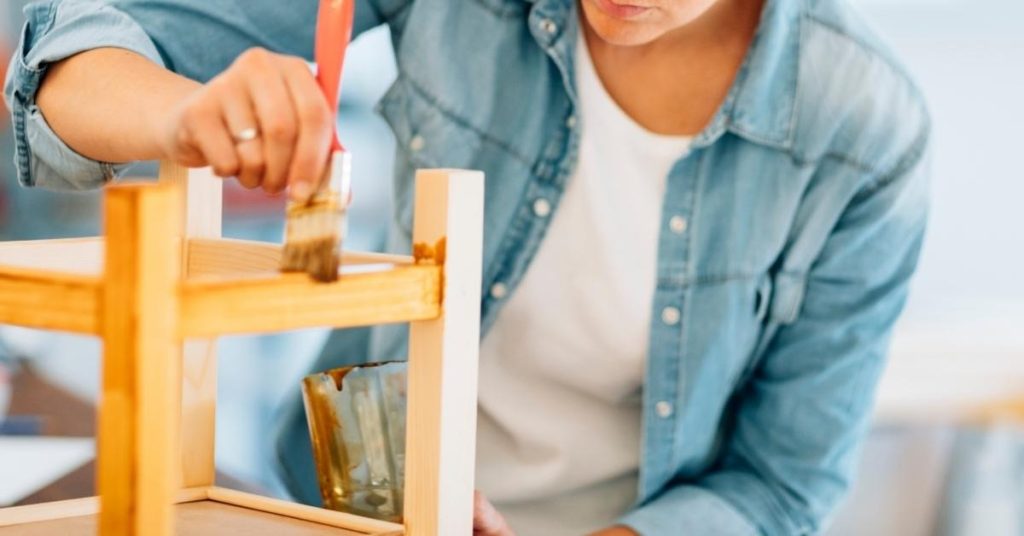
Introduction Painting over waxed furniture means removing or neutralizing the wax so paint can stick; it’s a decontamination and bond-testing job rather than a simple paint-and-go. Start by identifying the finish and following product labels or manufacturer instructions for wax removal or adhesion promotion. If you can’t be sure of the finish, plan to test […]
How to Paint Over Waxed Furniture: Decontamination and Bond Tests Read More »