

Introduction
Best indoor painting temperature means painting when the air is at a level that lets the paint apply smoothly and cure without sagging or blushing. Keep the room away from extreme cold or heat and ventilate as needed. Always check the paint can or manufacturer instructions for the exact suggested range, and avoid guessing.
Humidity affects how fast the paint dries and can cause runs or dull spots. If the air is humid or damp, allow extra drying time and use ventilation or dehumidification. Cold weather slows drying, so consider longer cure times and plan for the space to stay within the recommended range.
Key takeaways
- Maintain a stable indoor temp within recommended painting range, avoid extremes.
- Humidity affects sheen and dry times; aim for comfortable levels before painting.
- Expect longer dry times in cooler or more humid rooms; plan coating accordingly.
- Cold-weather conditions demand moisture management and ventilation to prevent issues.
- Pre-paint planning saves delays: prep, materials, and environment adjustments ahead.
- Safety: use proper PPE, monitor ventilation, and avoid overheating appliances.
Table of Contents
- Introduction
- Key takeaways
- Best Indoor Temperature Range — What to Aim for
- Humidity: Ideal Levels and How It Changes Dry Time
- Dry-Time Reality — Stages (Touch-Dry, Recoat, Cure) and Expectations
- Paint Types and Formulations for Challenging Indoor Climates
- Pre-Paint Planning — Prepping Schedule, Materials, and the Environment
- Safety and Climate Control Best Practices for Indoor Jobs
- Cost, Delays, and Risk Management Tied to Temperature and Humidity
- Troubleshooting and Recovery for Unexpected Temperature or Humidity Changes
- Conclusion
- FAQ
Best Indoor Temperature Range — What to Aim for
Set up the space to keep the paint within a comfortable, stable temperature. A warm, steady environment helps the film form and cure properly. Your goal is a consistent range that avoids cold pockets and heat spikes that can stress the material.
Always verify the paint manufacturer’s minimum and maximum temperature and humidity guidelines on the label or data sheet. These requirements vary by product line and primer used, so check before you start. Humidity interacts with temperature to influence drying, flash-off, and film quality, so plan for a balanced environment rather than just a comfortable room temperature.
Common safe ranges and why to verify them
The ideal indoor painting temperature range is typically around 60–75°F (15–24°C). For latex paints, the practical floor can be as low as 50–55°F (10–13°C), but oil-based finishes usually need warmer conditions. Always check your paint’s label and technical data sheet for specific guidelines.
Sticking to this range ensures proper film formation and curing. Too cold, and the paint won’t flow or level right. Too hot, and it can dry too fast, leading to poor results.
Remember, these are general guidelines. Some paints may have different requirements. So, always verify with your specific product.
How temperature affects application quality
Temperature plays a big role in how paint applies and performs. When it’s too cold, paint becomes thick and hard to spread. It might not level out smoothly either.
On the flip side, high temperatures can make paint dry too fast. This can lead to poor adhesion, brush marks showing through, and other defects. Plus, it makes touch-ups tricky.
Temperature also affects how well your paint sticks to the surface. In cold conditions, paint might not adhere properly, leading to peeling or flaking down the road.
So, keep an eye on the room temperature while you’re painting. If it’s too far out of the ideal range, consider adjusting the temperature or waiting for better conditions.
Humidity: Ideal Levels and How It Changes Dry Time
Relative humidity directly affects how the paint film forms. Higher humidity slows solvent evaporation and can extend tack-free and cure times. Very low humidity speeds surface drying but may cause skinning or poor adhesion if the substrate is cold or damp.
Aim for practical humidity targets appropriate for your product type and room conditions, and measure with a hygrometer. Monitor RH along with temperature and track changes to anticipate dew point risks. Use ventilation or dehumidification as needed and run a small test patch to confirm adhesion and finish before committing to full coats.
Problems caused by high humidity
High relative humidity (RH) can cause a world of trouble when painting indoors. It slows down the evaporation of solvents, extending your tack-free time and delaying cure.
Here’s what to watch out for:
- Extended dry times: Paint takes longer to dry and may remain sticky or tacky.
- Whitening: High RH can cause water-based paints to whiten, especially on surfaces like concrete or brick that release moisture.
- Sagging: Excessive humidity can make paint sag or drip, ruining your finish.
- Adhesion loss: High RH can weaken the bond between paint and surface, leading to peeling or flaking.
When to postpone: If the RH is above 60%, it’s best to delay painting until conditions improve. Use a hygrometer to monitor the room.
Problems caused by low humidity
Low relative humidity (RH) can also wreak havoc on your paint job. It speeds up drying, but this isn’t always a good thing.
Here’s what to look out for:
- Brush marks: Paint dries too quickly, leaving visible brush or roller strokes.
- Poor leveling: Low RH can prevent paint from evening out properly, leading to an uneven finish.
- Powdery finish: In extreme cases, low humidity can cause paint to dry so fast that it forms a powdery residue on the surface.
Mitigation steps: If you’re dealing with low RH, consider using a slower-drying paint or adding a conditioner to extend open time. Keep an eye on temperature as well – if it’s too cold, painting might not be feasible.
Dry-Time Reality — Stages (Touch-Dry, Recoat, Cure) and Expectations
Identify the common stages: touch-dry means the surface feels set, recoat means the surface is ready for a second coat, and cure is when the film reaches full strength. These stages are influenced by temperature and humidity, which shift their timing.
Consult the product data sheet for recoat windows and cure times, and remember indoor conditions can alter these timelines. Use simple in-situ checks like a tack test to decide if you can recoat or move to cure. If conditions drift, expect adjustments in open times and final durability.
How water-based vs oil-based paints typically behave
Water-based paints, like latex, dry faster due to their higher volatile organic compounds (VOCs) content. They can touch-dry in 1-2 hours and be ready for recoating in 4-6 hours at optimal room temperature (70-85°F or 21-29°C). Oil-based paints, on the other hand, take longer to dry and cure due to their slower evaporation rate. They can touch-dry in 4-8 hours but may need 24 hours or more before recoating.
Tip: Plan your painting schedule accordingly. Water-based paints allow for quicker turnaround times, while oil-based paints require more patience between coats.
Practical tips to verify readiness before recoating
Before you decide to recoat, perform a simple tack test. Gently touch the surface with your finger. If no paint comes off on your finger and it doesn’t feel sticky, it’s likely ready for the next coat.
If you’re still unsure, try making a small, inconspicuous scratch with a nail or a coin. If the paint doesn’t flake or come off, it’s probably safe to recoat.
Rule of thumb: Always wait at least 24 hours before recoating oil-based paints and up to 6 hours for water-based paints, even if they pass the tests. This ensures a strong bond between coats.
Paint Types and Formulations for Challenging Indoor Climates
Match the paint type to the room climate and project constraints. Temperature, humidity, and ventilation all influence performance. Choose a formulation that suits your space and workflow rather than chasing a single cure-time target.
Compare latex/acrylic with alkyd or oil-based options for cooler, drier, or more humid spaces, noting how fast-dry or low-temperature variants behave. Consider specialty formulations and how they interact with substrate, sheen, and long-term durability. Test patches help confirm compatibility with your surface and environment.
When to choose low-temp or fast-dry products
Specialty formulations like low-temperature and fast-dry paints are lifesavers when you’re up against time or climate constraints. Here’s when to consider them:
Low-Temperature Paints: These are your go-to when indoor temps dip below 50°F (10°C). They’re perfect for basements, drafty rooms, or winter painting projects.
Check product labels for minimum application temperatures. Some low-temp paints can handle as low as 35°F (2°C), but most perform best around 40-50°F (4-10°C).
Fast-Dry Paints: When you need to recoat or move on to the next task quickly, fast-dry paints are your friend. They’re great for high-traffic areas like kitchens and bathrooms, or when you’ve got a tight schedule.
Keep in mind, fast-dry doesn’t always mean fast. Touch-dry times can range from 30 minutes to several hours, so check product specs. Also, consider VOC levels if indoor air quality is a concern.
Trim, ceiling, and high-use surface considerations
Different surfaces have different needs. Here’s how to match your paint choice to the job:
Trim and Ceilings: These areas see less wear but need durable, washable finishes. Semi-gloss or satin paints are ideal. They’re easy to clean and provide good leveling for smooth surfaces.
For ceilings, consider flat or matte paints to hide imperfections. On trim, opt for higher sheen levels (semi-gloss to high-gloss) for easier cleaning and better reflection of light.
High-Use Surfaces: Kitchens, bathrooms, and high-traffic areas need tough, durable paints that can withstand frequent washing and heavy use. Here’s where specialty formulations like interior epoxy or polyurethane paints shine.
These paints provide excellent durability, stain resistance, and easy cleaning. However, they have longer dry times and strong odors, so plan accordingly. Always test on a small area first to ensure compatibility with your existing surface.
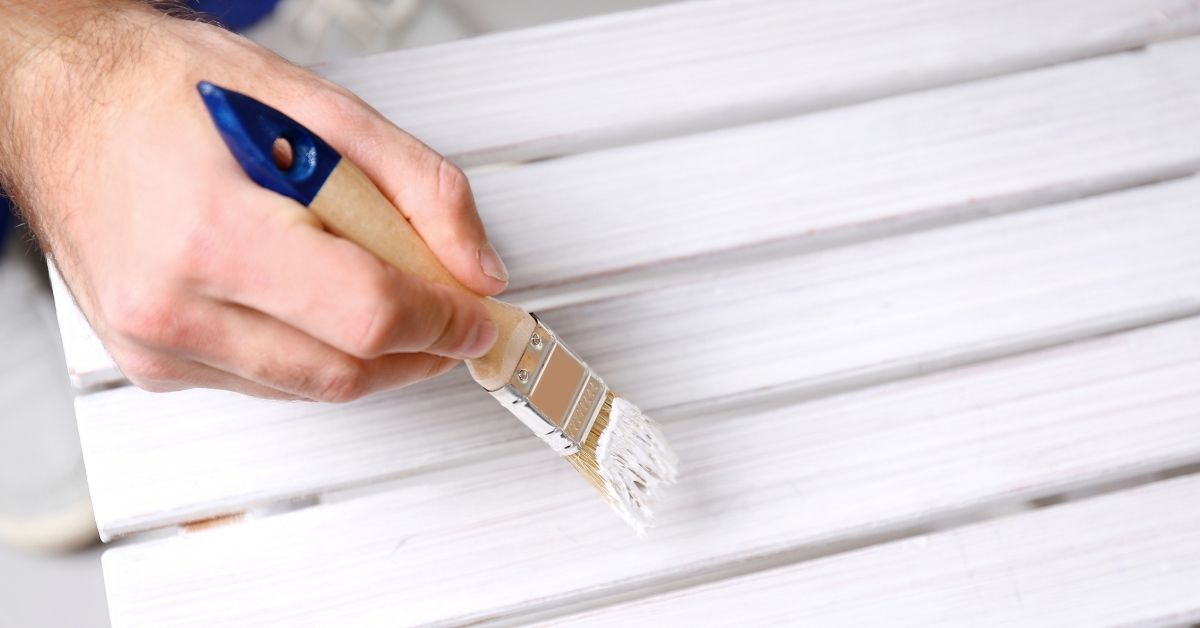
Pre-Paint Planning — Prepping Schedule, Materials, and the Environment
Create a pre-paint environment plan that targets stable temperatures, reasonable humidity, and controlled drafts. Isolate the room if needed to minimize swings during the first coat. Outline a ventilation approach that keeps air moving without introducing drafts.
Check material acclimation, viscosity, and compatibility before you open cans. Allow containers to reach room conditions, mix as required, inspect primers, and perform a quick test patch. Define a step-by-step workflow that aligns forecasted conditions with drying times and coat sequencing.
Tools and materials checklist
Before you start painting, make sure you have all the necessary tools and materials. This list will help you stay organized and avoid mid-project trips to the hardware store.
- Paint: Ensure it’s within the ideal temperature range (65-85°F or 18-29°C) before application.
- Primer: Check compatibility with your paint and surface type. Apply when surfaces are dry and at optimal temp.
- Tape: Use painter’s tape to protect edges and create clean lines. Test for adhesion in cool temps.
- Drop cloths: Protect floors from drips and spills. Ensure they’re secure and won’t slide on uneven surfaces.
- Thermometer/hygrometer: Measure ambient temperature and humidity to ensure ideal conditions for painting.
- Moisture meter: Check walls, ceilings, and floors for excess moisture before painting. Moisture can cause peeling or mildew growth.
- Fans: Use fans to improve ventilation and speed up drying time. Ensure they’re safe for indoor use.
- Humidifier/dehumidifier: Regulate humidity levels as needed. Pick models rated for indoor, safe use.
- PPE (Personal Protective Equipment): Include safety glasses, gloves, and a respirator for dust protection.
Quick rule: Alwa