Matt L.

Concrete worker.

Person applying plaster on wall with trowel

High-Gloss Venetian Plaster: A Layering Plan to Avoid Drag Marks and Streaks

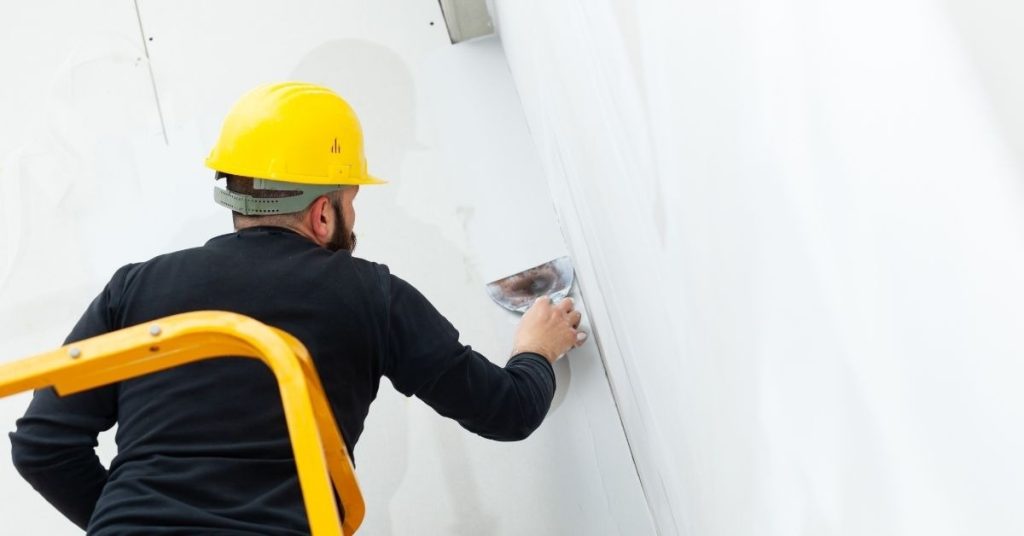
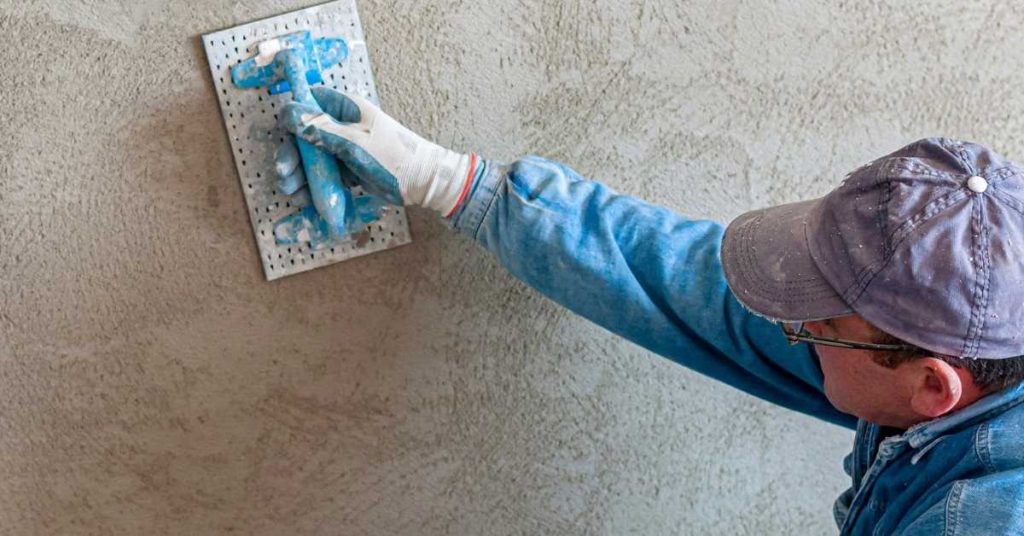
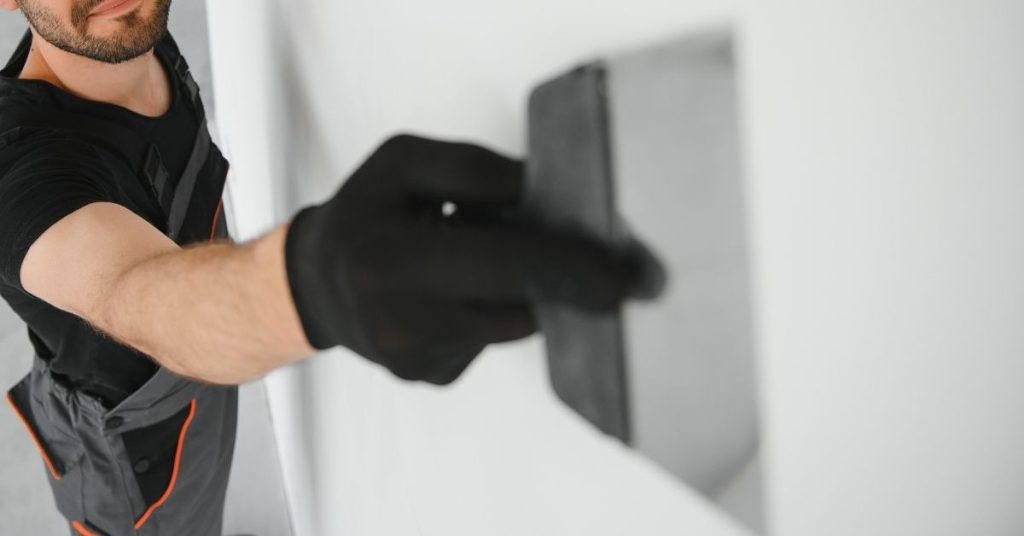
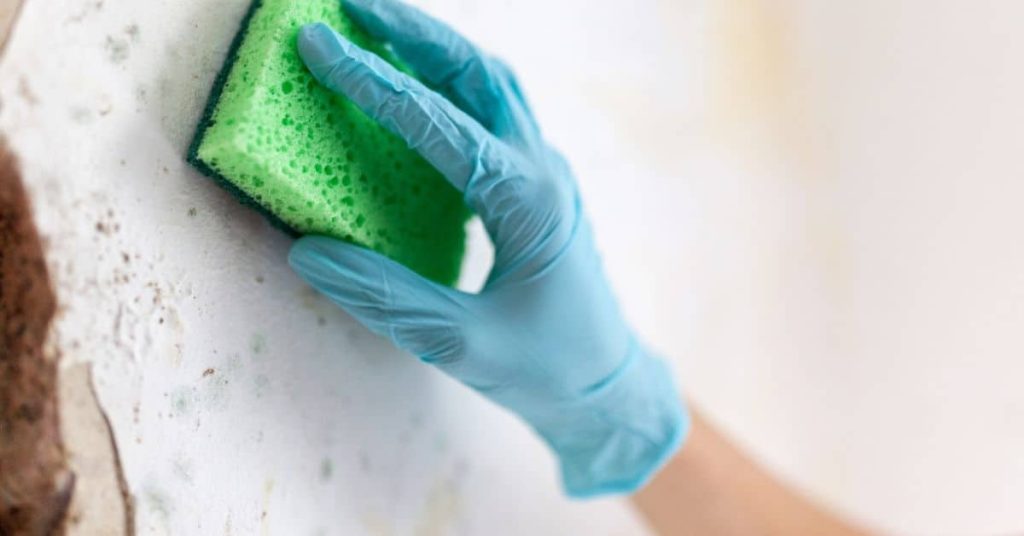
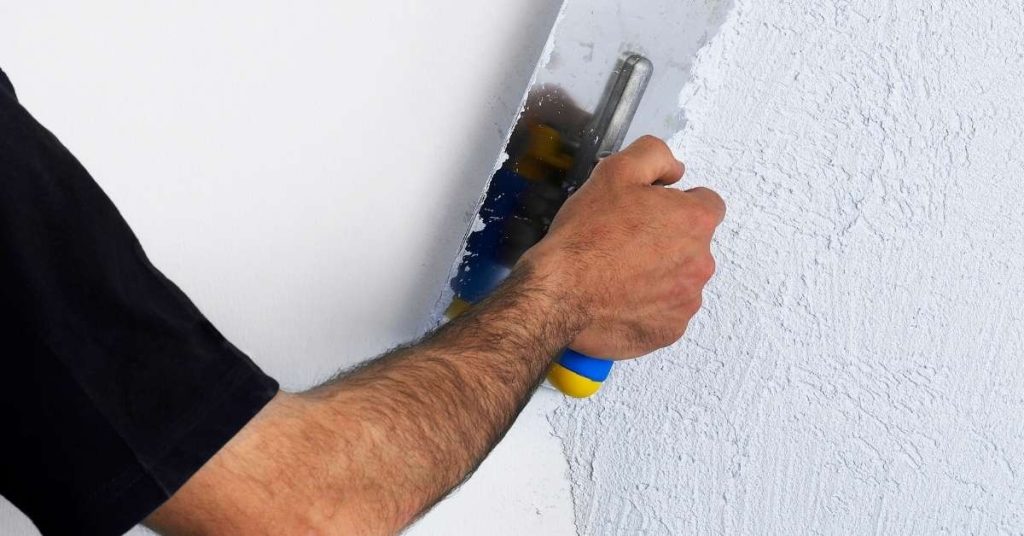
Introduction High-gloss Venetian plaster is a multi-layer decorative finish that builds a shiny, mirror-like surface. This article lays out a practical layering plan to keep drag marks and streaks under control as you work. You’ll be working in thin, even coats and checking your tool marks as you go. Begin with surface prep, then keep […]

High-Gloss Venetian Plaster: A Layering Plan to Avoid Drag Marks and Streaks Read More »

bucket with plastering tools on wet surface outdoors

Tadelakt for DIY Bathrooms: Burnishing, Waxing, and Details That Prevent Failure

Introduction Tadelakt is a traditional lime plaster finish used in bathrooms that you burnish and wax to create a smooth, water-resistant surface. This article covers the key steps you can do yourself, like burnishing and applying wax, and the details that help prevent failure. Keep in mind that proper preparation and careful curing are essential

Tadelakt for DIY Bathrooms: Burnishing, Waxing, and Details That Prevent Failure Read More »

Man applying plaster patch to interior wall cracks

Plaster Patching at Stair Stringers: Reinforcement for Vibration Zones

Introduction Plaster patching at stair stringers is a repair method that stabilizes cracks and adds stiffness where vibration occurs. It targets the areas where the stringer carries load and movement from foot traffic. This guide describes a practical, hands-on approach you can tackle with basic tools. Start by cleaning the damaged area and selecting a

Plaster Patching at Stair Stringers: Reinforcement for Vibration Zones Read More »

Worker applying plaster to a white wall wearing yellow helmet

Paper Tape vs Fiberglass Mesh in Plaster Repairs: Where Each One Fails First

Introduction Paper tape is a traditional plaster repair method that tends to fail first at weak joints or moisture-prone areas. Fiberglass mesh is a modern patch option that can fail where the mud isn’t embedded well or runs behind the patch. Both have their own failure points depending on prep and technique. In repairs, focus

Paper Tape vs Fiberglass Mesh in Plaster Repairs: Where Each One Fails First Read More »

Hand holding a float tool smoothing plaster on wall

Traditional Plaster Corners Without Metal Bead: A Clean Corner-Float Method

Introduction Traditional plaster corners without metal beads are built by floating plaster to a clean, sharp edge. Key takeaways Prepare raw corner by removing paint, dust, and protrusions for plaster bonding. Establish guides and screeds to create a true 90-degree plaster edge. Apply backing coat evenly before corner float to avoid laitance. Use a controlled

Traditional Plaster Corners Without Metal Bead: A Clean Corner-Float Method Read More »

Worker smoothing plaster on wall with trowel

Plaster Near Masonry Chimneys: Expansion Gaps That Prevent Heat-Cycle Cracks

Introduction Expansion gaps between plaster and masonry chimneys help prevent cracks from heating and cooling. When the chimney heats up, the brick or metal behind the plaster expands and the plaster needs room to move. Without a gap, cracks can form as parts push against each other. To set this up during a DIY job,

Plaster Near Masonry Chimneys: Expansion Gaps That Prevent Heat-Cycle Cracks Read More »

Hand smoothing lime plaster on wall with trowel

Lime Plaster in Basements: Moisture Testing, Vapor Drive, and Paint Choices

Introduction Lime plaster in basements is a breathable plaster finish that helps manage moisture. It relies on lime’s chemistry to let vapor pass while providing a durable coat. This DIY approach requires careful moisture testing and proper surface prep. Moisture testing, understanding vapor drive, and choosing compatible paints matter for long-term performance. Check product labels,

Lime Plaster in Basements: Moisture Testing, Vapor Drive, and Paint Choices Read More »

Hand in blue glove cleaning white wall with green sponge

Cleaning and Resealing Polished Plaster: Soap Scum, Dull Spots, and Refresh Coats

Introduction Cleaning and resealing polished plaster means removing soap scum and dull spots and applying a fresh protective coat. This is a hands-on DIY job that restores the surface without tearing it out. Expect a light scrubbing, careful rinse, and a new sealant layer following the manufacturer’s instructions. Before you start, check the product labels

Cleaning and Resealing Polished Plaster: Soap Scum, Dull Spots, and Refresh Coats Read More »

Hand applying plaster on wall with metal trowel

Clay Plaster Dent Repairs: Spot Blends, Burnish Timing, and Invisible Touch-Ups

Introduction Clay plaster dent repairs are about filling dents with clay plaster, blending the patch to the surrounding wall, and keeping the finish invisible. This is a hands-on, small-mesh job you can tackle with basic tools and careful timing. You’ll spot blend by feathering edges and adjusting texture until the repaired area matches the wall.

Clay Plaster Dent Repairs: Spot Blends, Burnish Timing, and Invisible Touch-Ups Read More »

Close-up of textured polished plaster wall surface

Sanding vs Burnishing Polished Plaster: Fixing Trowel Tracks Without Haze

Introduction Sanding and burnishing polished plaster is the process of smoothing and finishing the surface to remove trowel tracks and haze. This is done after the plaster has cured enough to work but while it’s still workable, using gentle abrasion and polish. The goal is a uniform, matte or soft sheen without gouges. Before you

Sanding vs Burnishing Polished Plaster: Fixing Trowel Tracks Without Haze Read More »