Matt L.

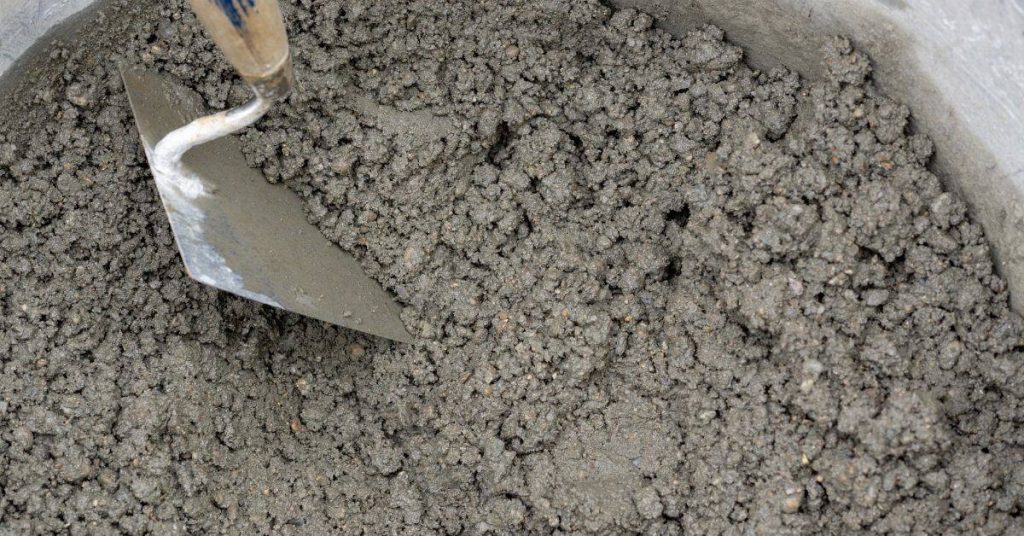
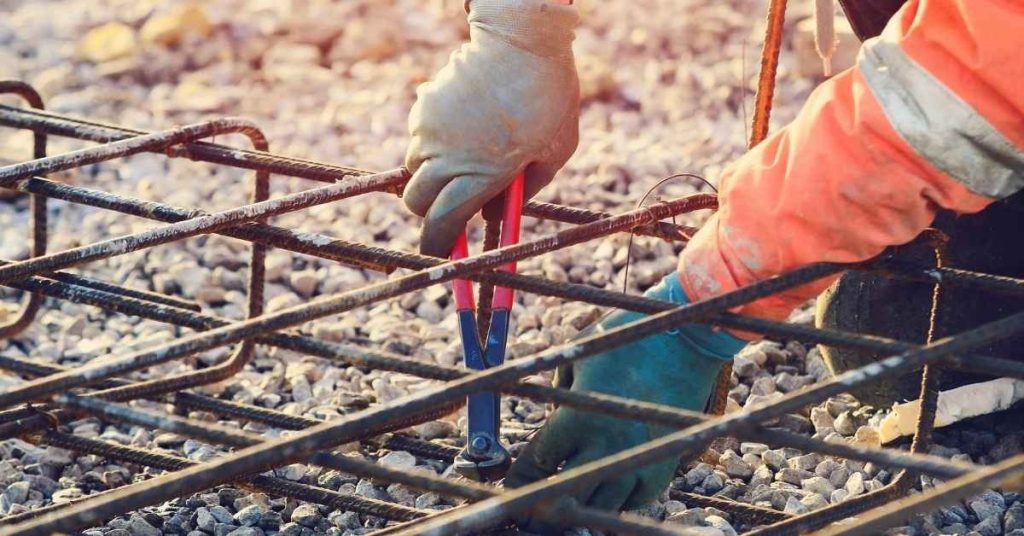
Concrete worker.

Man applying joint compound to drywall ceiling corners

Finishing Drywall Around Recessed Lights: Avoiding Rings, Cracks, and Shadowing

Introduction Finishing drywall around recessed lights means taping, mudding, and sanding careful edges so the lights sit cleanly in the ceiling. The goal is to avoid visible rings, hairline cracks, and shadow lines when the light is on. Check the fixture details and follow any manufacturer or local guidance rather than guessing. Feather the mud […]

Finishing Drywall Around Recessed Lights: Avoiding Rings, Cracks, and Shadowing Read More »

Worker measuring drywall with tape measure on wall

Drywall Fasteners Over Steel Studs: Screw Types, Spacing, and Stripping Avoidance

Introduction Drywall fasteners over steel studs are screws used to attach drywall to metal framing. They’re the fasteners you drive with a screwdriver or drill to secure gypsum to metal studs. Follow the screw manufacturer instructions and local rules for type and installation, and check the packaging label for compatibility with steel studs. To avoid

Drywall Fasteners Over Steel Studs: Screw Types, Spacing, and Stripping Avoidance Read More »

Drywall panels with taped and mudded joints in unfinished room

How to Repair a Damaged Drywall Vapor Barrier/Poly Behind the Wall (When It Matters)

Introduction Repairing a damaged drywall vapor barrier behind the wall means fixing the moisture barrier layer in the wall cavity to control condensation and potential mold. This is a hands-on job you can do with basic tools, but you need to confirm the barrier’s location and condition. Check the wall area for moisture signs and

How to Repair a Damaged Drywall Vapor Barrier/Poly Behind the Wall (When It Matters) Read More »

Worker applying drywall mud with a trowel on wall

Creating a Perfect Shadowline Reveal at Drywall-to-Ceiling Transitions (Modern Detail)

Introduction A shadowline reveal is a small, clean gap between drywall and the ceiling that creates a floating edge. It’s a hands-on detail that hides joint lines while catching light. Think of it as a deliberate, precise trim that reads as modern and tidy. To pull it off, you’ll plan the edge, keep a consistent

Creating a Perfect Shadowline Reveal at Drywall-to-Ceiling Transitions (Modern Detail) Read More »

Blue ladder in room with patched and primed drywall walls

Setting-Type Mud vs. All-Purpose: Where Each Belongs in Repairs and Finishing

Introduction Setting-type mud is a drywall compound that dries harder for joints, while all-purpose mud is a versatile, faster-setting option for general repairs. In repairs and finishing, use setting-type where you need a strong, clean joint and sanding resistance; use all-purpose for quick fills and smooth coats. Think about the project timeline and surface when

Setting-Type Mud vs. All-Purpose: Where Each Belongs in Repairs and Finishing Read More »

Interior walls with drywall joint tape and joint compound applied

Choosing Joint Tape: Paper vs. Fiberglass vs. FibaFuse (Use Cases and Failure Modes)

Introduction Joint tape is the thin strip that reinforces drywall joints when you compound them. Choosing between paper, fiberglass, and FibaFuse comes down to how you want the joint to behave and how much you’re willing to feather and sand. No matter which you pick, follow the product label and manufacturer instructions for application and

Choosing Joint Tape: Paper vs. Fiberglass vs. FibaFuse (Use Cases and Failure Modes) Read More »

Smooth white ceiling with recessed tray design and hanging bulb

How to Prevent Flashing at Joints Under Semi-Gloss Paint (Primer + Skim + Sand Workflow)

Introduction Flashing at joints under semi-gloss paint is when the edge of the joint shows through the finish due to imperfect sealing or adhesion. The fix is a careful primer, skim coat, and light sanding to smooth joints before applying the topcoat. Work from clean surfaces and match the paint system to the substrate, checking

How to Prevent Flashing at Joints Under Semi-Gloss Paint (Primer + Skim + Sand Workflow) Read More »

Unpainted drywall sheets with taped and mudded joints on ceiling and walls

Drywall Finishing in Cold Weather: Heater Placement, Dry Times, and Crack Prevention

Introduction Drywall finishing in cold weather means keeping mud workable and joints from cracking by managing heat and drying times. Aim for a steady, moderate temperature in the room and avoid drafts that slow drying. Check the mud you’re using for cold-weather guidance and follow the manufacturer’s instructions for working times. Position heaters to keep

Drywall Finishing in Cold Weather: Heater Placement, Dry Times, and Crack Prevention Read More »

Electrical tools on top of blueprint diagrams on wooden surface

Electrical Box Extenders and Drywall Thickness: Getting Device Flush Without Cracked Mud Rings

Introduction Electrical box extenders adjust the depth of a box so the device sits flush with drywall. Key takeaways Match drywall thickness with extender depth to keep devices flush. Measure drywall and box depth accurately before selecting any extender. Choose extender type by box style, mud thickness, and finish height. Follow manufacturer instructions and local

Electrical Box Extenders and Drywall Thickness: Getting Device Flush Without Cracked Mud Rings Read More »

Man installing drywall panels on ceiling metal framework

Drywall Over Plaster Walls: When Furring Strips Beat Adhesives (and how to avoid hollow spots)

Introduction Furring strips create a new, flat surface for hanging drywall over plaster. This method helps prevent hollow spots by giving you solid backing and a frame to fasten into. Check your local rules and manufacturer guidelines for spacing and fastener choices. Plan your layout, level the strips, and avoid compressing the plaster when you

Drywall Over Plaster Walls: When Furring Strips Beat Adhesives (and how to avoid hollow spots) Read More »