

Introduction
Ceiling drywall without a lift means using hand techniques, temporary bracing, and smart cutting sequences to hold and fasten panels safely when you don’t have mechanical help. This is about controlling the panel, supporting it temporarily, and cutting in the right order so you don’t fight sag or drop a sheet. Think like a foreman: plan lifts, get helpers, and check product labels and local rules for any required fastener spacing or panel limits.
Practical tricks include clamp-and-block bracing, short-edge-first fastening, and using wedges or screws as temporary holds while you install the next sheet. These methods keep the work steady and reduce strain compared with muscling panels into place. If unsure about materials or load limits, consult the drywall manufacturer’s instructions and local building officials before you start.
Key takeaways
- Evaluate ceiling height and room layout before lifting panels or bracing.
- Plan panel control: use gradual, coordinated movements to avoid pinching fingers.
- Set temporary bracing at smart locations to prevent sagging during installation.
- Mark layout lines on joists and chalk lines for precise placement.
- Use proper screw sequence and spacing to minimize panels buckling.
- Protect yourself: wear eye protection, gloves, and keep clear of overhead drops.
Table of Contents
- Introduction
- Key takeaways
- Why Skip the Lift? When and Why to Hang Ceilings Without One
- Tools and Materials Checklist
- Prepping the Space and Layout for Ceiling Panels
- Panel Control Tricks for One-Person or Small Crews
- Temporary Bracing and Blocking Methods
- Safer Cutting Sequences and Panel Handling During Installs
- Fastening Strategy, Spacing, and Screw Sequencing
- Finishing, Inspection, and Common Troubleshooting
- Conclusion
- FAQ
Why Skip the Lift? When and Why to Hang Ceilings Without One
Some jobs simply don’t justify hauling or renting a drywall lift: short runs, tight access, scattered framing, or when the lift won’t physically fit through doorways or up narrow stairs. Consider safety, crew size, budget, and the physical layout to decide whether manual methods make sense for your project.
Check product labels, local code, and the drywall manufacturer’s installation instructions to confirm allowable panel handling and fastening for your ceiling assembly. If any requirement is unclear, ask the manufacturer or your local building department before proceeding.
Assessing job scope and safety constraints
Before you decide to hang ceilings without a lift, assess the job’s scope and safety. Here’s what to consider:
Ceiling Height: If it’s low (under 9 feet), manual methods are safer and easier.
Room Size & Access: In small rooms or tight spaces, a lift might be impractical. Check for clear paths to work safely.
Hazards: Look out for live electrical wires, plumbing, or other hazards that could pose risks during manual installation.
Cost, time, and labor trade-offs
Weigh these factors to decide if going lift-less is the right choice:
Crew Size: Smaller crews can work without a lift. More crew members might need one for efficiency.
Rental Costs: If you’re renting a lift, factor in daily rates and potential damage fees. Manual methods save these costs.
Time-on-Task: While manual installation can be slower, it’s often faster than setting up, operating, and tearing down a lift. Consider your project timeline.
Tools and Materials Checklist
Gather the core items you’ll need on the job: drywall panels, appropriate-length screws, a reliable drywall lift alternative (T-braces, scaff or ladders), battery drill, measuring tools, utility knife, T-square, and a drywall rasp. Include safety kit items like eye protection, hard hat, and a dust mask suited to overhead work.
Verify local code, the drywall manufacturer’s data sheet, and specific fastener specs before buying so thickness, fastener type, and accessory choices match the assembly. If a specification matters, check the product label or manufacturer instructions instead of guessing.
Hand tools and improvised aids
Before you start handling concrete panels, ensure you have the right tools and improvised aids to control them safely. This checklist helps you prepare.
- Tape measure: Verify it’s in good working condition with a clear scale. A broken tape can lead to inaccurate measurements, causing panels to fit poorly.
- Level: Check that your level is accurate using a known straight edge or wall. An inaccurate level results in crooked panels and costly rework.
- Safety glasses: Ensure they provide adequate protection. Damaged safety glasses can lead to eye injuries from flying debris.
- Work gloves: Check for tears or worn-out spots. Worn gloves offer less protection, increasing the risk of cuts and scrapes.
- Straps (for securing panels): Inspect each strap for fraying or damage. A broken strap can cause a panel to fall, leading to injuries or damaged panels.
- 2x blocking: Ensure it’s straight and undamaged. Bent or warped blocking won’t provide proper support, causing panels to shift or crack.
- Clamps: Test each clamp to ensure it grips securely. A loose clamp can allow a panel to move, leading to misaligned joints.
- Dolly (for moving panels): Check that all wheels roll smoothly and the dolly is stable. A wobbly dolly can cause panels to tip over or crack.
Quick rule: Always double-check your tools before starting work. Damaged tools can lead to accidents, rework, and increased costs.
Preferred fasteners, adhesives, and accessories
Use this checklist before starting any concrete work to ensure you have the right materials for a strong, durable job.
- Concrete screws (for attaching forms): Check they’re long enough to penetrate into solid wood or steel. Wrong length can cause form failure.
- Galvanized nails (for temporary blocking): Ensure they’re long enough to secure blocking firmly. Too short can lead to blocking shifting during pouring.
- Expansion bolts (for anchoring reinforcement): Verify they match the hole size and have sufficient expansion range for your application. Wrong size can result in poor anchorage.
- Epoxy adhesive: Check it’s compatible with your concrete mix and reinforcement type. Incompatibility can cause bond failure.
- Edge cleats (for supporting forms): Ensure they’re strong enough to support the form load. Too weak can cause form collapse during pouring.
- Temporary blocking: Verify it’s properly spaced and secured. Inadequate blocking can result in excessive concrete flow, leading to honeycombing or other defects.
- Concrete sealant (for preventing water ingress): Check it’s suitable for your climate and application. Wrong sealant can cause moisture-related issues like delamination or cracking.
- Form release agent: Ensure it’s compatible with your concrete mix and form material. Incompatibility can result in difficult form removal or surface defects.
Quick rule: Always check product labels, manufacturer instructions, and local rules to ensure you’re using the right fasteners, adhesives, and accessories for your specific job.
Prepping the Space and Layout for Ceiling Panels
Measure ceiling spans, locate and mark framing lines, and sketch a layout that keeps long-edge seams on framing and minimizes partial panels near the middle of the room. Stage full panels on the floor near the work zone so they’re easy to lift and rotate without overreaching.
Plan your panel sequence to reduce the number of overhead cuts and awkward lifts; mock up the sequence on the floor if needed to visualize fits and seams. Confirm any dimension or spacing limits against manufacturer guidance and local rules before cutting panels.
Laying out panels for optimal seams
Start by measuring your ceiling’s length and width. Mark the center point on both sides to create a grid.
Stagger panel seams like you would with flooring. If your first row is 4 feet, make the second row 5 feet, then 4 again, and so on. This spreads stress evenly across the ceiling.
Place long edges perpendicular to framing where possible. This gives panels support and makes them less likely to sag or crack over time.
Prioritize whole panels to reduce overhead trimming. Plan your layout so you’re using full sheets as much as possible, saving partial cuts for the final rows.
Creating safe access and scaffolding alternatives
Safety’s key when working overhead. Here are some options:
Rolling platforms give you a stable work surface that moves along with you. They’re great for larger areas, but need enough space to set up.
For smaller jobs or tight spaces, consider wide-based ladders. They provide better stability than regular ladders, but make sure they’re secure before climbing.
If you’ve got a helper, a balanced two-person ladder setup can work. One person climbs while the other steadies the ladder from below. Always communicate clearly and keep your weight centered on the rungs.
Panel Control Tricks for One-Person or Small Crews
Use body mechanics—lift with hips, keep the panel close, and pivot with your feet—to move sheets safely; practice the motions on the floor before lifting overhead. Employ partner handoffs, a simple roller cradle, or a T-brace as a temporary fulcrum to keep the panel stable while you seat edges and drive initial screws.
When using jigs or block supports, follow the product instructions or make sure your homemade supports are sturdy and well-secured before trusting them with a panel. If you’re unsure about a homemade device, check manufacturer guidance or consult a pro for acceptable alternatives.
Two-person pick-and-seat technique
When you’ve got a helper, use this technique to hang panels with ease. It’s all about coordination and timing.
Picker: Grab the panel from below, one hand on each side near the top. Keep your back straight, bend at the knees.
Seater: Reach up, grab the panel from above, hands mirroring the picker’s. On three, lift together, then gently lower and seat the panel into place.
Using edges, cleats, and friction aids
Before you start nailing or screwing, you need to keep that panel in place. Here’s how:
First, edge cleats: Nail a small piece of 1×2 or 1×3 along the edge of the joist above where the panel will sit. This gives you something to push against.
Next, use friction straps: Wrap these around the panel and the cleat to hold everything in place. You can also use short blocking pieces for this.
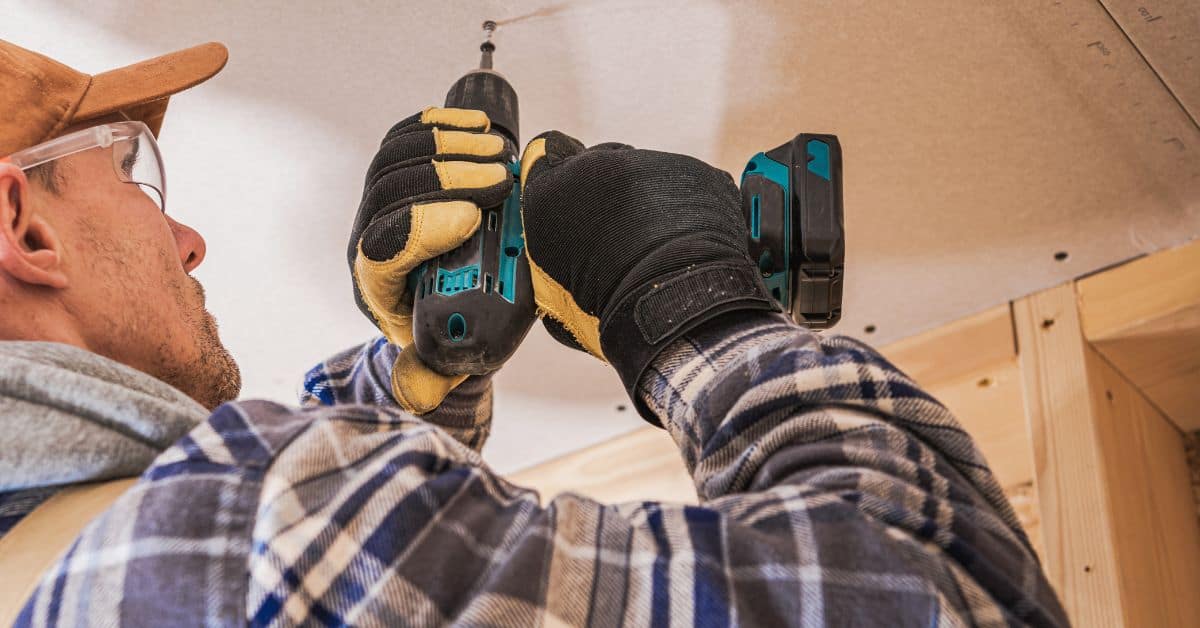
Temporary Bracing and Blocking Methods
Temporary T-braces, cross-braces, and screw-in blocking can hold panels in position while you set fasteners; install them so they transfer load to solid framing and won’t shift during access. Put bracing in locations that are easy to remove once the panel is fully fastened, and mark removal order to avoid accidentally dislodging a panel.
Confirm acceptable bracing methods with the drywall manufacturer’s instructions or local code before relying on a particular system, especially if you alter framing or use nonstandard fasteners. If the acceptable attachment detail isn’t clear, check the product data sheet or ask the manufacturer.
Quick T-brace builds with lumber and screws
T-braces are quick, easy, and effective temporary supports for ceiling panels. Here’s how to build one:
1. Cut two 2x4s to the desired length, usually spanning joist centers (16″ or 24″).
2. Screw them together at a right angle using 3″ screws, spacing them every 8-10 inches along the length.
3. Place the T-brace between the wall and ceiling panel, straddling joists if possible. Inspect for proper fit and holding strength before hanging panels.
Ceiling wire, straps, and clamp bracing options
Wire, straps, and clamps offer adjustable support for ceiling panels. Here’s how to use them:
Wires: Use ratchet ties or wire rope clamps. Ensure they’re rated for the load (usually 50-100 lbs). Tighten gently, allowing panel movement.
Straps an