
Introduction
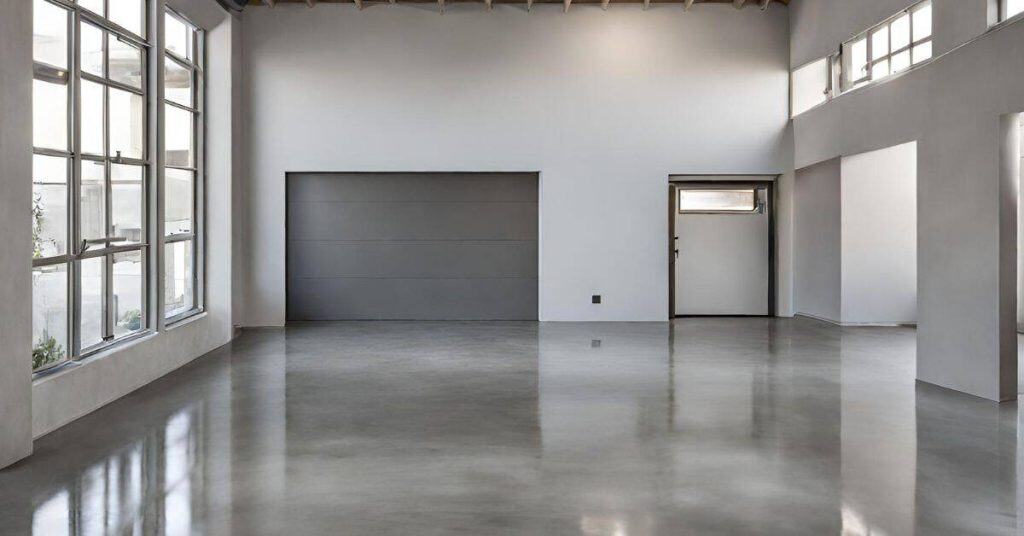
A sacrificial wax system on polished concrete is a protective layer you apply to guard the surface and keep the shine.
As you wear and spill on the floor, you refresh the wax rather than grind the surface again.
Approach this like a practical DIY job: work in small areas, follow the product instructions, and notice changes in gloss and slipperiness.
Set up a simple maintenance rhythm that fits how you use the space, focusing on light cleaning and periodic re-waxing.
Use cleaners and tools that are approved for waxed polished concrete and avoid harsh scrubs that dull the finish.
Always check the product label, manufacturer instructions, and any local rules to tailor the schedule to your floor’s needs.
Key takeaways
- Sacrificial wax extends polish depth but requires disciplined maintenance for longevity.
- Regular dusting and light cleaning prevent wax buildup dulling the shine.
- Polished concrete’s durability shines with proper maintenance instead of quick fixes.
- Choose sacrificial systems compatible with your honed/grind finishing for best results.
- Daily dusting, then scheduled inspections help detect wear before dark patches.
- Safety note: follow manufacturer instructions and ventilation when applying wax products.
Table of Contents
- Introduction
- Key takeaways
- Quick Overview and Purpose
- Benefits and Limitations of Sacrificial Wax on Polished Concrete
- How Polished Concrete Interacts with Sacrificial Wax Systems
- Types of Sacrificial Wax Systems and Product Selection
- Practical Maintenance Schedule (Daily to Annual)
- Application, Removal, and Recoat Best Practices
- Common Mistakes, Troubleshooting, and Quick Fixes
- Safety, Equipment, and Environmental Considerations
- Conclusion
- FAQ
Quick Overview and Purpose
Sacrificial wax systems create a wear layer that is intentionally sacrificial, so gloss can be replenished by reapplying a fresh film. The idea is to shield the polished surface from everyday traffic while keeping the look intact. This intro sets up a practical maintenance schedule that preserves gloss without inviting buildup or texture changes.
The article’s goal is to help you plan daily upkeep, periodic re-waxing, and quarterly checks. You’ll find signs that the system needs attention and step-by-step actions for prep, application, and safe care. It also explains what to avoid to prevent stripping or hazing that could alter color or texture over time.
Who this guide is for
This guide is tailored for facility managers, contractors, and homeowners who want to maintain the gloss of their polished concrete floors without causing buildup. If you have a polished concrete floor that sees regular foot traffic or heavy use from equipment, this guide is for you.
Before starting with a sacrificial wax system, ensure your concrete has been properly cured, sealed, and polished. This guide assumes you have a basic understanding of these processes.
Whether you’re maintaining a high-traffic commercial space or preserving the gloss in your home’s polished concrete floor, this practical maintenance schedule will help keep your floors looking their best.
When to choose a sacrificial wax system
A sacrificial wax system is beneficial when you need to protect your polished concrete floor from dulling due to high traffic or temporary gloss preservation. Here’s when to consider using one:
High-traffic areas: If your floor experiences heavy foot traffic, such as in retail stores, offices, or warehouses, a sacrificial wax system can help maintain the gloss and protect the finish from wear.
Temporary gloss preservation: In scenarios where you need to preserve the gloss for a specific period, like during events or before selling a property, a wax system can provide a quick, easy-to-apply solution that doesn’t require re-polishing.
However, other coatings or re-polishing might be better suited in certain situations. For instance, if your floor has deep scratches or significant damage, it may need to be re-polished before applying a wax system. Always assess the condition of your floor before deciding on a maintenance plan.
Benefits and Limitations of Sacrificial Wax on Polished Concrete
Core benefits include surface protection against light abrasion, easier localized repairs, and improved slip resistance when the wax is properly maintained. On polished floors, the wax acts as a controllable sacrificial layer that can be refreshed without heavy stripping. This supports a maintenance rhythm that aims to keep gloss vibrant rather than dulled.
Key trade-offs involve potential buildup with improper care, added maintenance labor for reapplication or removal, and compatibility considerations with existing sealers or densifiers. Use cases vary with traffic patterns and polish level, and testing is recommended before full rollout. A practical framework helps you inspect, reapply selectively, and avoid streaking or hazing by choosing compatible products and cleaners.
Benefits in detail
Sacrificial wax systems offer several advantages when used on polished concrete. Firstly, they provide a protective layer against abrasion and wear. This is due to the wax’s ability to absorb minor impacts and scratches, extending the time between restorative polishing.
The wax also makes localized repairs easier. If an area becomes damaged or dull, you can simply reapply wax to that spot, restoring its sheen without needing to polish the entire floor.
Moreover, sacrificial waxes can enhance slip resistance on polished floors. They add a slight texture to the surface, improving traction and reducing the risk of slips and falls.
The best part? This protection doesn’t dull the look of your polished concrete. In fact, you can tailor the surface sheen by choosing a wax with the desired level of gloss or matte finish.
Limitations and trade-offs
While sacrificial waxes offer many benefits, they also come with some risks and trade-offs. One potential issue is the formation of a wax haze or build-up over time. This can happen if the wax isn’t properly applied or if it’s exposed to excessive heat or heavy traffic.
Another consideration is the increased maintenance labor required. To maintain the protective layer, you’ll need to reapply the wax periodically and strip any old wax as needed. This can be a time-consuming process, especially on large surfaces.
Compatibility with existing sealers, densifiers, or varying polish levels is another concern. Some waxes may not play nicely with certain products or finishes, potentially altering the appearance of your floor over time or interfering with future coatings and sealing processes.
Before applying any wax, it’s crucial to test a small area first to ensure compatibility and avoid these potential issues.
How Polished Concrete Interacts with Sacrificial Wax Systems
Polished concrete often presents a dense, hardened surface with micro-roughness from grinding and repairs. This low porosity and high surface hardness influence how wax films form, adhere, and wear in service. Understanding this helps set realistic expectations for durability and appearance over time.
Adhesion depends on surface energy, slight residual etching, and any prep work done before application. The appearance can shift with how dense the matrix is, and there is always a risk of hazing if contaminants are trapped under a thick film. Maintenance products will impact re-wax intervals and gloss restoration, so plan accordingly.
Finish varieties and compatibility (matte, satin, gloss)
Different polished concrete finishes accept wax differently. Matte surfaces have a lower sheen but better hide minor defects. They take wax well due to their micro-roughness.
Satin and semi-gloss finishes are more reflective, showing off the wax’s sheen. They need regular maintenance as they show wear faster.
Glossy floors reflect light beautifully but show every imperfection. Wax application must be perfect to avoid hazing or fill-in of fine defects.
Densifiers, sealers, and wax interactions
Silicate densifiers harden the concrete surface, improving wax adhesion. But they can also make it more difficult to remove old wax during maintenance.
Penetrating treatments like sealers create a barrier that protects the floor from moisture and stains. They don’t interfere with wax application but may affect re-wax intervals.
Always check product labels for compatibility before applying any treatment or sealer on your polished concrete.
Visual checkpoints before waxing
Before you start, use this checklist to ensure your floor is ready for waxing.
- Check for contaminant residues: Wax won’t stick to dirt or grease. Clean any residue with a suitable cleaner.
- Inspect the sheen: Ensure it’s consistent across the entire surface. Re-polish any dull spots.
- Look for cracks or chips: Repair these before waxing, as they’ll show through the wax layer.
- Check for moisture: Wax won’t adhere to a damp floor. Use a moisture meter if unsure.
- Feel for rough spots: Sand down any rough areas to ensure smooth application.
- Confirm the surface is dry: After cleaning, let it dry completely before waxing.
- Check the temperature: Wax applies best in temperatures between 65-85°F (18-29°C).
- Inspect for efflorescence: This white powdery substance prevents wax adhesion. Remove it with a suitable cleaner.
Quick rule: If in doubt, test your floor’s readiness by applying a small amount of wax to an inconspicuous area and checking its appearance after drying.
Types of Sacrificial Wax Systems and Product Selection
Common system types include liquid acrylic or polymer-enhanced sealers, carnauba or paste-type waxes, and microfiber-compatible finishes. Each interacts differently with the level of polish and expected maintenance cadence. Identifying the right style helps balance gloss retention with practical upkeep.
Selection criteria should consider desired gloss, chemical exposure, traffic, slip resistance, and budget. Assess current finishes and prep needs, verify cure times, and test a small area before full use. Provide notes on labeling, warranties, and what to expect in daily cleaning and periodic stripping.
Liquid vs. paste vs. polymer-enhanced formulations
Each wax system comes in different forms – liquid, paste, or polymer-enhanced. Here’s how they stack up:
Liquids: Easy to apply with a roller or sprayer. They penetrate deep into the concrete but may require more coats for desired protection.
Pastes/Waxes: Thicker consistency, applied by hand or machine. They provide excellent surface protection and durability but can be harder to spread evenly.
Polymer-enhanced: Combines liquid and paste benefits. Offers good penetration and durability, often with easier application than pastes.
Tools and materials checklist
Before you start, make sure you’ve got the right gear:
- Microfiber mops: For applying wax evenly. Check they’re suitable for your chosen wax type.
- Low-speed burnisher or polisher: To buff and seal in the wax. Ensure it’s compatible with your polishing profile.
- pH-neutral cleaners: To prep surfaces without damaging the concrete.
- Stripper solutions: For removing old wax before reapplying. Check they’re safe for your existing sealer/finish.
Quick rule: Always check product compatibility to avoid damage or poor performance.
Material specs and standards to check
Verify these material specs for a successful application:
- VOC ratings: Lower VOCs mean less harmful emissions. Check local regulations for acceptable levels.
- Manufacturer guidance: Ensure the product is suitable for polished concrete and follow their recommended use instructions.
- Local regulations: Some areas have specific rules for maintenance products. Check to avoid violations.
Practical Maintenance Schedule (Daily to Annual)
Daily tasks focus on keeping grit off the surface: light sweeping and a quick damp mop with a pH-neutral cleaner. Visually inspect gloss and wear for early signs of dullness. If you notice spots or micro-scratches