Search Results for: surface prep

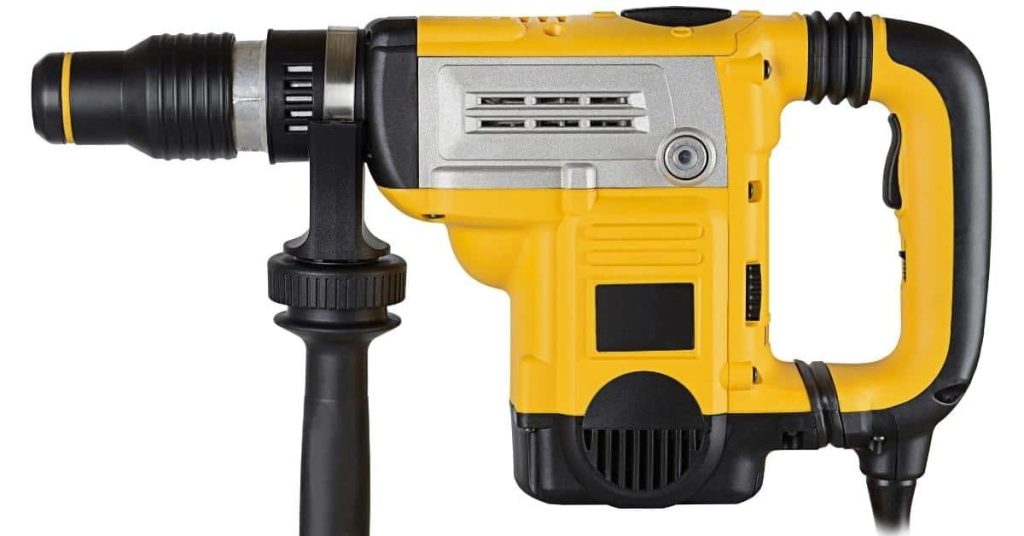
Yellow and black electric hammer drill on white background

Removing Tile Without Destroying the Substrate: Tool Choices and Realistic Expectations

Introduction Removing tile without destroying the substrate means lifting the tile and backing material carefully while protecting the surface underneath. Have the right tools ready, like a chisel, a pry bar, and an oscillating multi-tool with a scraper blade, and plan your work so you don’t pry blindly. Start by testing a corner tile and […]

Removing Tile Without Destroying the Substrate: Tool Choices and Realistic Expectations Read More »
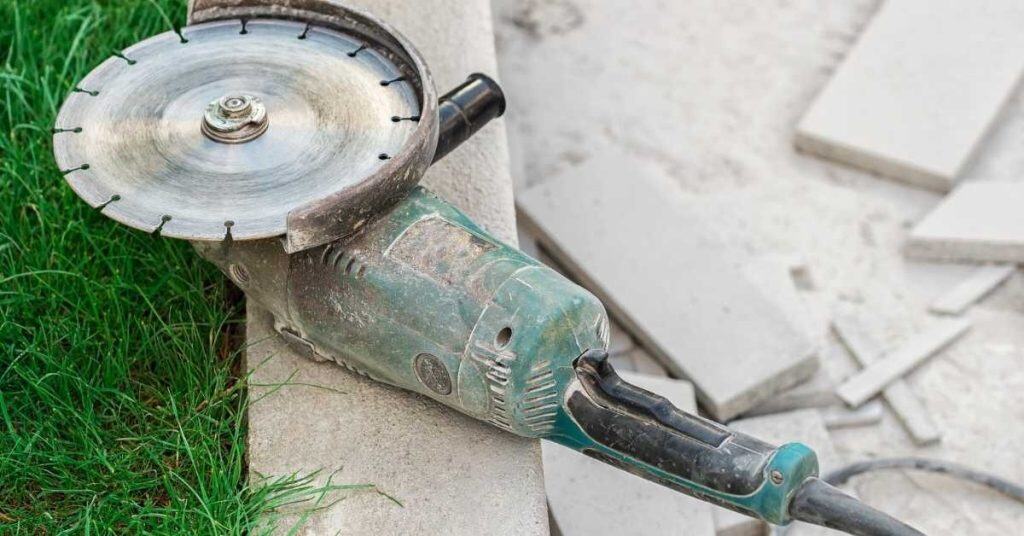
Electric angle grinder with diamond blade resting on concrete ledge

Cutting Porcelain Cleanly: Wet Saw Blade Choice and Chipping Prevention

Introduction The right blade and technique let porcelain cut cleanly without chips. A wet saw setup is the typical path, and choosing the correct blade type matters for porcelain. Always check label guidance and manufacturer instructions for your blade and water flow, and plan your cuts to minimize chipping. You have options like a manual

Cutting Porcelain Cleanly: Wet Saw Blade Choice and Chipping Prevention Read More »

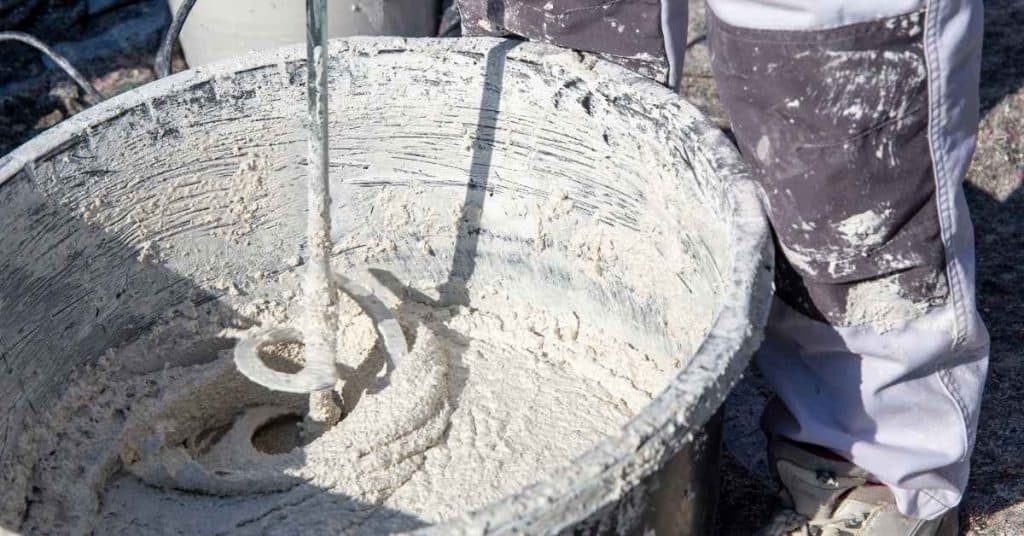
Close-up of plaster being mixed in a large bucket

Mixing Plaster Without Lumps: Water-First Vs Plaster-First and What Changes

Introduction Water-first and plaster-first are two simple ways to mix plaster without lumps. With water-first, you add water to the bowl first, then sift plaster into it and stir. With plaster-first, you dump dry plaster into the water and mix until it smooths. Both methods affect how fast you get a smooth mix and how

Mixing Plaster Without Lumps: Water-First Vs Plaster-First and What Changes Read More »

Parapet Caps and Stucco: Where Water Gets in and How to Detail the Top Edge

Parapet Caps and Stucco: A Step-by-Step Timeline for Installation and Top-Edge Detailing

Introduction The installation of parapet caps is a critical step in protecting your building’s exterior from water intrusion. But how long does it take, and what are the key steps involved? In this guide, we’ll walk you through a detailed timeline for installing stucco parapet caps, ensuring that each stage is completed efficiently and effectively.

Parapet Caps and Stucco: A Step-by-Step Timeline for Installation and Top-Edge Detailing Read More »

Chimney Stucco Failures: Heat

Chimney Stucco Failures: Heat – Timeline & Duration of Repairs

Introduction The timeline and duration of chimney stucco repairs can vary greatly depending on the extent of heat damage. Understanding this timeline helps you plan your project effectively. In this guide, we’ll walk you through the step-by-step process of repairing heat-damaged chimney stucco, focusing on how long each stage takes and what affects the overall

Chimney Stucco Failures: Heat – Timeline & Duration of Repairs Read More »

Stucco Patch Curing Stains: How to Reduce “Dark Rings” Around Repairs

Stucco Patch Curing Stains: How to Reduce “Dark Rings” Around Repairs

Introduction Dark rings around stucco repairs are staining caused by moisture during the curing process. This article calls out a practical, hands-on approach to reduce those stains while you patch. What you do and when you do it matters for a cleaner, longer-lasting repair. Plan ahead for weather, especially in Eugene, and keep the surface

Stucco Patch Curing Stains: How to Reduce “Dark Rings” Around Repairs Read More »

Stucco over Foam (Eifs/Thin Coat): What Changes with Base Coat and Mesh Placement

EIFS Base Coat and Mesh Over Foam: Installation Basics

Introduction “Stucco over foam” can mean EIFS, EIFS with drainage, a proprietary thin-coat stucco system, or another foam-render assembly. They are not interchangeable. Before buying base coat or mesh, identify the manufacturer, system name, insulation board, substrate, attachment method, water-resistive barrier (WRB) or air/water-resistive barrier (AWRB), drainage details, base coat, mesh, primer, finish, and sealants.

EIFS Base Coat and Mesh Over Foam: Installation Basics Read More »

Fixing Recurring Stucco Cracks at Corners of Windows: Why They Happen and Reinforcement Options

Fixing Recurring Stucco Cracks at Corners of Windows: Why They Happen and Reinforcement Options

Introduction Recurring cracks at window corners are caused by movement in the wall and framing that stresses the stucco. That movement can come from settling, shrinkage, or simple temperature changes. Understanding this helps you plan repairs that move with the wall rather than fight it. Reinforcement options include embedding a corner mesh in a flexible

Fixing Recurring Stucco Cracks at Corners of Windows: Why They Happen and Reinforcement Options Read More »

Repairing Rusted Corner Bead: How to Cut Back and Rebuild Without Chasing Cracks Forever

Repairing Rusted Corner Bead: How to Cut Back and Rebuild Without Chasing Cracks Forever

Introduction Rusted corner bead damage is when the metal trim at the wall corner has corroded and risks cracking the drywall. You’ll see rust stains, flaky edge metal, or bent corners that don’t sit square. This article walks you through a practical, hands-on repair plan. First, identify the damaged metal and assess if the drywall

Repairing Rusted Corner Bead: How to Cut Back and Rebuild Without Chasing Cracks Forever Read More »