Search Results for: surface prep

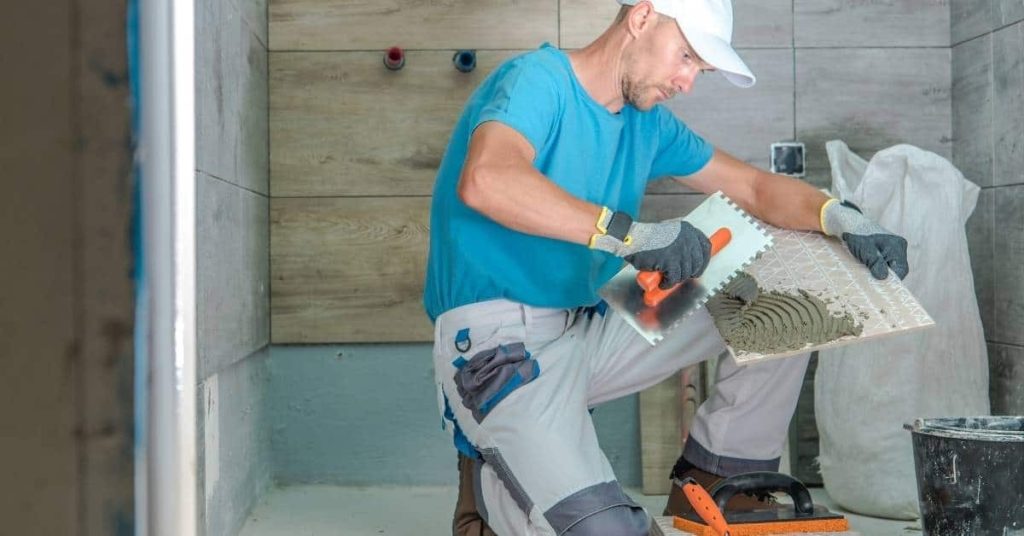
person grouting slate floor tiles with bucket nearby

Tile Layout Math: Avoiding Slivers and Awkward Cuts Around Doorways

Introduction Tile layout math is the practical planning you do to place tiles so doorway cuts aren’t awkward. This approach helps you spot where full tiles fit and where a cut will be needed closer to entryways. Check local guidelines and the tile manufacturer’s instructions for any specific requirements. Start with a dry layout on

Tile Layout Math: Avoiding Slivers and Awkward Cuts Around Doorways Read More »

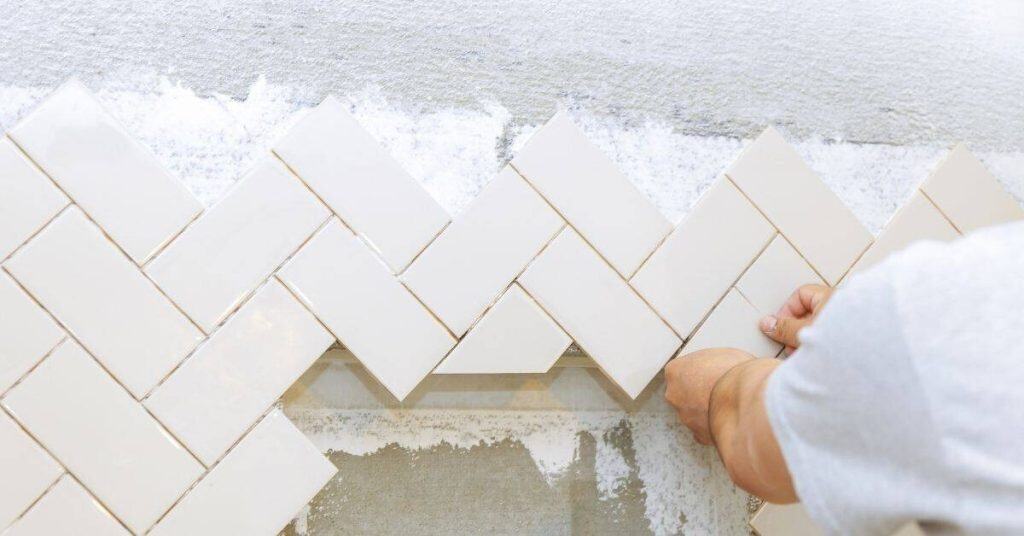
Hands placing white rectangular tiles in herringbone pattern

How to Find the “Money Line” for Tile Layout (Reference Lines That Save You)

Introduction The money line is a primary reference line you establish from a starting edge to guide tile layout. It helps you keep the pattern centered and saves adjustments later. Check your layout with straightedge checks and confirm your starting points before you set adhesive. To find it, pick a clean starting edge, snap a

How to Find the “Money Line” for Tile Layout (Reference Lines That Save You) Read More »

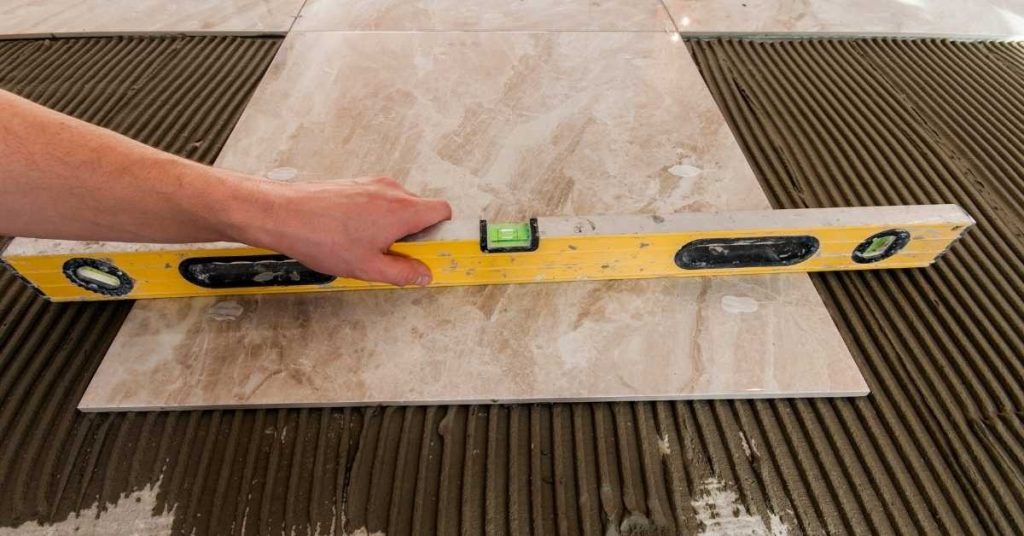
Person installing large-format floor tiles with spacers

How Flat Is Flat Enough for Large-Format Tile? Simple DIY Checks

Introduction Flatness means the surface is level enough for the tile to sit without rocking. For large-format tile, you’re looking for a smooth plane free of noticeable high spots and dips. If you find trouble spots, plan to adjust with patches, self-leveling compound, or correct substrate issues after checking manufacturer instructions. You’ll want to walk

How Flat Is Flat Enough for Large-Format Tile? Simple DIY Checks Read More »

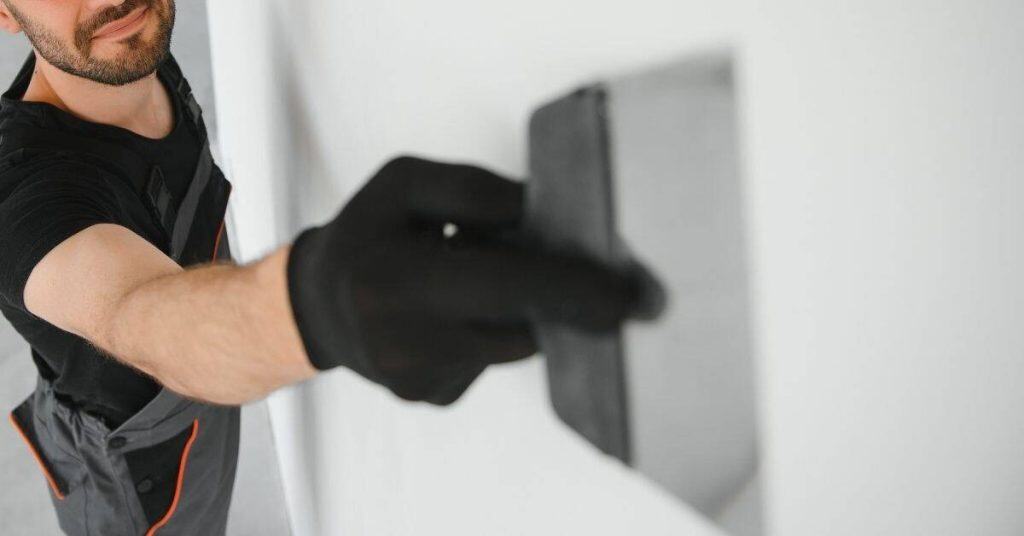
Man applying plaster to wall with trowel wearing black glove

How to Patch Deep Holes in Plaster Without Shrinkage (Layering Strategy)

Introduction Patching deep holes in plaster without shrinkage means building the fill in gradual layers so the patch stays level as it dries. Prepare the cavity, mix or choose a filler suitable for plaster, and apply in thin coats, letting each dry as you go. This layering approach helps bridge the depth and reduce cracking.

How to Patch Deep Holes in Plaster Without Shrinkage (Layering Strategy) Read More »

Hand applying plaster to mesh-covered wall with putty knife

How to Repair a Bulging Plaster Wall (Flatten, Replace, or Re-Key?)

Introduction Bulging plaster walls are plaster that has pushed outward from the lath or studs. This article explains how to assess the damage, decide on a flatten, replace, or re-key approach, and stay practical on the job. You’ll learn how to inspect the condition, identify loose edges, and plan your repairs before you touch the

How to Repair a Bulging Plaster Wall (Flatten, Replace, or Re-Key?) Read More »

Exposed wooden lath behind damaged plaster wall surface

Plaster Keys Explained: How Lath-and-Plaster Actually Stays on the Wall

Introduction The age-old question among DIY enthusiasts is: how does lath and plaster stay on the wall? The answer lies in a simple yet ingenious technique called plaster keys. Let’s dive into this traditional method that has stood the test of time. Key takeaways Understand plaster keys are raised surfaces gripping the underlying lath to

Plaster Keys Explained: How Lath-and-Plaster Actually Stays on the Wall Read More »

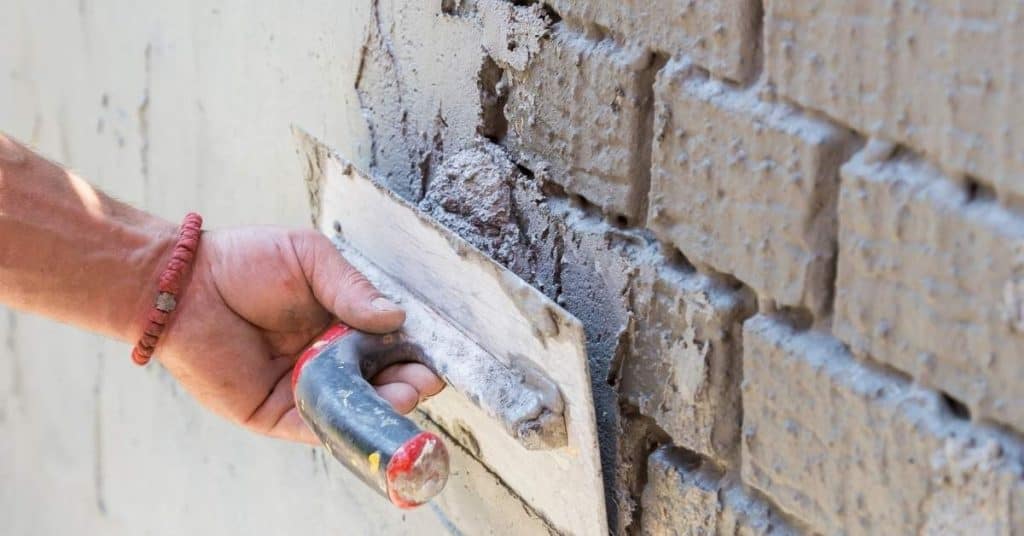
Hand applying plaster to rough brick wall with trowel

Lime Plaster Vs Gypsum Plaster: Compatibility Rules for Old Houses

Introduction Lime plaster and gypsum plaster are two plaster options for old houses, and their compatibility with the wall is a key difference. Lime plaster lets walls breathe and flex a bit, while gypsum plaster goes on smoother and dries faster. In simple terms, choose lime if you need moisture handling and wall compatibility; choose

Lime Plaster Vs Gypsum Plaster: Compatibility Rules for Old Houses Read More »