Search Results for: surface prep

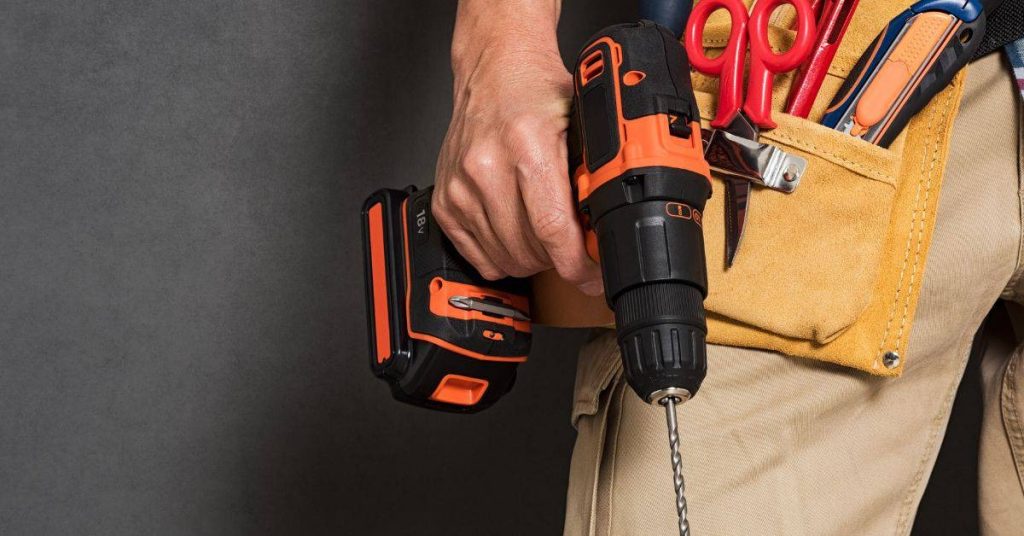
Hand holding cordless drill with tool belt on waist

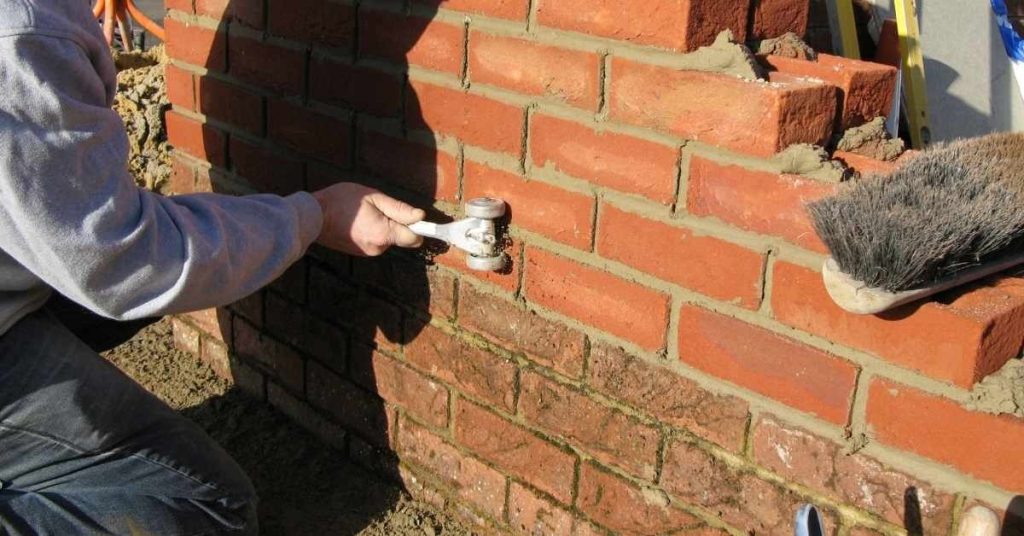
Clearing blocked brick veneer weeps from the outside: small-tool tricks that actually work

Introduction A blocked brick veneer weep is a small drainage opening that can be clogged, preventing moisture from escaping. Clearing them from the outside means removing debris so water can drain again. Do not force tools into openings; use careful, non-destructive methods and pause if you encounter masonry damage. Start by inspecting accessible weep holes […]
Clearing blocked brick veneer weeps from the outside: small-tool tricks that actually work Read More »

Person using roller tool on brick wall joints

Freeze-thaw on brick patios: bedding, drainage, and joint fill that survives

Introduction Freeze-thaw on brick patios is how water trapped in bedding, joints, and brick itself can thaw and refreeze, driving cracking and loosening. This article explains practical signs and approaches for bedding, drainage, and joint fill that can survive freeze-thaw cycles. It is written in a hands-on, plain-language style to help you plan and execute

Freeze-thaw on brick patios: bedding, drainage, and joint fill that survives Read More »

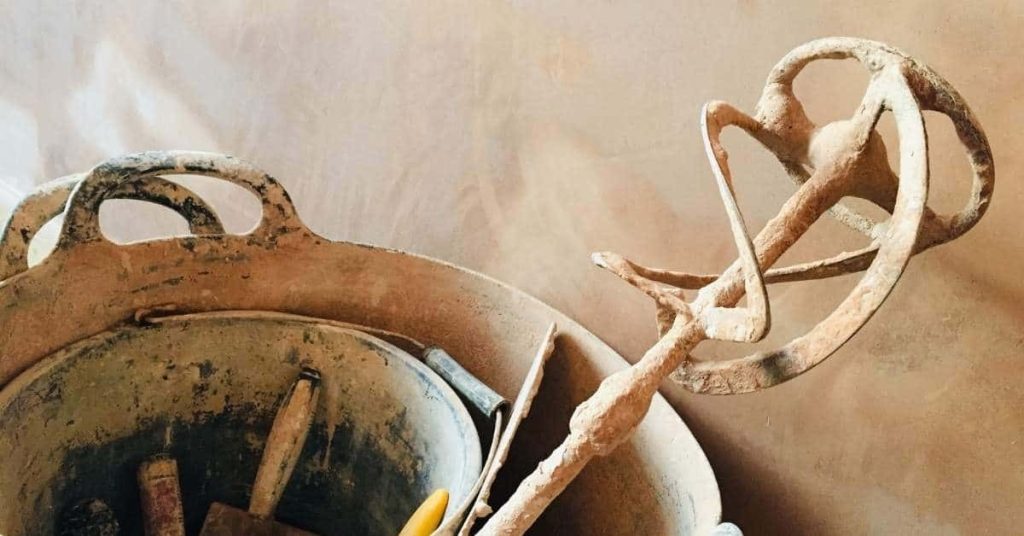
Old mixing bucket with mortar mixer tool inside

Too-hard brick mortar damage: signs, causes, and how to correct future repairs

Introduction Too-hard brick mortar damage is damage that results when the mortar in a wall has become excessively hard and brittle, leading to cracks and bond failure. Signs include visible cracks between bricks, loose or hollow-sounding joints, and bricks that push or tilt out of place. It often stems from over-tamped or overly aggressive mixes,

Too-hard brick mortar damage: signs, causes, and how to correct future repairs Read More »

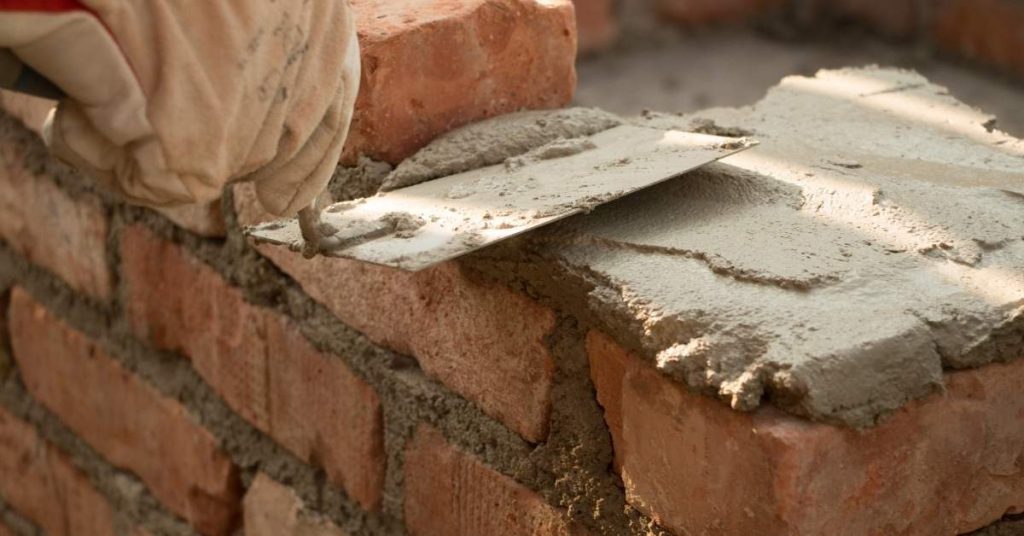
Gloved hand applying mortar on brick wall with trowel

Repointing brick mortar: matching hardness and color without damaging the units

Introduction Repointing brick mortar is the process of renewing the mortar between bricks to restore structure, weatherproofing, and appearance. It involves removing deteriorated mortar and packing in new mortar that bonds to the bricks. This is a hands-on repair that requires choosing the right mix and applying it carefully to avoid damaging the units. To

Repointing brick mortar: matching hardness and color without damaging the units Read More »

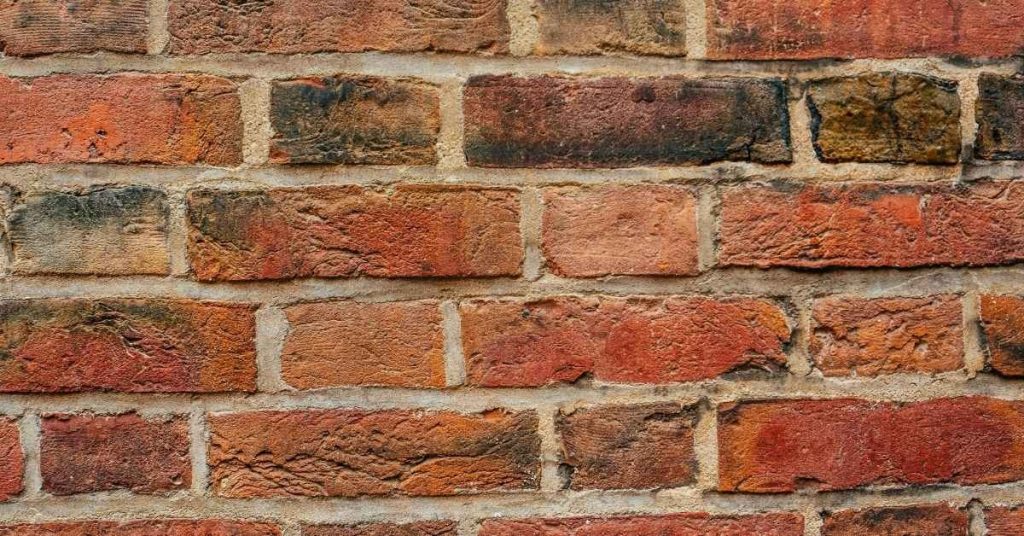
close-up of weathered red brick wall with mortar joints

Raking out brick joints safely: depth targets and avoiding chipped arrises

Introduction Raking out brick joints safely means removing deteriorated mortar from between bricks to a controlled depth while protecting the surrounding masonry. This hands-on task requires the right tools and steady technique to avoid damaging arrises. A sensible approach focuses on safe depth targets and careful removal to prevent chipping. Choose appropriate tools designed for

Raking out brick joints safely: depth targets and avoiding chipped arrises Read More »

concrete block basement wall wooden stairs hand tools hanging

Winter salt and brick efflorescence: how de-icing habits show up on your walls

Introduction Winter salt use and brick efflorescence are the mineral deposits and moisture issues that appear on brick walls due to de-icing salts moving through the masonry. This article explains how everyday snow and ice removal can affect joints and surface finishes. You’ll learn how to spot the signs and why maintaining joints matters. Watch

Winter salt and brick efflorescence: how de-icing habits show up on your walls Read More »

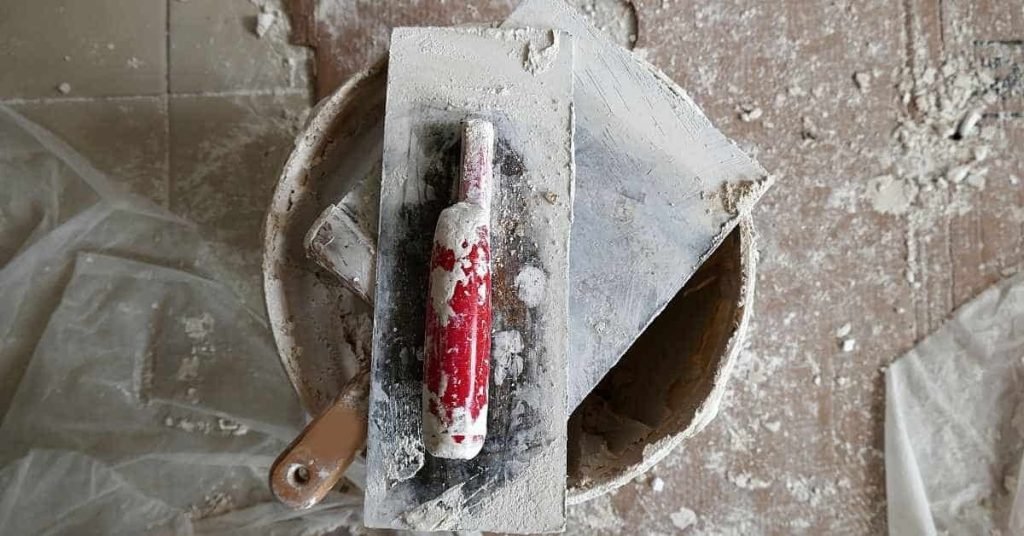
Plastering trowel with red handle on bucket filled with plaster

Best trowel angles for beginner plasterers: avoiding gouges and lap marks

Introduction The best trowel angles for beginner plasterers are the angles that keep the blade nearly flat against the surface to reduce gouges. Maintain a steady, light pressure and smooth motion to minimize digging into the plaster. Start with small, even passes and check your work as you go. Different trowel types and edge shapes

Best trowel angles for beginner plasterers: avoiding gouges and lap marks Read More »

Hand pressing foam insulation board against plaster wall

Adding insulation behind plaster: approaches that don’t destroy historic trim

Introduction Adding insulation behind plaster is placing insulation in the wall cavity behind the plaster to improve warmth while preserving historic trim. It aims to balance preservation with better energy use using approaches that keep trim intact. You’ll work with methods that minimize damage to plaster surfaces and trim during installation. Common options for historic

Adding insulation behind plaster: approaches that don’t destroy historic trim Read More »

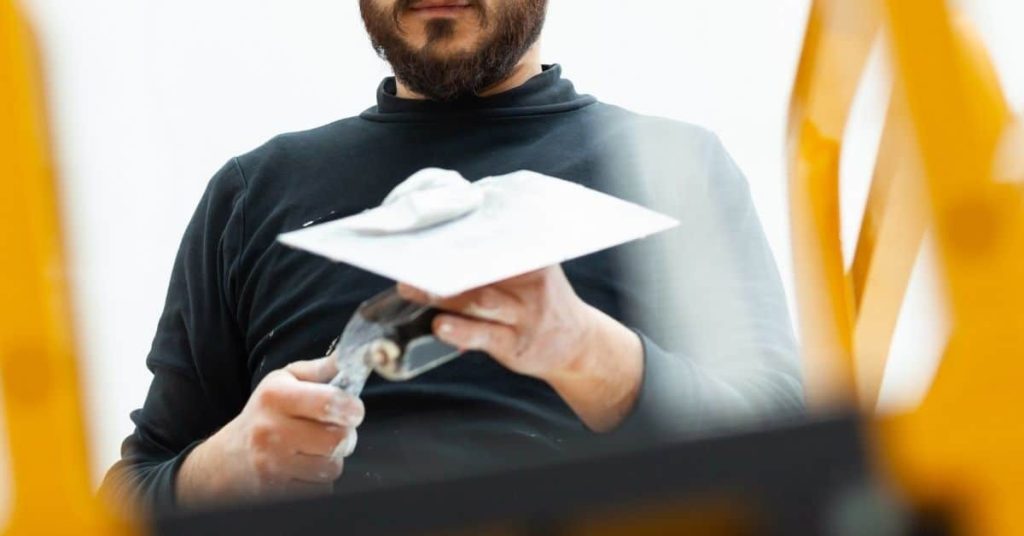
Plasterer holding trowel with plaster close up

Filling deep holes in plaster: backing methods that prevent shrinkage and cracking

Introduction Backing methods are techniques to support a plaster fill so it doesn’t shrink or crack. They create a stable base behind the hole before applying filler. When choosing a backing, check the wall type and follow safety and product instructions from the manufacturer or local rules. Begin by cleaning the hole and exposing solid

Filling deep holes in plaster: backing methods that prevent shrinkage and cracking Read More »

Hand holding trowel with white plaster compound close up

Repairing hairline plaster cracks: flexible fillers vs setting compounds

Introduction A genuinely stable hairline crack in otherwise sound plaster is usually a cosmetic repair: clean it, use a product suited to the crack’s behavior, let it cure as directed, then prime and paint. Crack width or direction alone cannot tell you whether a crack is harmless. Proceed only when the plaster is firmly attached,

Repairing hairline plaster cracks: flexible fillers vs setting compounds Read More »