Search Results for: surface prep

Rubber mallet and level on concrete floor with tiles

Tile Substrate Checklist: What Must Be Flat, Solid, and Clean Before You Start

Introduction Your tile substrate must be flat, solid, and clean before you start. That means checking for levelness, firm backing, and a dust-free surface. If you find problems, fix them before laying tile. -None>Check the substrate with a straightedge or level and use the right patching or leveling products as directed on the label. Sweep […]

Tile Substrate Checklist: What Must Be Flat, Solid, and Clean Before You Start Read More »

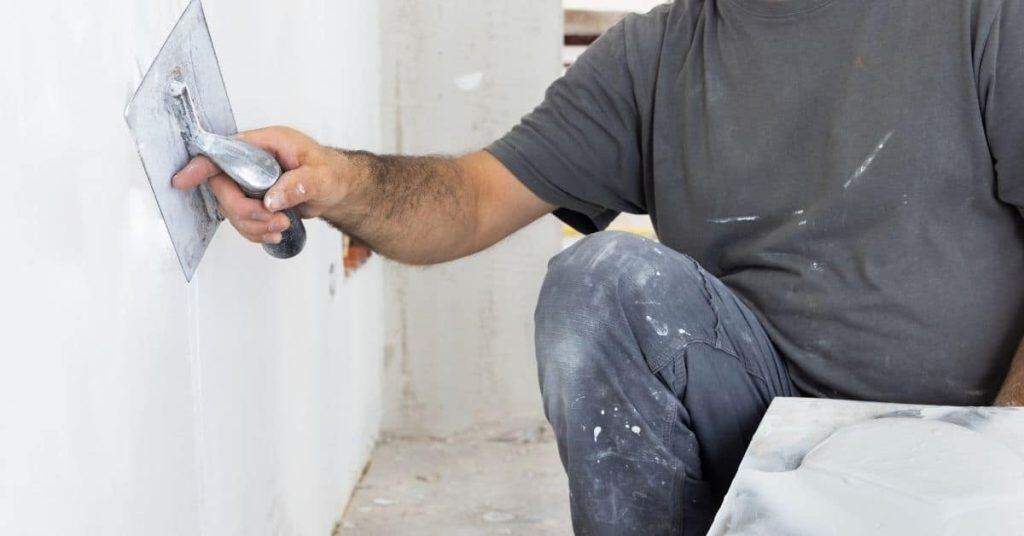
Man applying plaster near window corner with trowel

How to Fix Plaster Cracks at Door and Window Corners (Reinforcement Choices)

Introduction This guide explains how to reinforce and fix plaster cracks at door and window corners. Key takeaways Identify plaster cracks at door and window corners early; note hairline vs structural. Assess damage and plan: remove loose plaster, check lath backing, choose reinforcement. Replacing damaged lath or backing may be required for solid repair. Apply

How to Fix Plaster Cracks at Door and Window Corners (Reinforcement Choices) Read More »

person smoothing white plaster on wall with trowel

How to Repair Cracked Plaster Without It Reappearing (Stabilize First)

Introduction Stabilizing the crack before patching is essential to keep plaster from reappearing. Identify the crack and check for signs of movement, moisture, or loose surrounding plaster before you start. Gather basic hand tools and the patching material you’ll use. Prepare the surface by cleaning away dust and loose material, and gently roughen slick edges

How to Repair Cracked Plaster Without It Reappearing (Stabilize First) Read More »

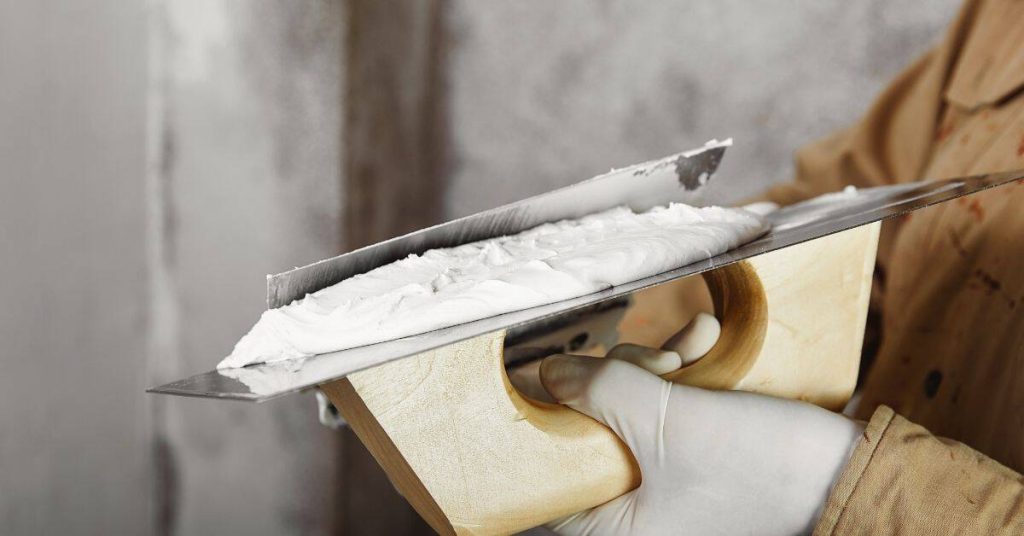
Hand holding plastering trowel with white mortar

How Long Does Plaster Injection Take? A Step-by-Step Timeline

Introduction The process of injecting adhesive behind loose plaster can be a time-consuming task, but understanding the timeline can help you plan your project more effectively. Here’s a step-by-step breakdown of how long each stage takes. Before we dive in, remember that the duration may vary depending on factors like the size of the affected

How Long Does Plaster Injection Take? A Step-by-Step Timeline Read More »

Worker applying drywall compound on ceiling with putty knife

How Long Does It Take to Reattach Loose Plaster with Washers? A Step-by-Step Timeline

Introduction Reattaching loose plaster with washers is a crucial repair task that requires careful planning and execution. Understanding the time commitment involved in each step helps you allocate your day effectively and ensures you complete the project successfully. This guide walks you through the process, breaking down the timeline so you know exactly how long

How Long Does It Take to Reattach Loose Plaster with Washers? A Step-by-Step Timeline Read More »

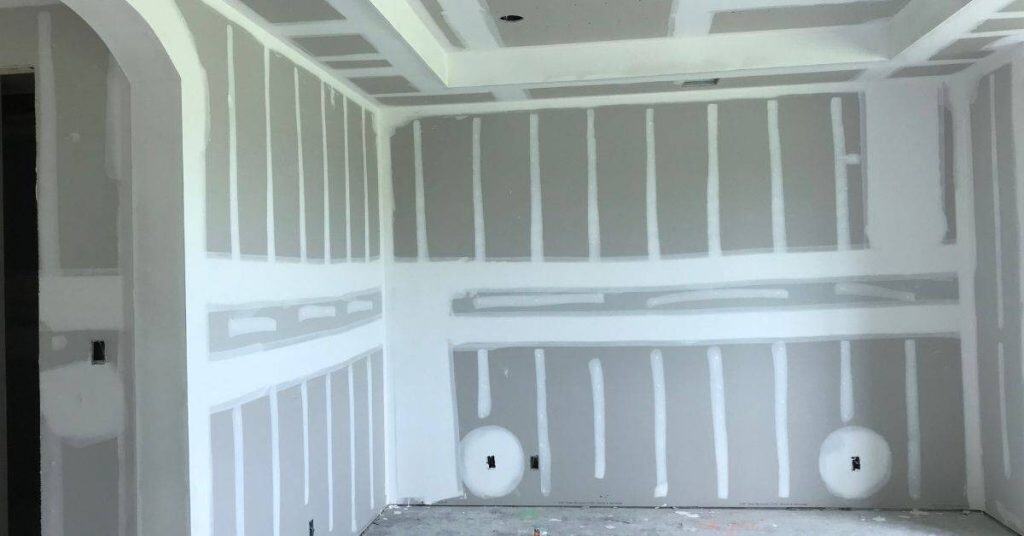
Unfinished room with drywall and joint compound applied on seams

Plaster Vs Joint Compound: Which Material Belongs in Which Repair

Introduction Plaster is a cement-based finish applied in a thick coat that hardens into a solid surface. Joint compound is a gypsum-based filler designed for walls and seams. For repairs, choose plaster on traditional, solid surfaces and use joint compound for drywall patches and quick fixes. In practice, match the material to the repair and

Plaster Vs Joint Compound: Which Material Belongs in Which Repair Read More »

Closeup of red brick wall with visible mortar joints

Stucco Control Joints: Where They Go and Why They Prevent Cracks

Introduction Control joints are intentional breaks in stucco that give the wall somewhere to move, helping to prevent random cracks. They exist to manage movement from framing, temperature, and moisture rather than to hide cracks after they form. Always check manufacturer guidance and local rules for how wide, where to place, and how to install

Stucco Control Joints: Where They Go and Why They Prevent Cracks Read More »

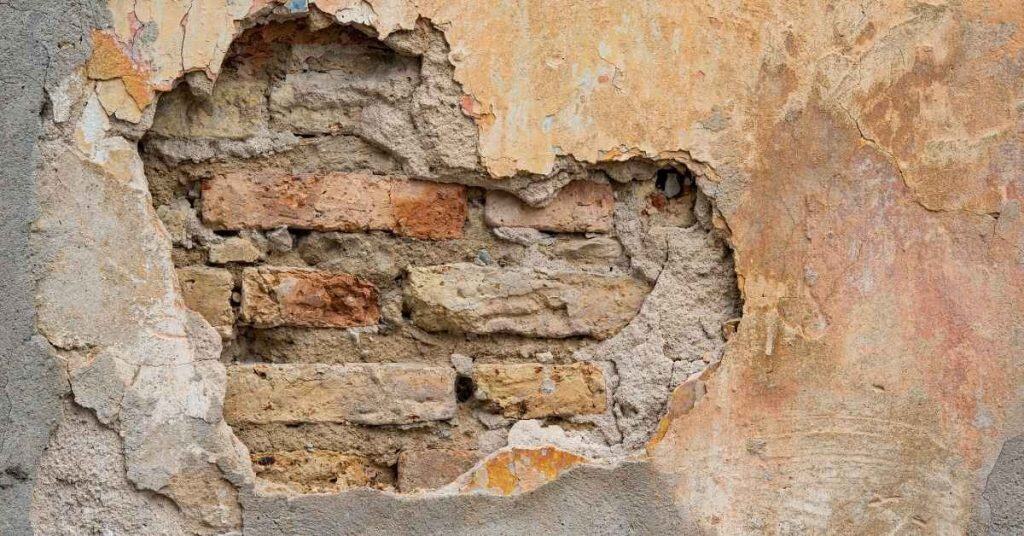
Damaged stucco with hollowed areas exposing brick underneath

How to Fix Loose or Hollow-Sounding Stucco (Delamination Repair)

Introduction Delamination in stucco occurs when the outer stucco layer loses its bond to the underlying substrate, creating a hollow or tinny sound when tapped. Visually, you’ll see cracks, bubbling, or patches that feel loose or wiggle under pressure. That combination signals a likely delamination that needs closer inspection. To assess it, gently probe suspected

How to Fix Loose or Hollow-Sounding Stucco (Delamination Repair) Read More »